
If you’ve been following my blog, by now you know that I’m a bit obsessed with houseplants. And yard plants. Really, any kind of plant. When we moved into our house 3 years ago, I had just one lonely little potted plant (a gift orchid, which never thrived and has since died), and no green thumb to speak of. Since then, I’ve learned a lot about houseplant care. Every time I get a new plant that I’m not familiar with, the first thing I do is google it. Once I know what kind of lighting conditions it prefers, I can find it the perfect spot in our house. Sometimes they thrive, and sometimes they don’t, but I think experimenting is half the fun of having plants. The other half is that they’re just so darn pretty!

I ended up with quite a few succulent-type plants sitting on the south-facing windowsill in our family room. This window gets sun all day long, so this type of plant really thrives there. But as I gradually collected more plants and took cuttings from plants I already had (I have some aloe plants that grow like crazy), I started running out of windowsill space. I mentioned the idea of a plant shelf to my wife, and she surprised me by gathering together all the supplies to make these beautiful hanging shelves.

Materials and tools:
4 large eye screws
Heavy duty sisal rope (for your needed length, measure the height of your window, add 4 feet for knotting, and multiply by 4 corners)
3 pine boards, cut in length to fit your window
Drill
Level
Staple gun
Note: We used 3/4-inch-thick boards so the shelves wouldn’t bow under the weight of the plants. For the two upper shelves, we used 8-inch-wide boards, and for the lower shelf, we used a 6-inch-wide board. The 8 inch boards extend past our window trim, allowing for as much planter surface space as possible. We didn’t want the lower shelf to extend past the window sill, since this would hinder people from sitting comfortably on the bench below. You could just as easily use the same width of boards for all three shelves–whichever width would best suit your window.

To construct your shelves, drill holes in the wood that are large enough to thread your rope through. (Measure so that each shelf’s holes are in exactly the same place–ours are about 8 inches from either end and 1 inch in from the edge of the board). Then mark the spots for the eye hooks on the upper window trim accordingly. Pre-drill your holes and screw in the eye hooks. Tie the rope securely to the eye hooks and thread through the holes in the top shelf. Using a level, tie knots below the shelf at whatever height you’d like. Our shelves are about 18 inches apart, to allow space for taller plants. Repeat with the remaining shelves.

Since our bottom shelf was narrower than the upper two shelves, we did not drill holes in this one, but rather wrapped the rope around the side of the shelf and stapled in place underneath to keep taught. This allows the rope to stay vertical rather than tapering in on the last tier.
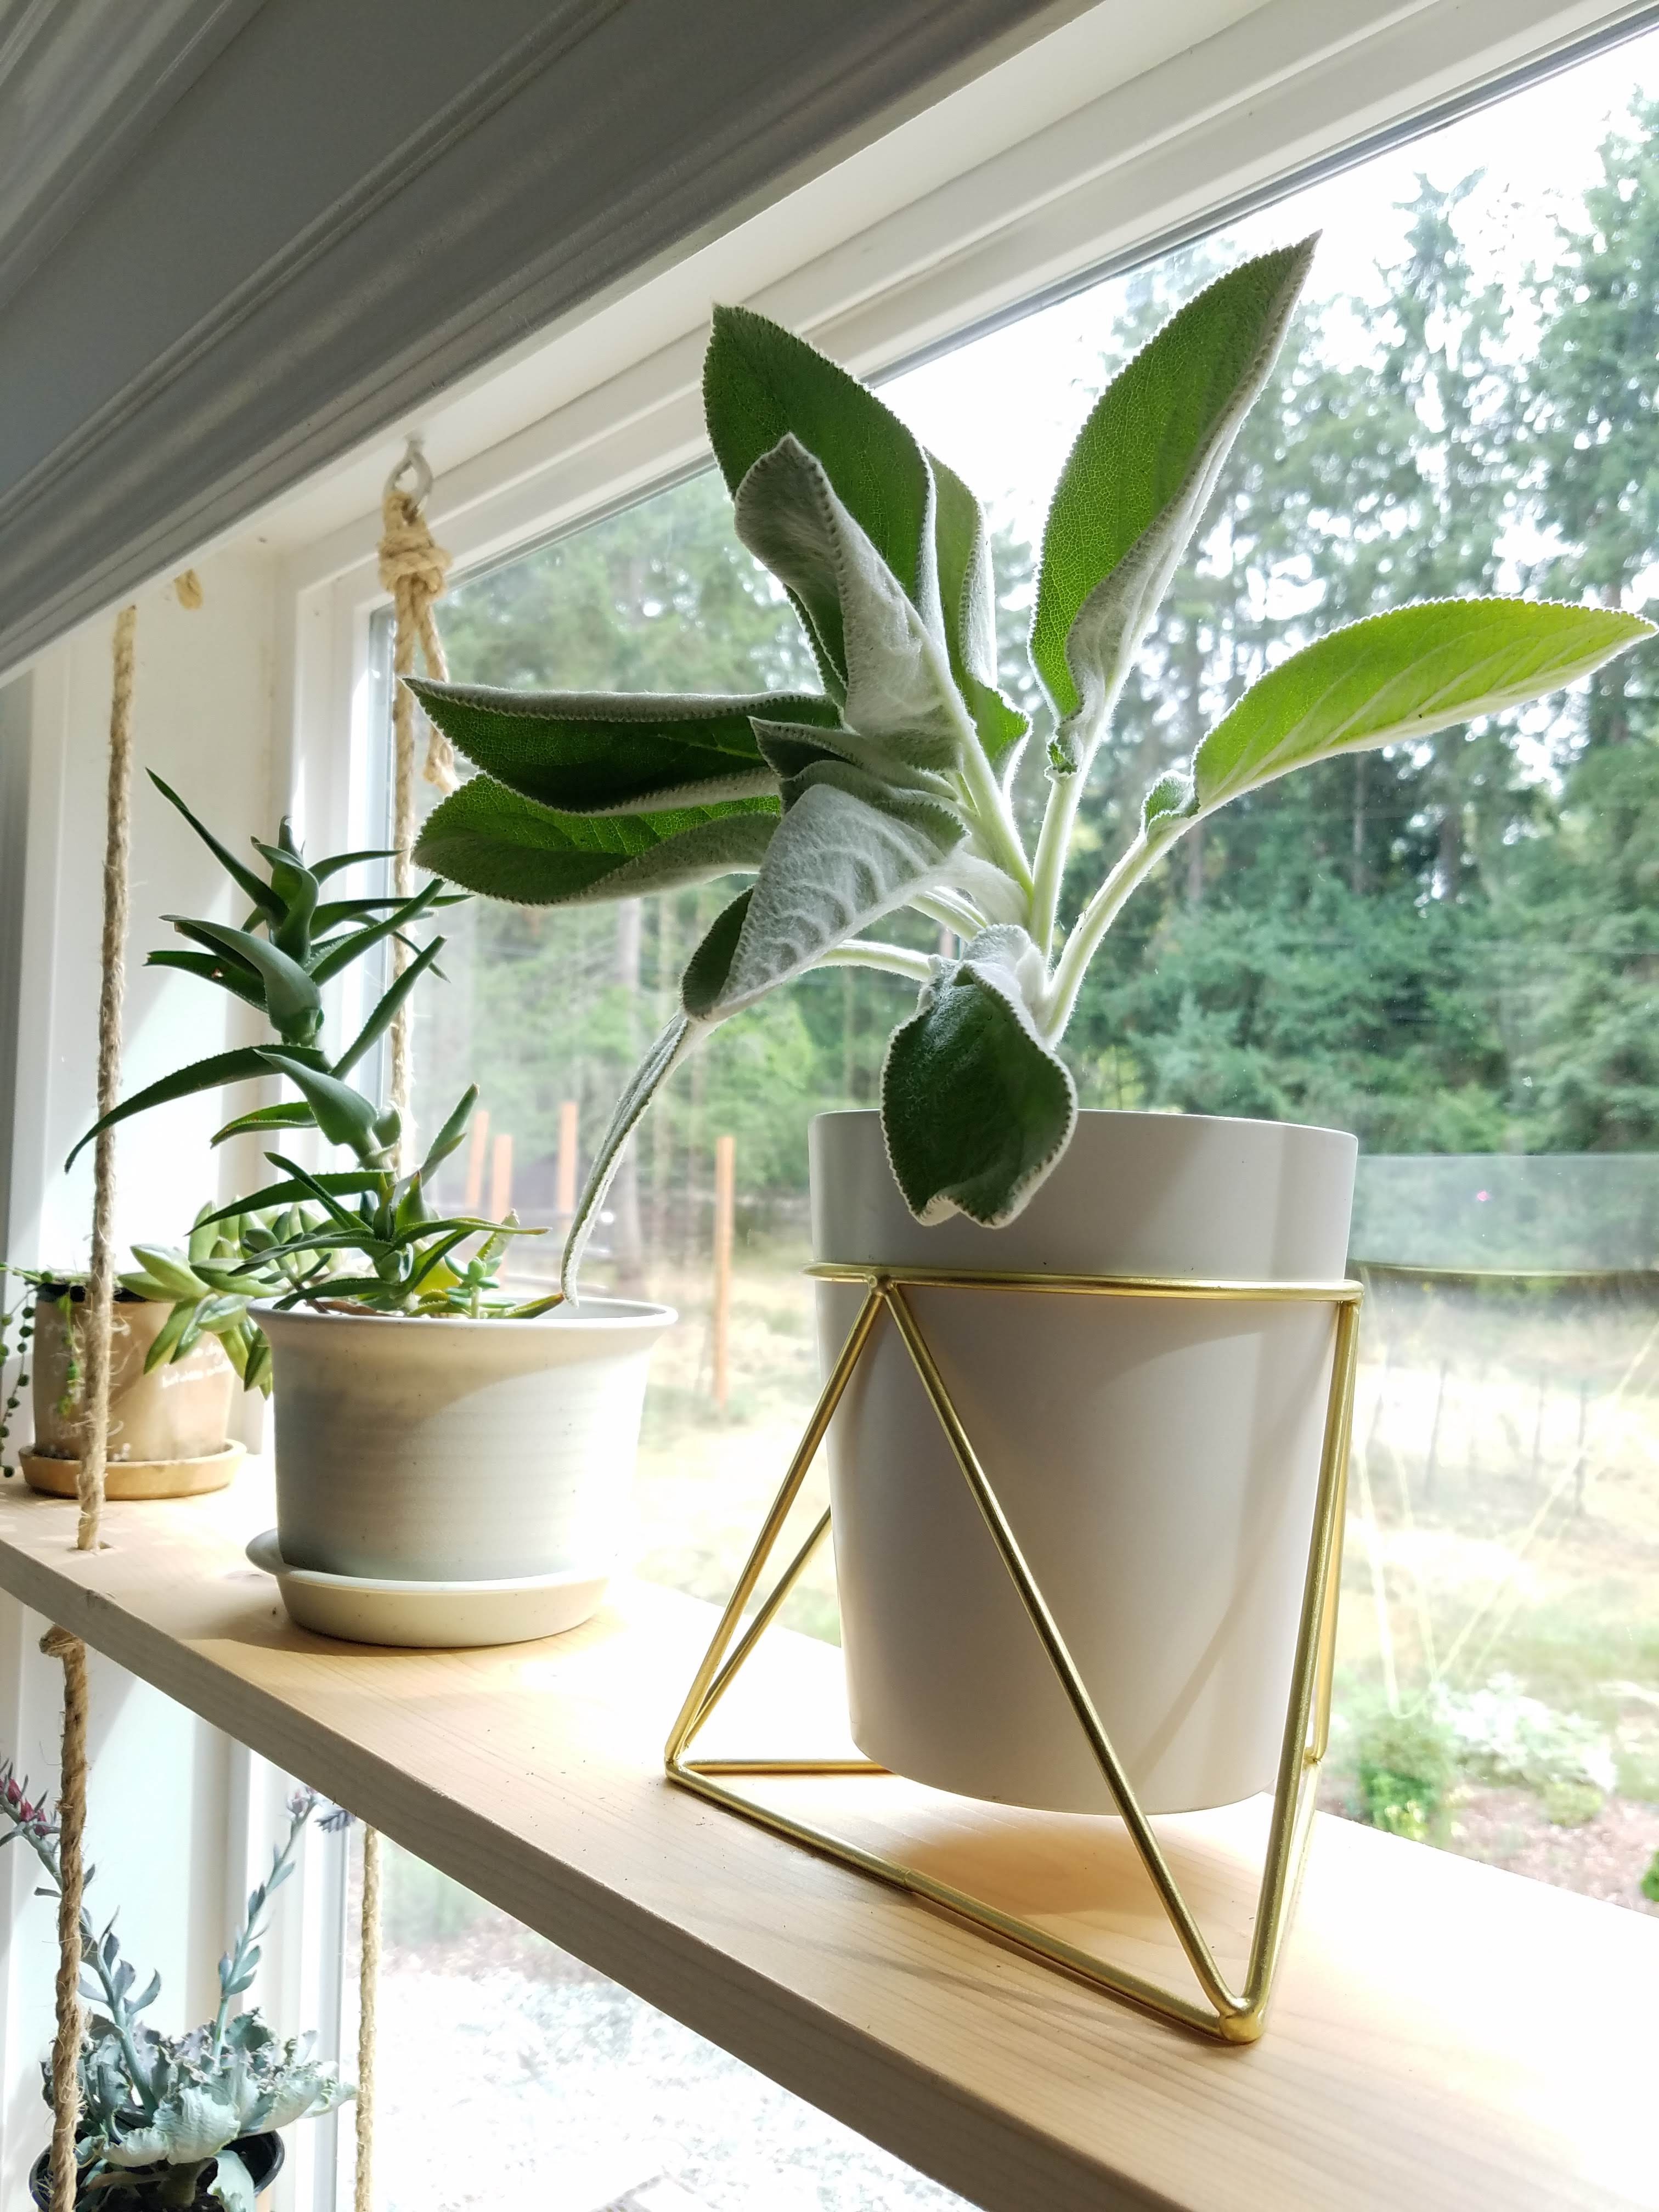
Now comes the fun part: decorating the shelf with plants! I used a variety of different pots in white, brown, and gold colors. Sometimes if I don’t have a nice pot for something new, I put it in an ugly plastic nursery pot and wrap the pot with brown paper. Then I can write notes on the paper about plant care (name of the plant, how much water it likes, etc.). I also bought an 8-pack of some plastic resin 6-inch pots on Amazon. You can find the matching drip trays here. There are more drip trays per pack than pots, so you will have two extra trays. They are much nicer-looking trays than those clear plastic ones, so they work for a lot of different planters. I also use cork coasters and round bamboo trivets for catching drip from my pots. You can search for this kind of thing at IKEA or on Amazon.
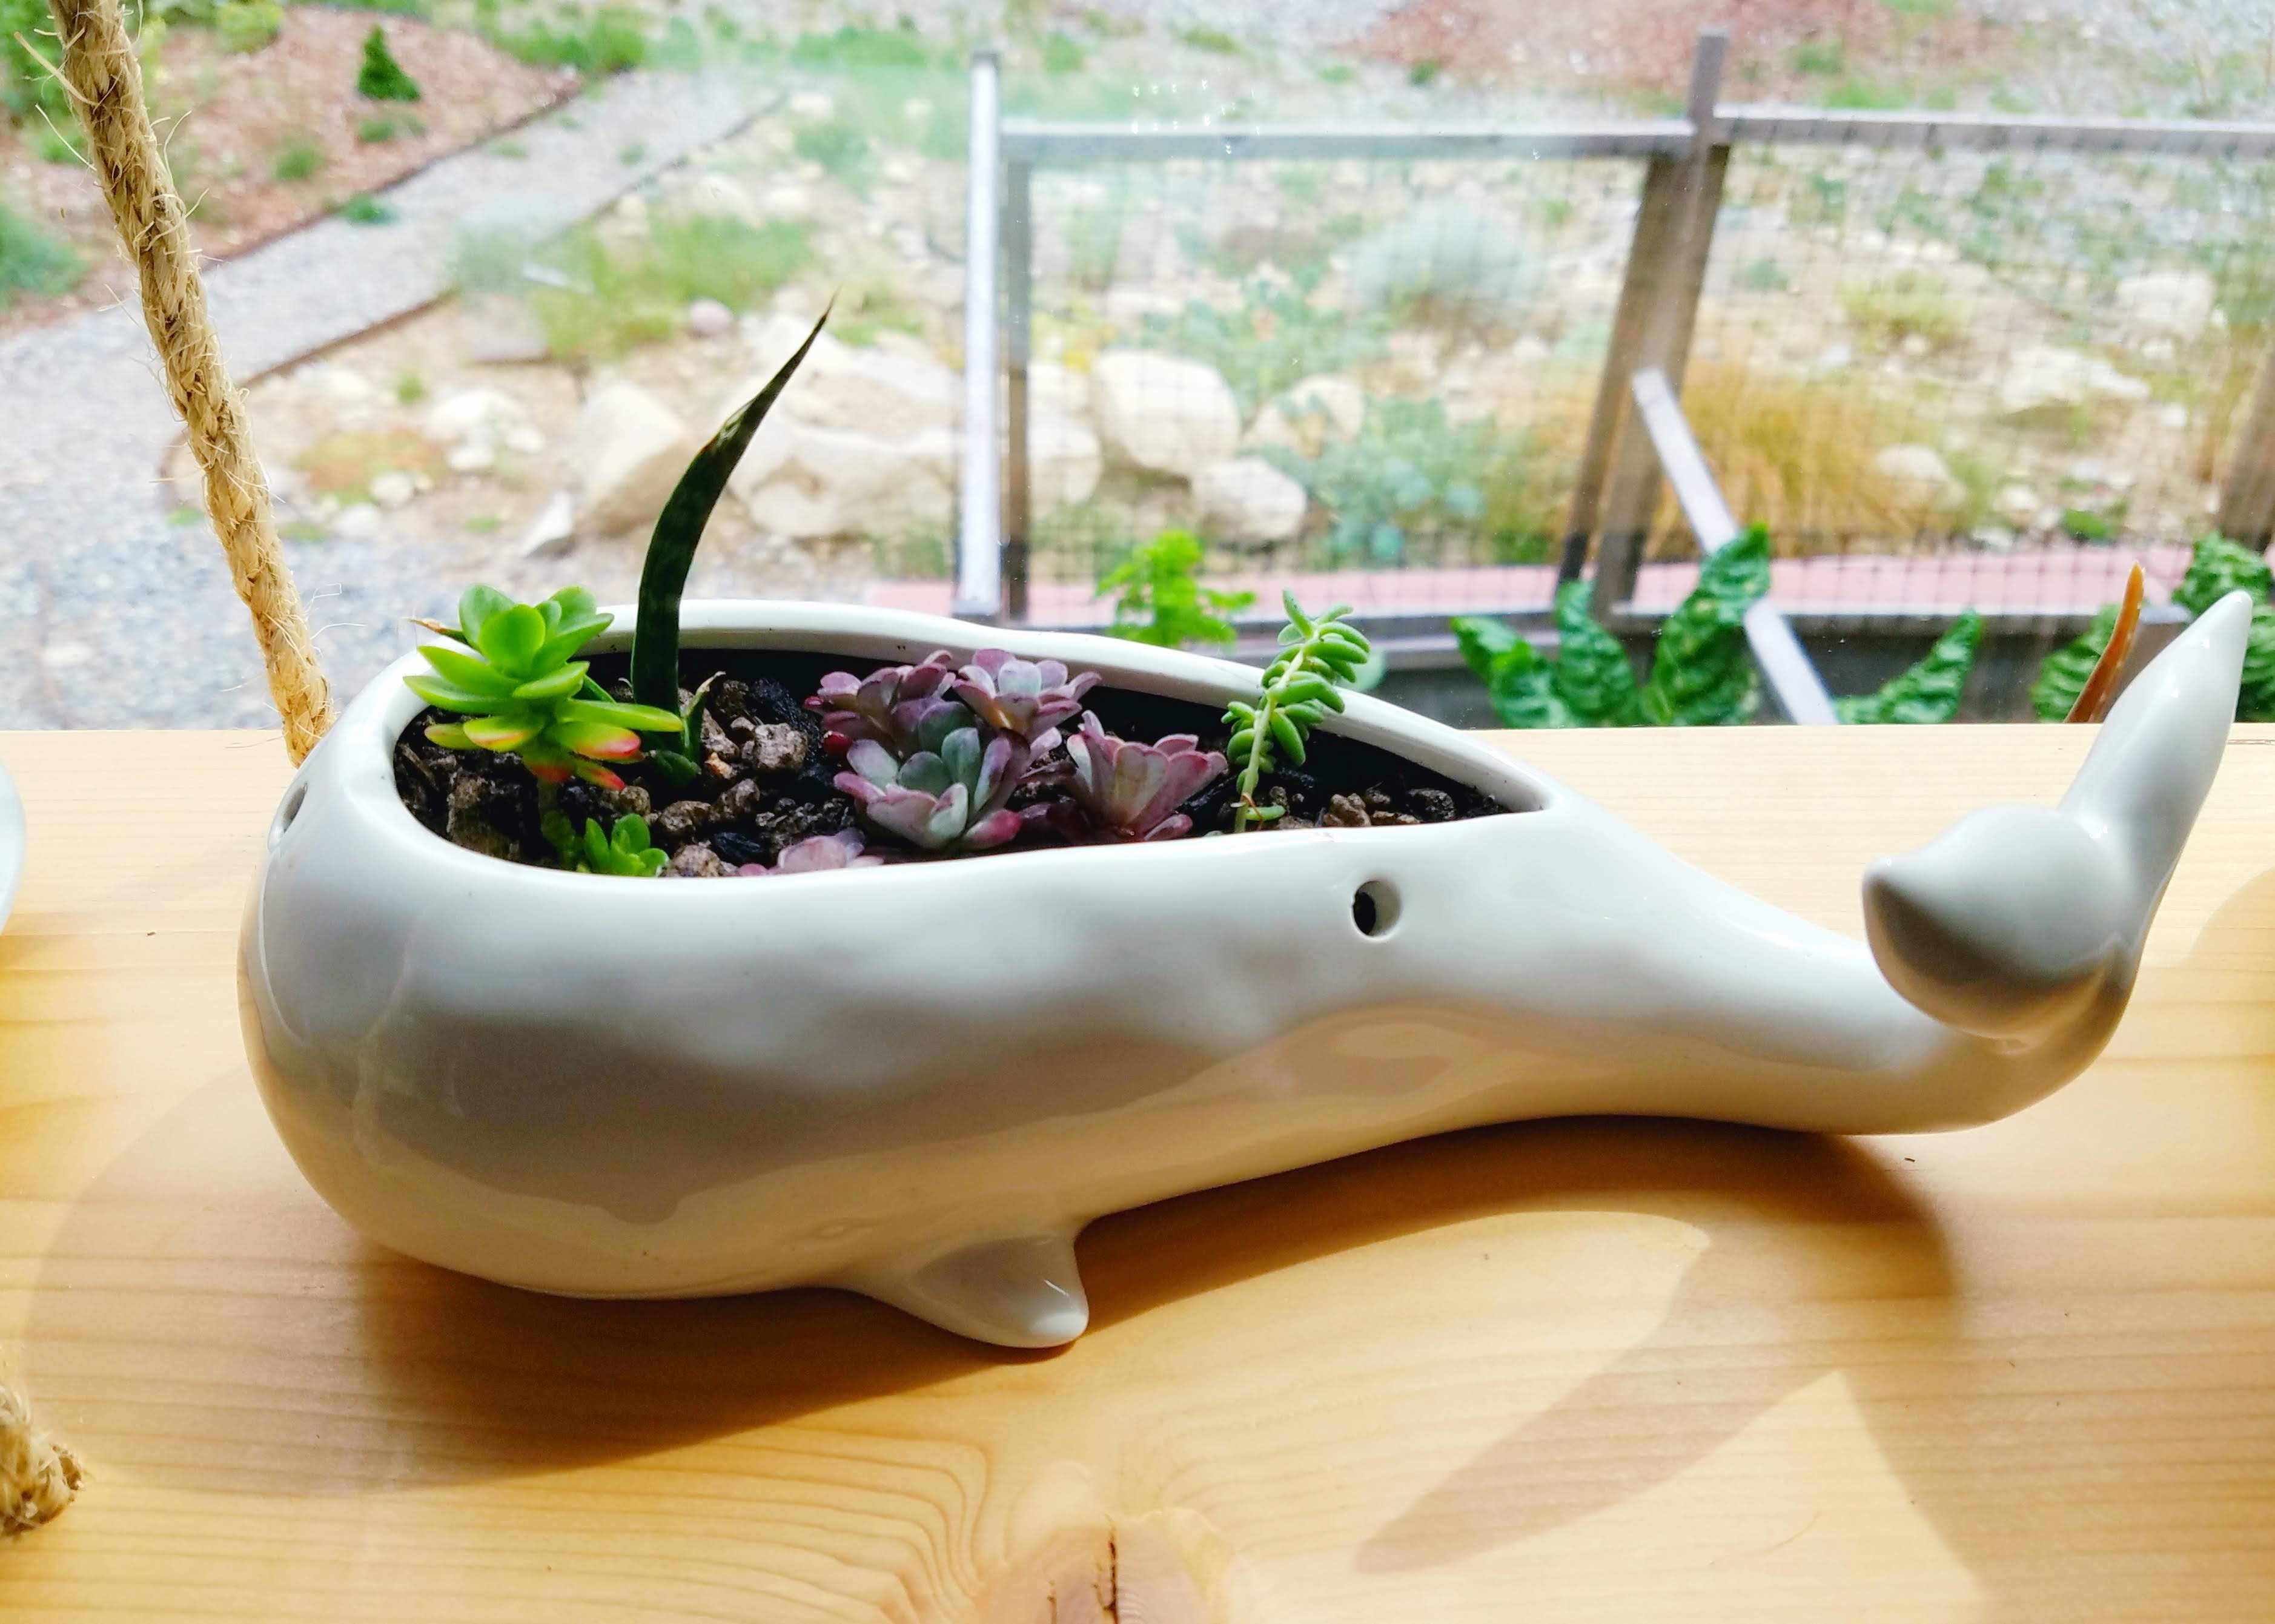
Shallow containers like this ceramic whale planter work well for growing tiny succulent cuttings. Make sure to use well-draining cactus/succulent potting soil and water sparingly.
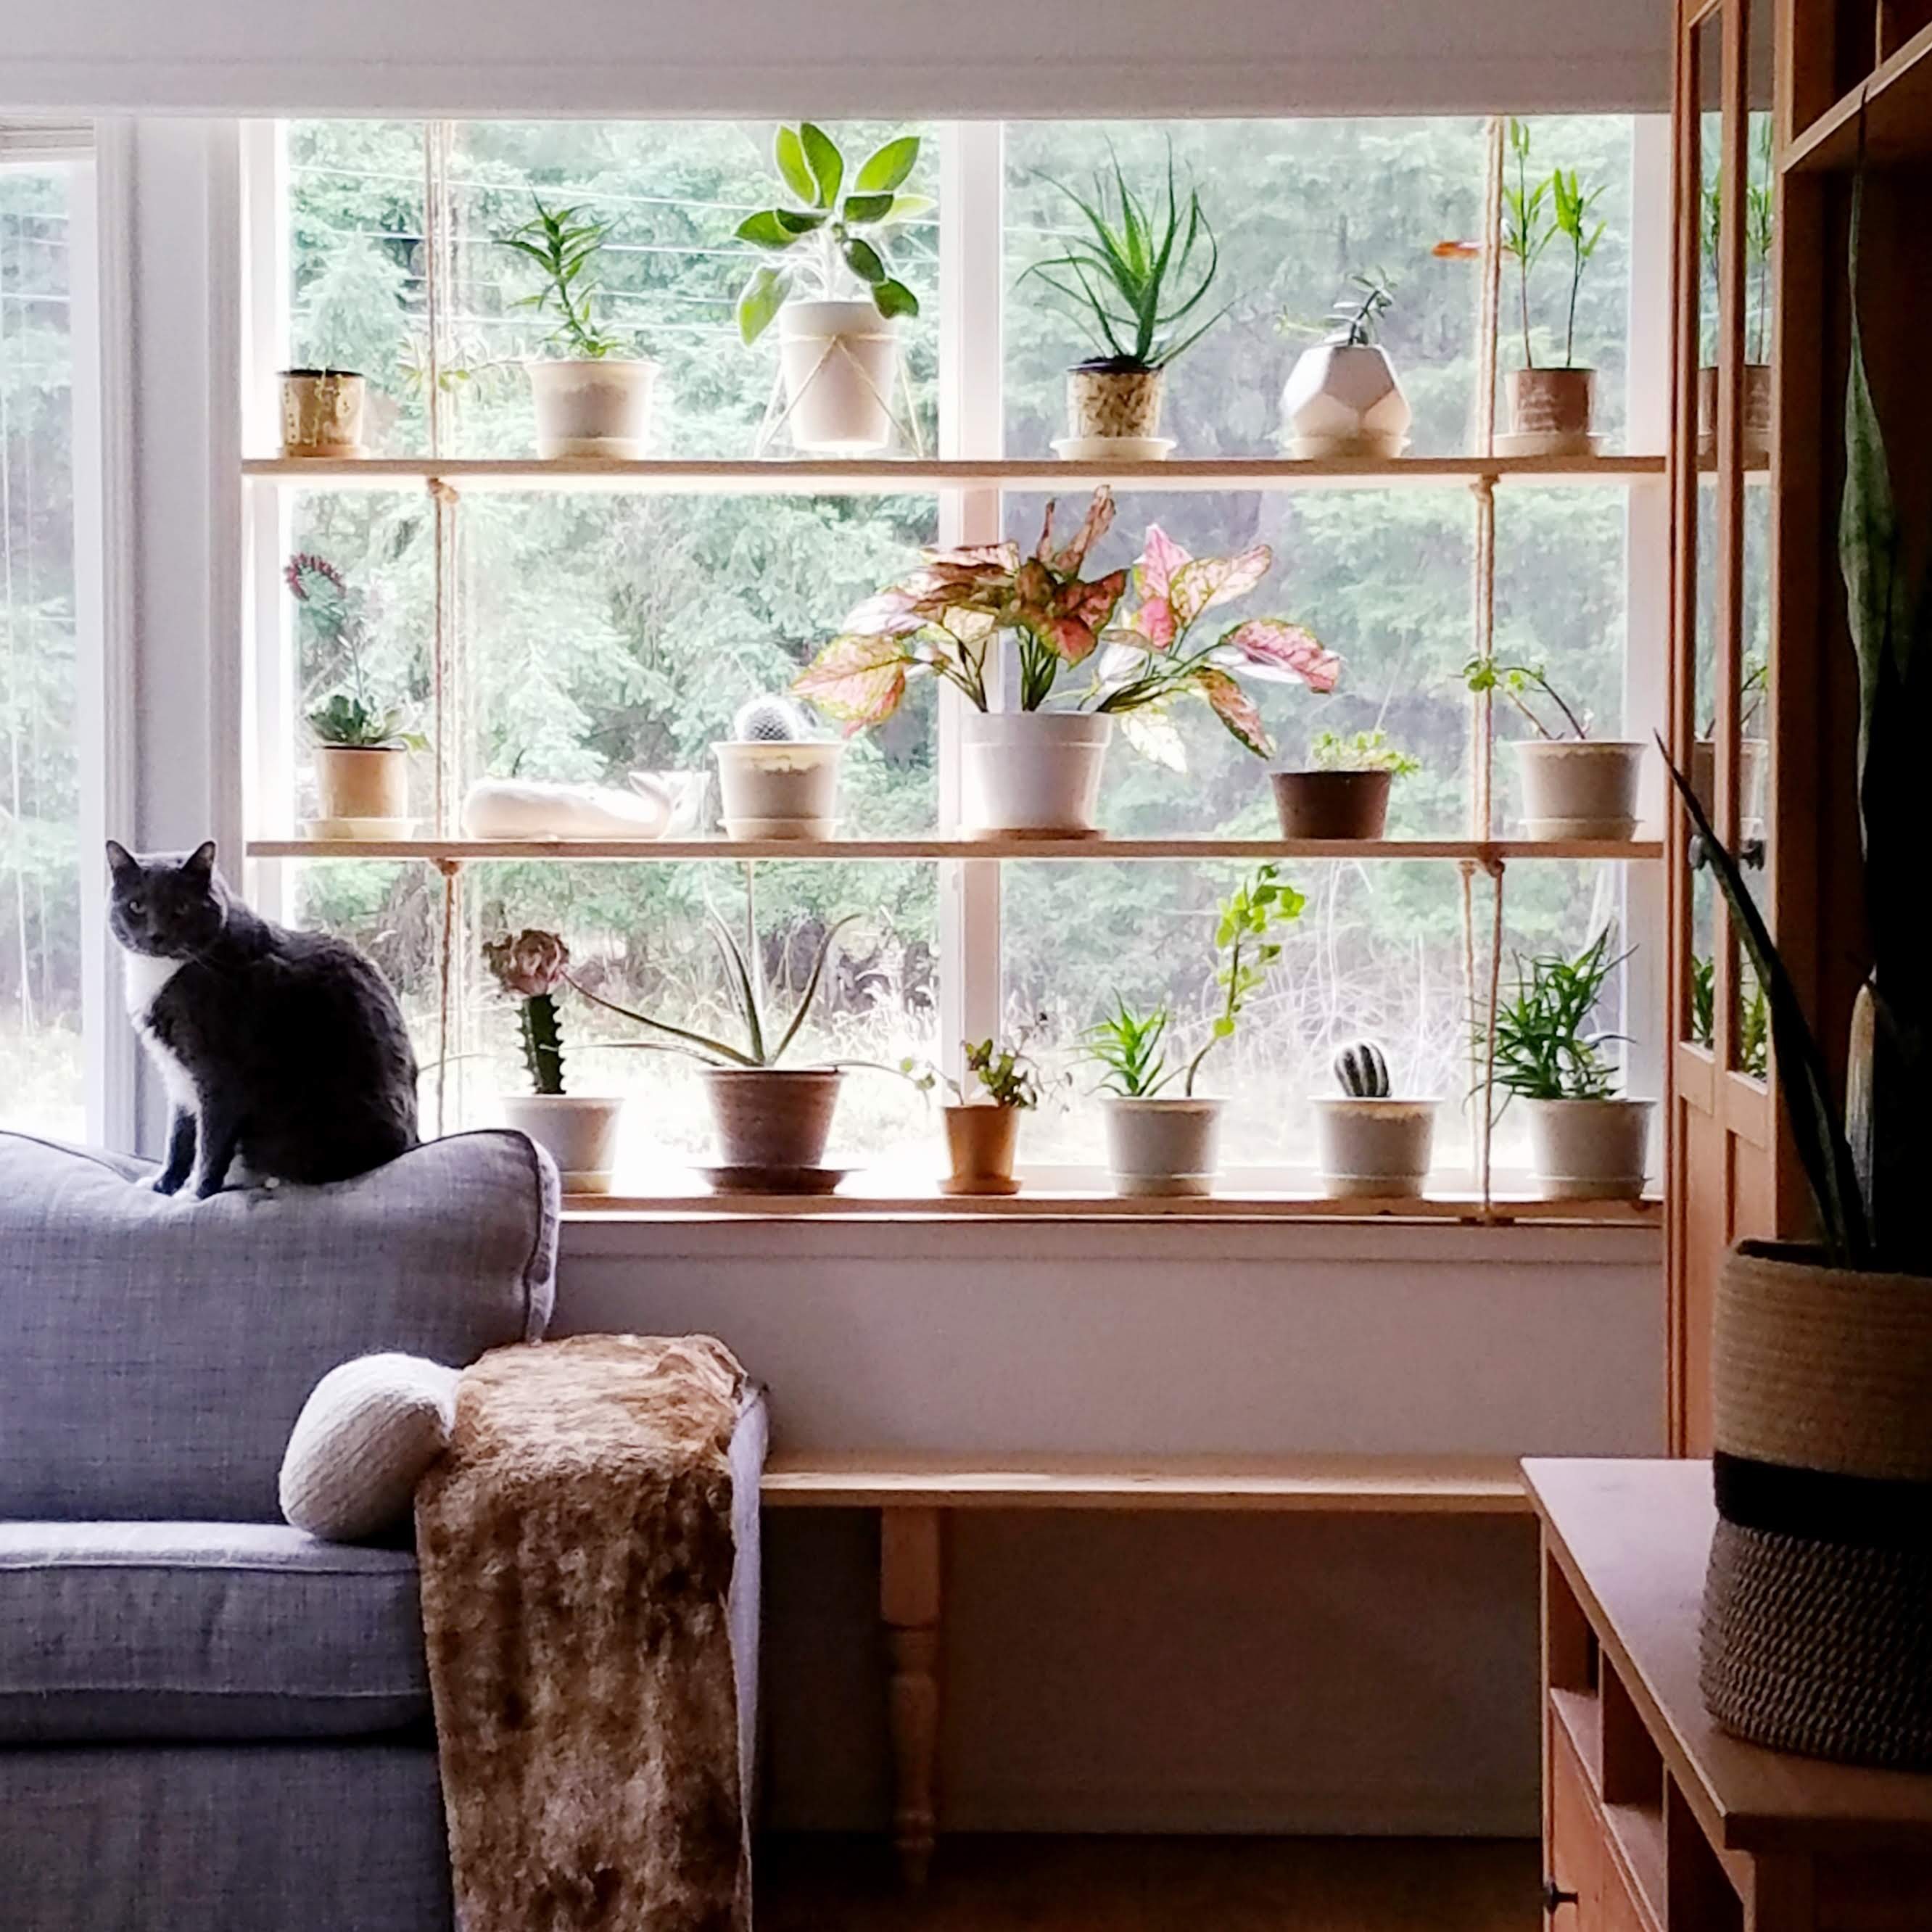
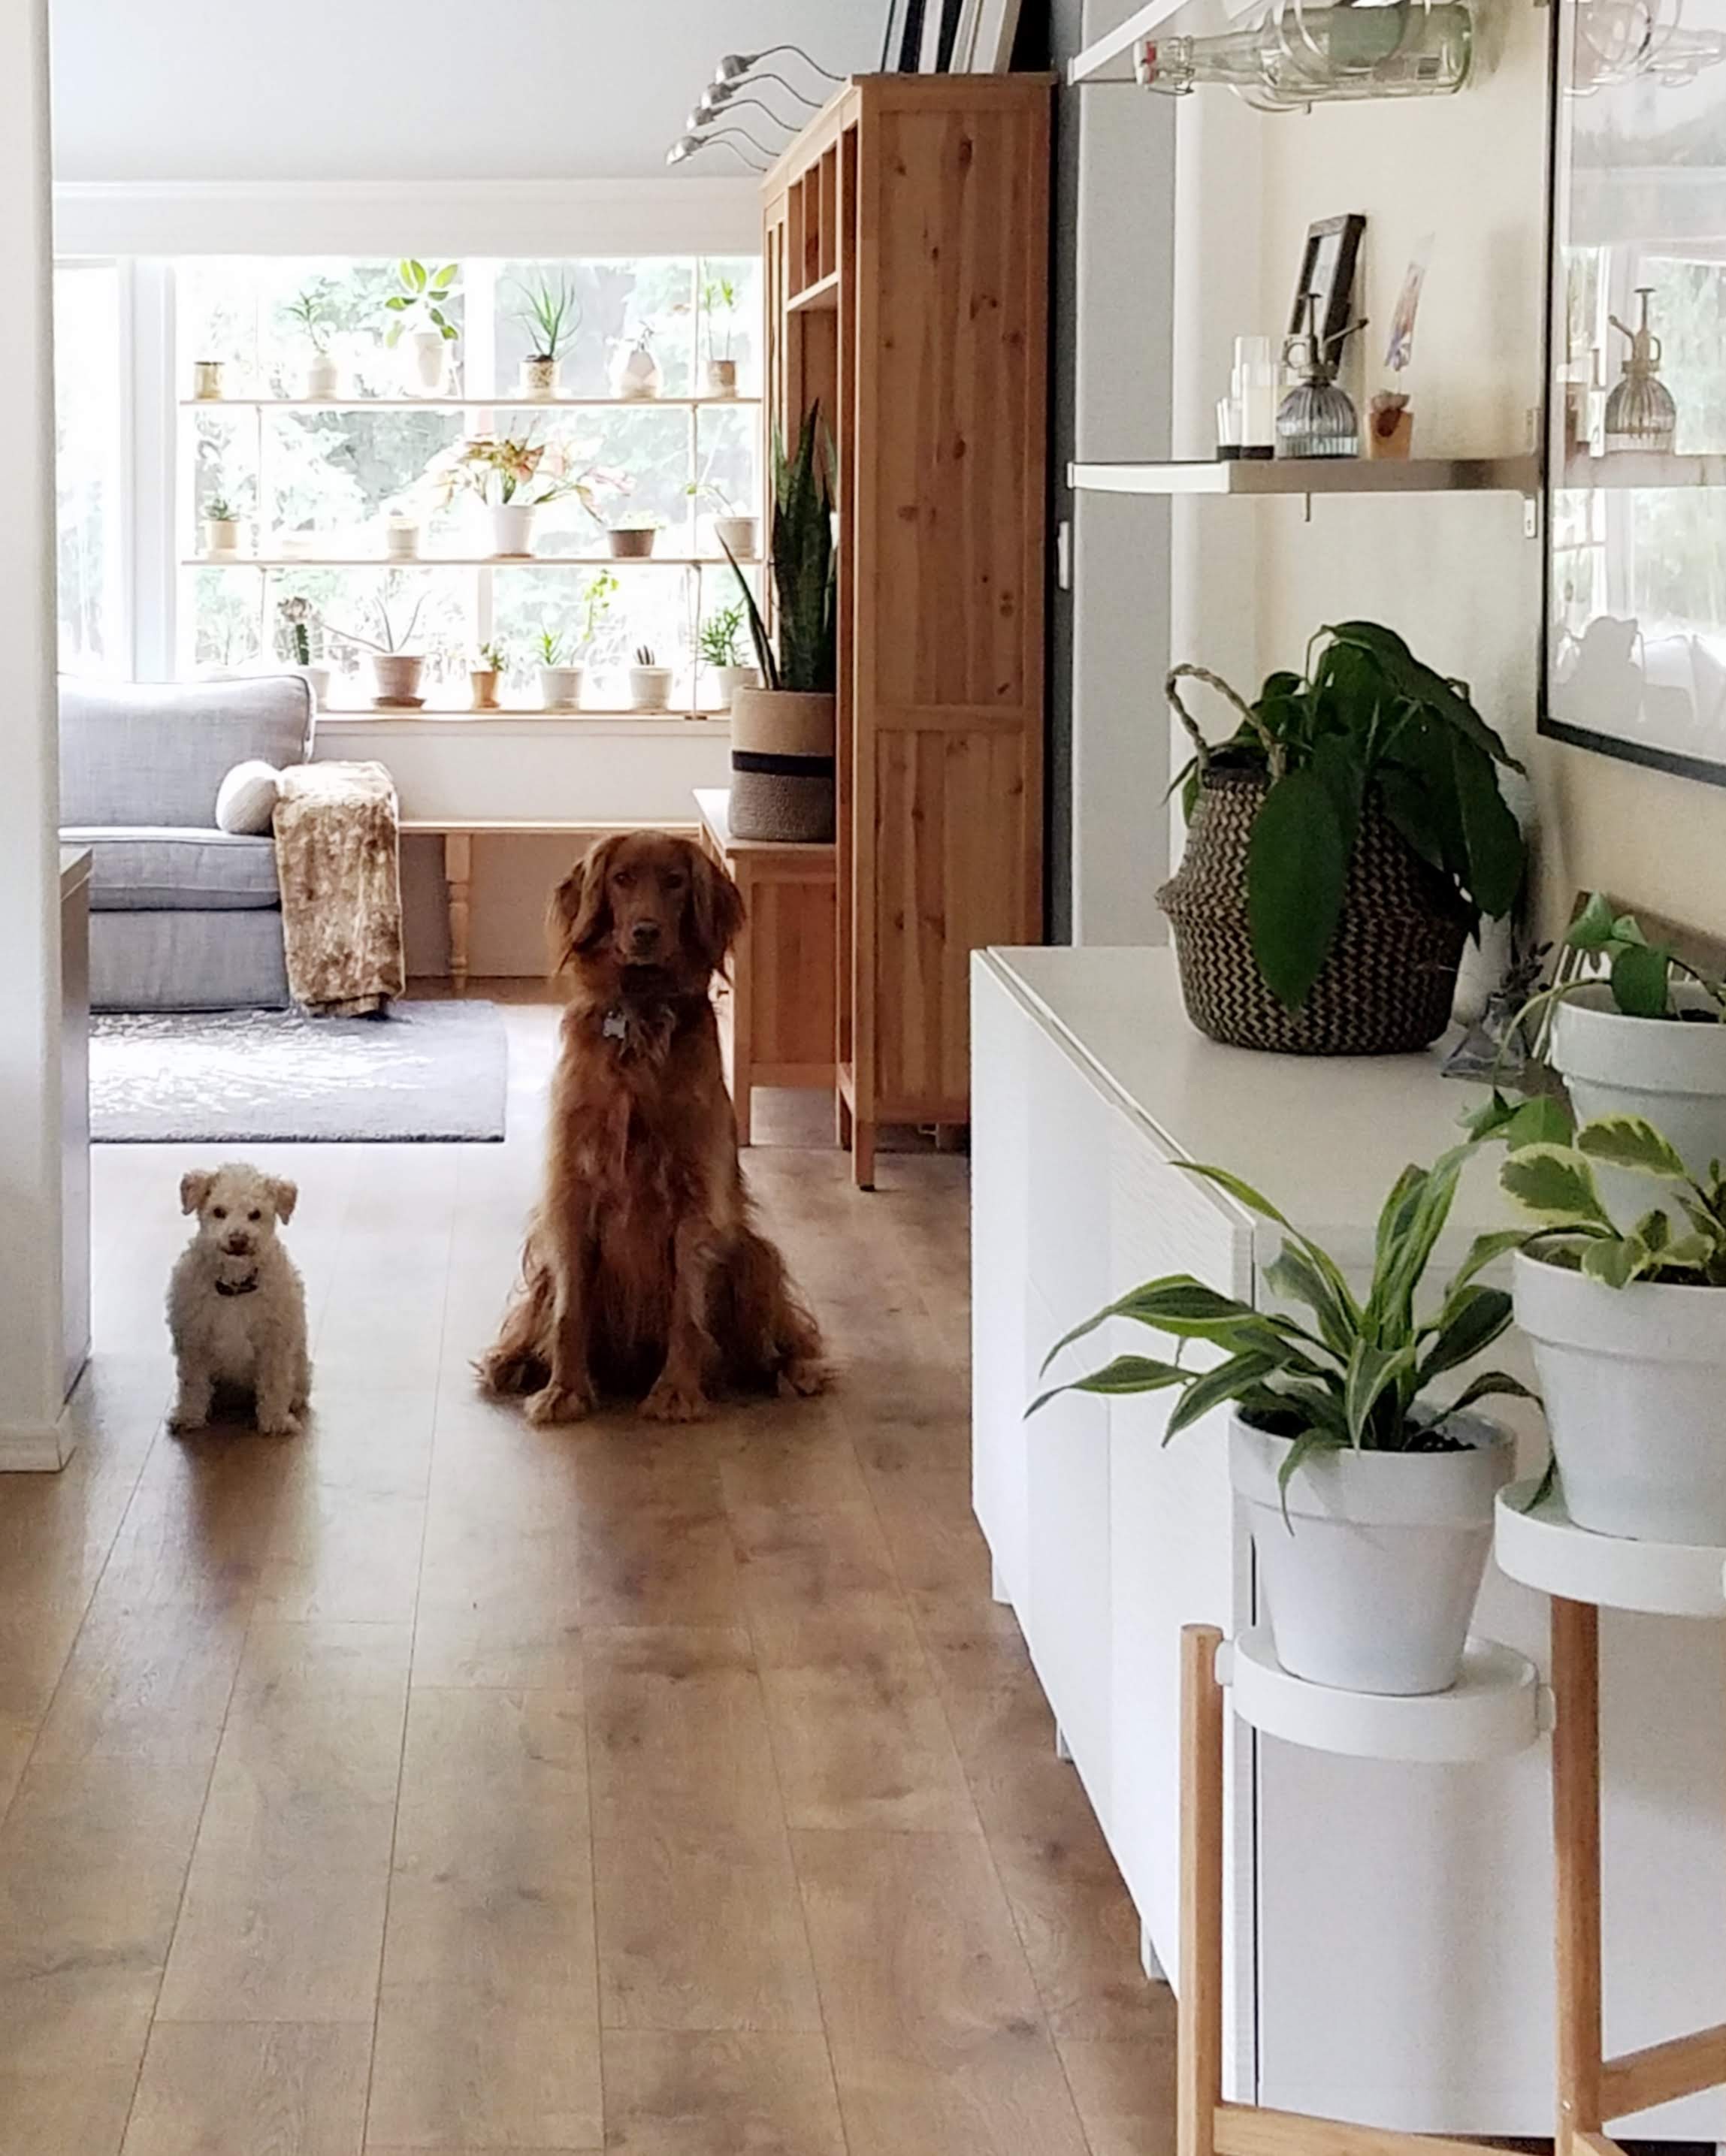
As you can see, all the members of our family are enjoying this plant shelf. A house full of plants and animals: just the way I like it 🙂


This is awesome! Can we talk about where you got your above window molding though?!
LikeLike
Thanks so much Cassandra! Not sure where the window molding was from, it came with the house 🙂
LikeLike
I’m going to make this !!!
LikeLike
That’s awesome! Good luck 🙂
LikeLike