I don’t think the design of any room is complete without at least one plant. That little bit of green adds some nature back into our manmade spaces. And since we personally live in a little clearing in the woods, I like how houseplants create a connection between the inside of our house and the outside. Confession: I do have a few fake house plants here and there around the house where I don’t want to have to water a live plant. But I always feel like having a fake plant is a little bit like cheating. Fake plants just don’t provide the same joy as watching a plant grow that you’ve cared for yourself. And they don’t put out oxygen or help filter toxins in the air, either.
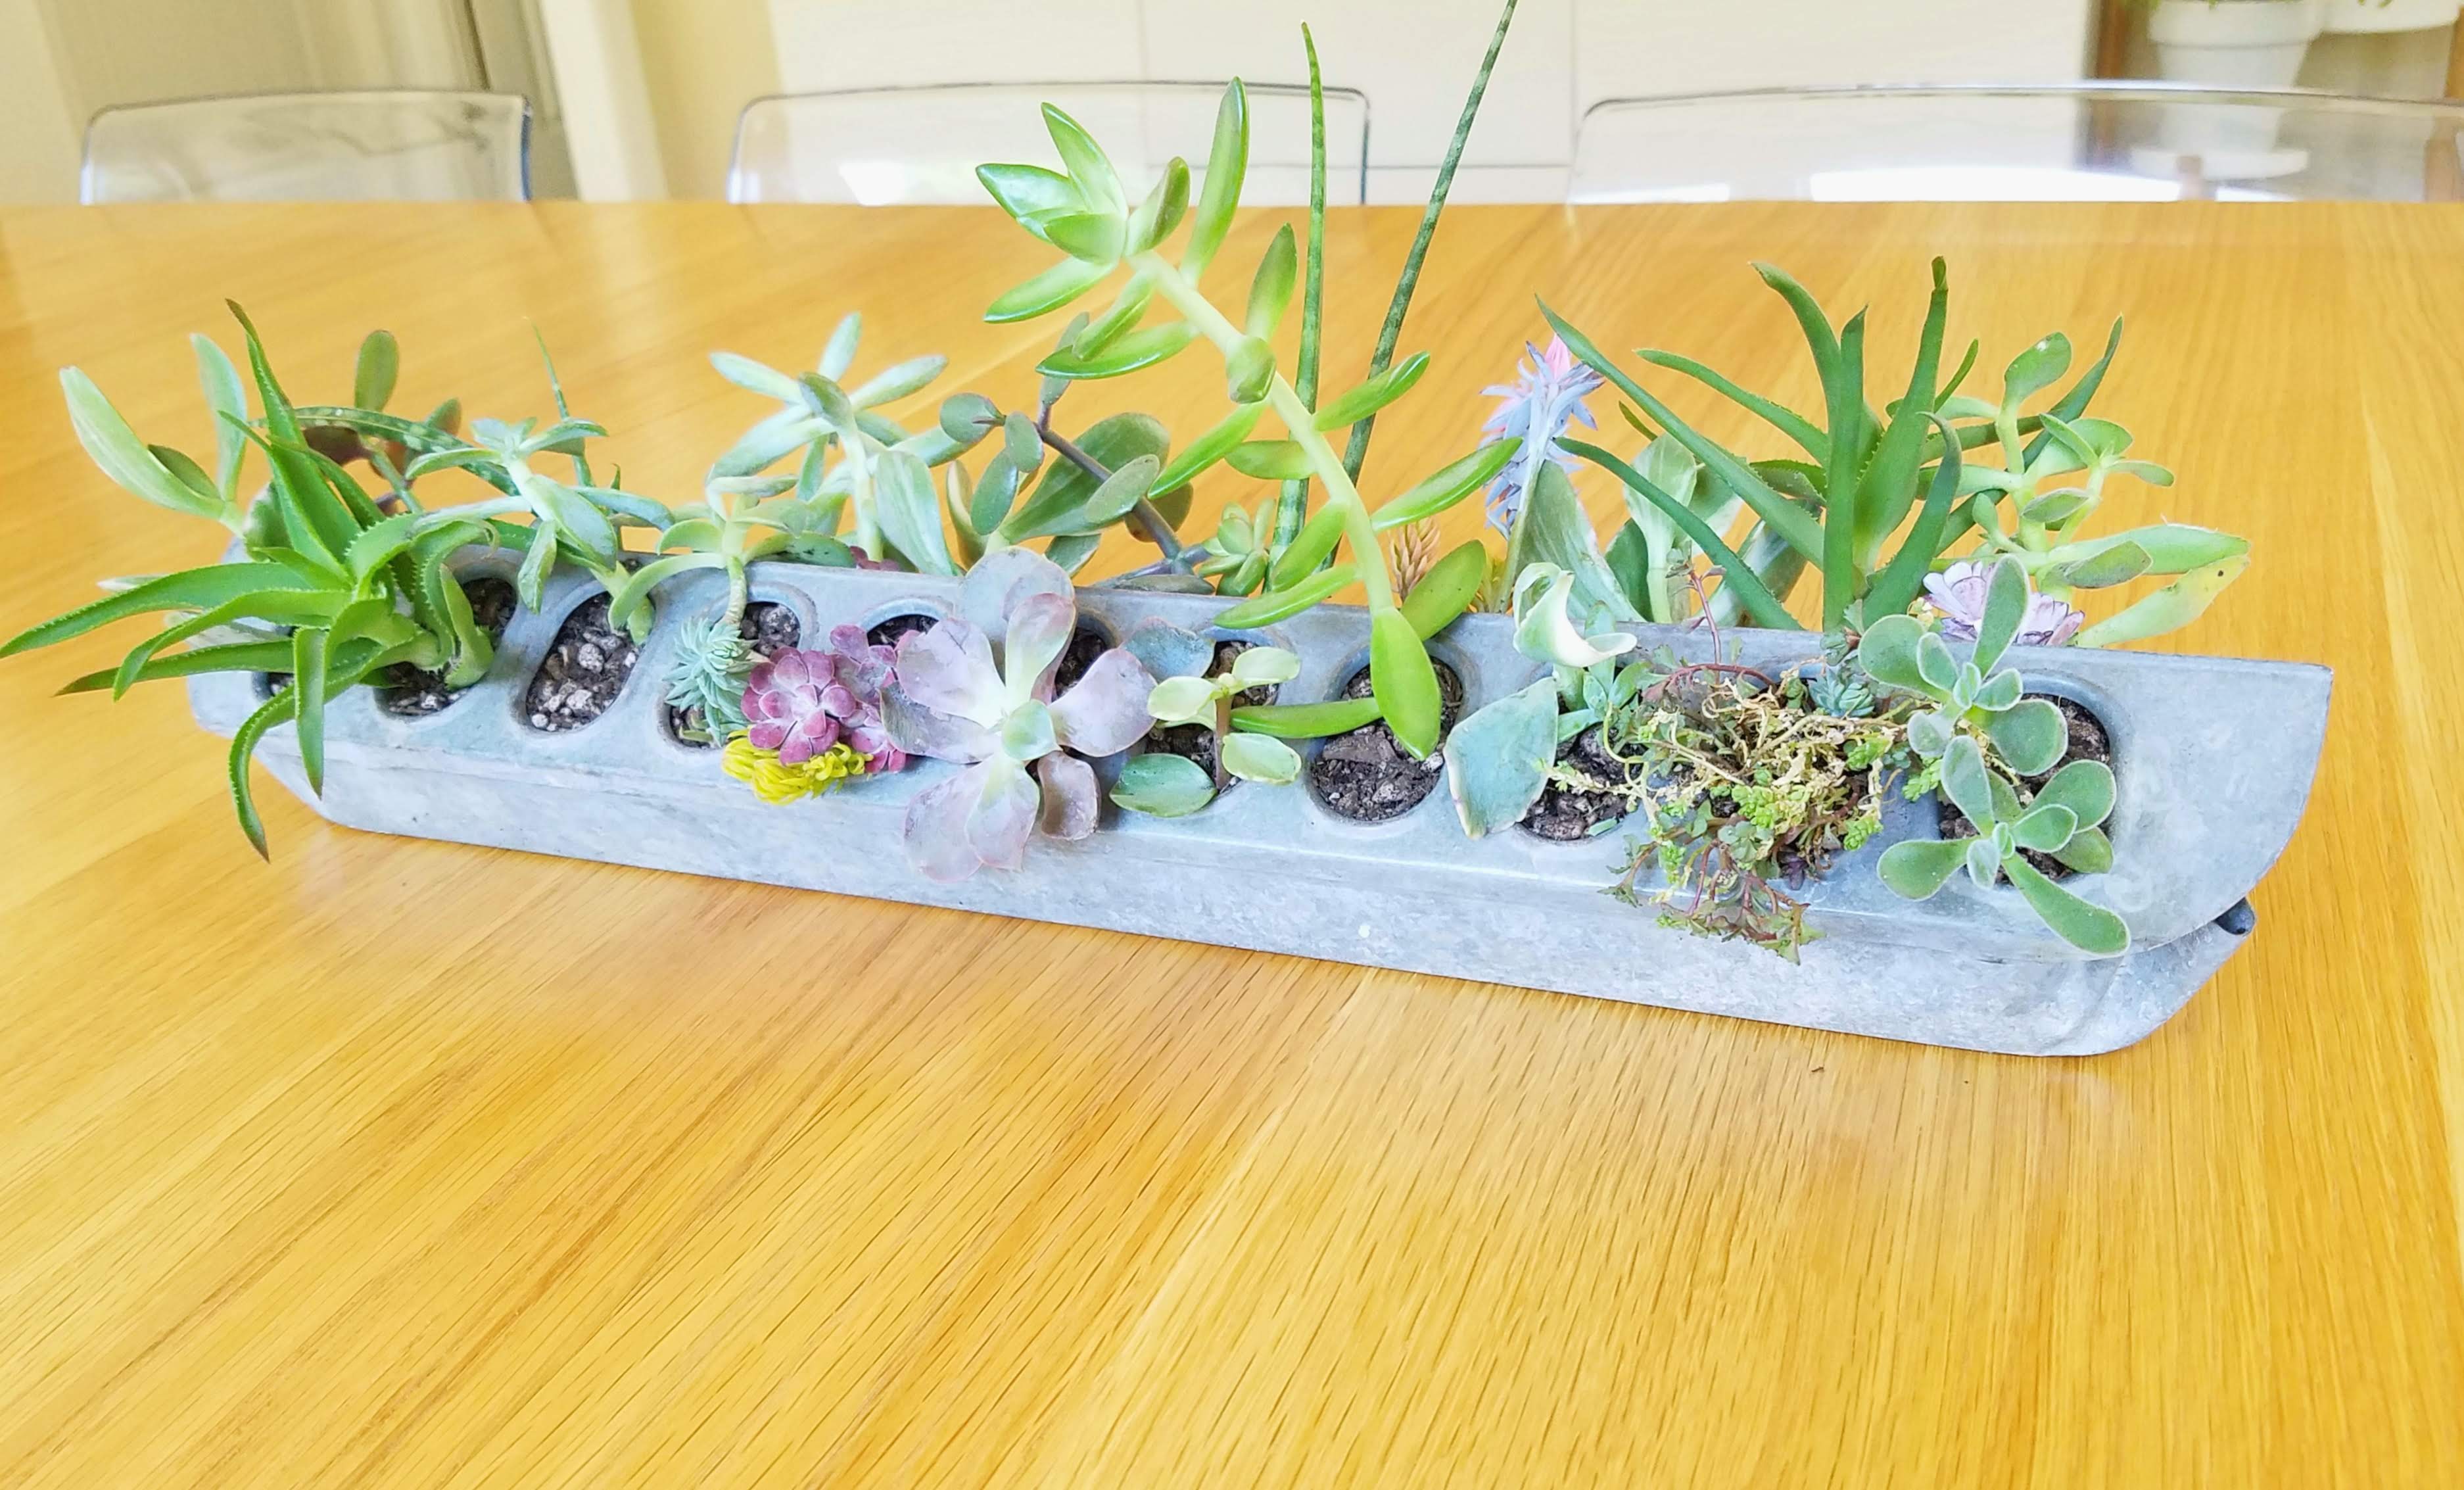
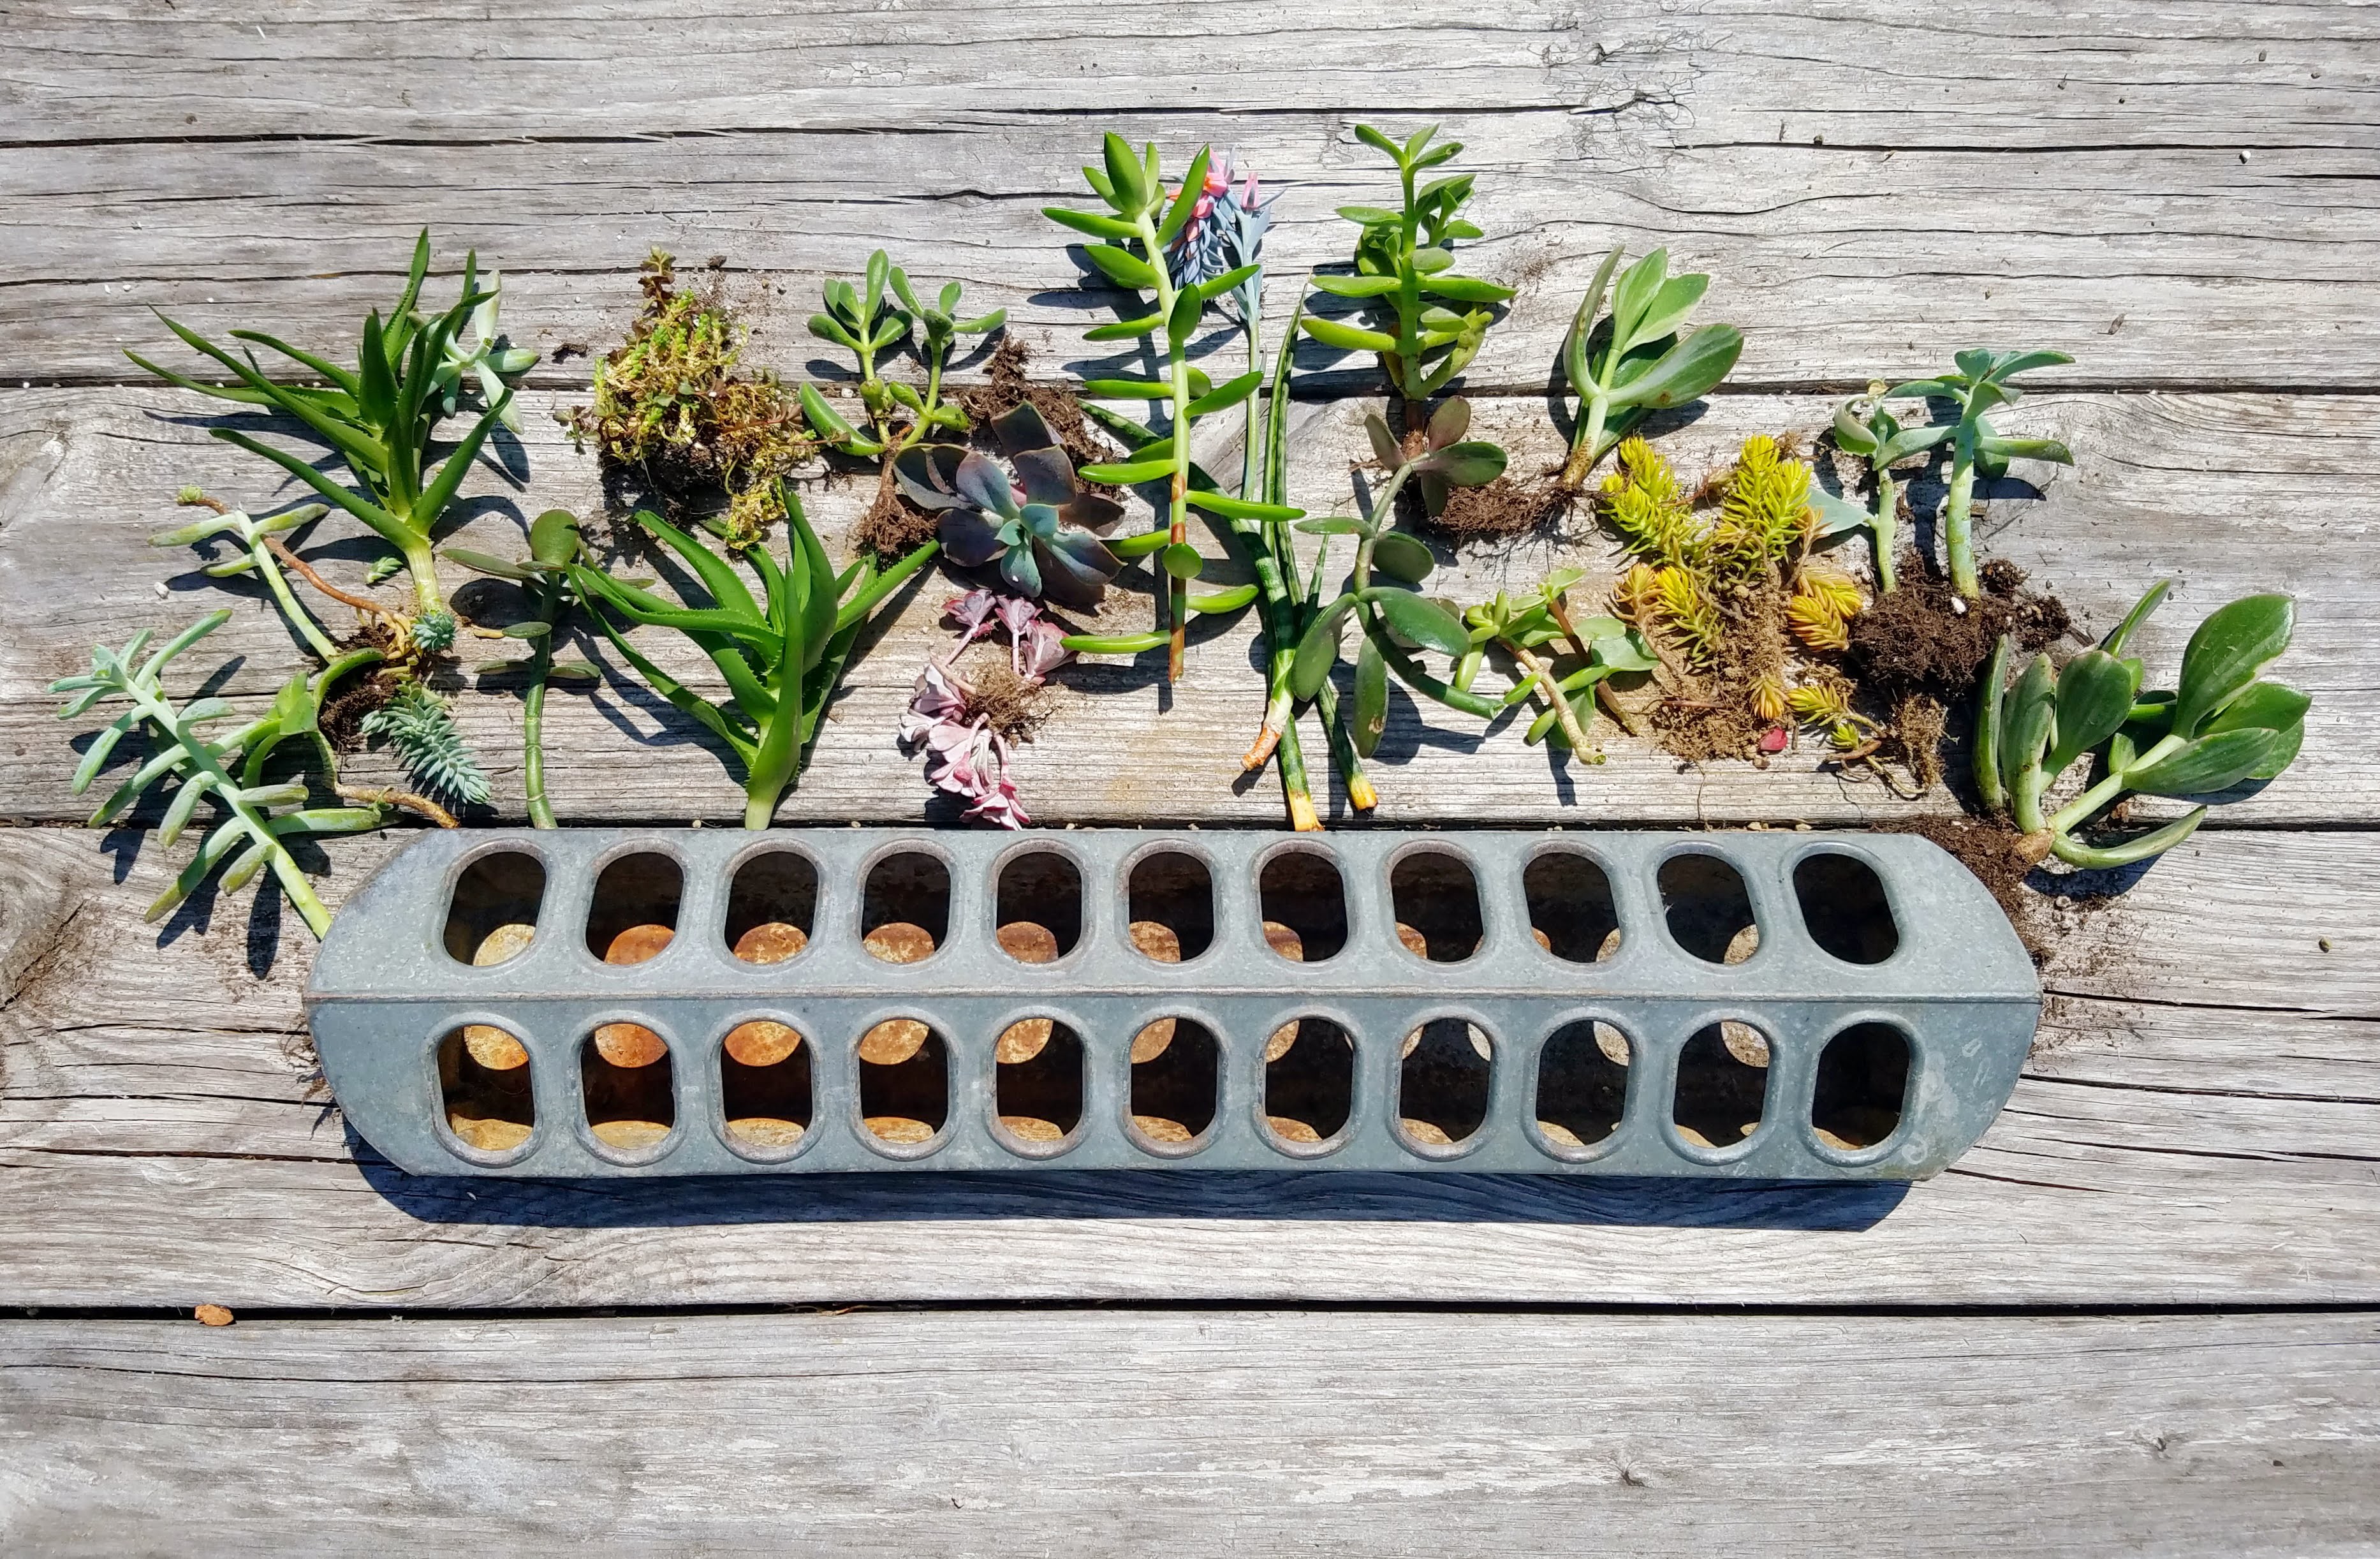
The thing is, nice planters are expensive. So I’ve started keeping an eye out for interesting containers when I go to antique stores or flea markets. Once you start to think about it, there are so many things that could be repurposed into planters…baskets, jars, toolboxes, trays, drawers, crates, etc. When I saw this old metal chicken feeder at an antique mall, it was just calling out to me to put some succulents in it. I liked the rustic farmhouse vibe, and since we have chickens, it seemed like an especially appropriate decor item for our house. Plus, I snagged it for about $6… way cheaper than buying something new. Reduce, reuse, recycle, people!
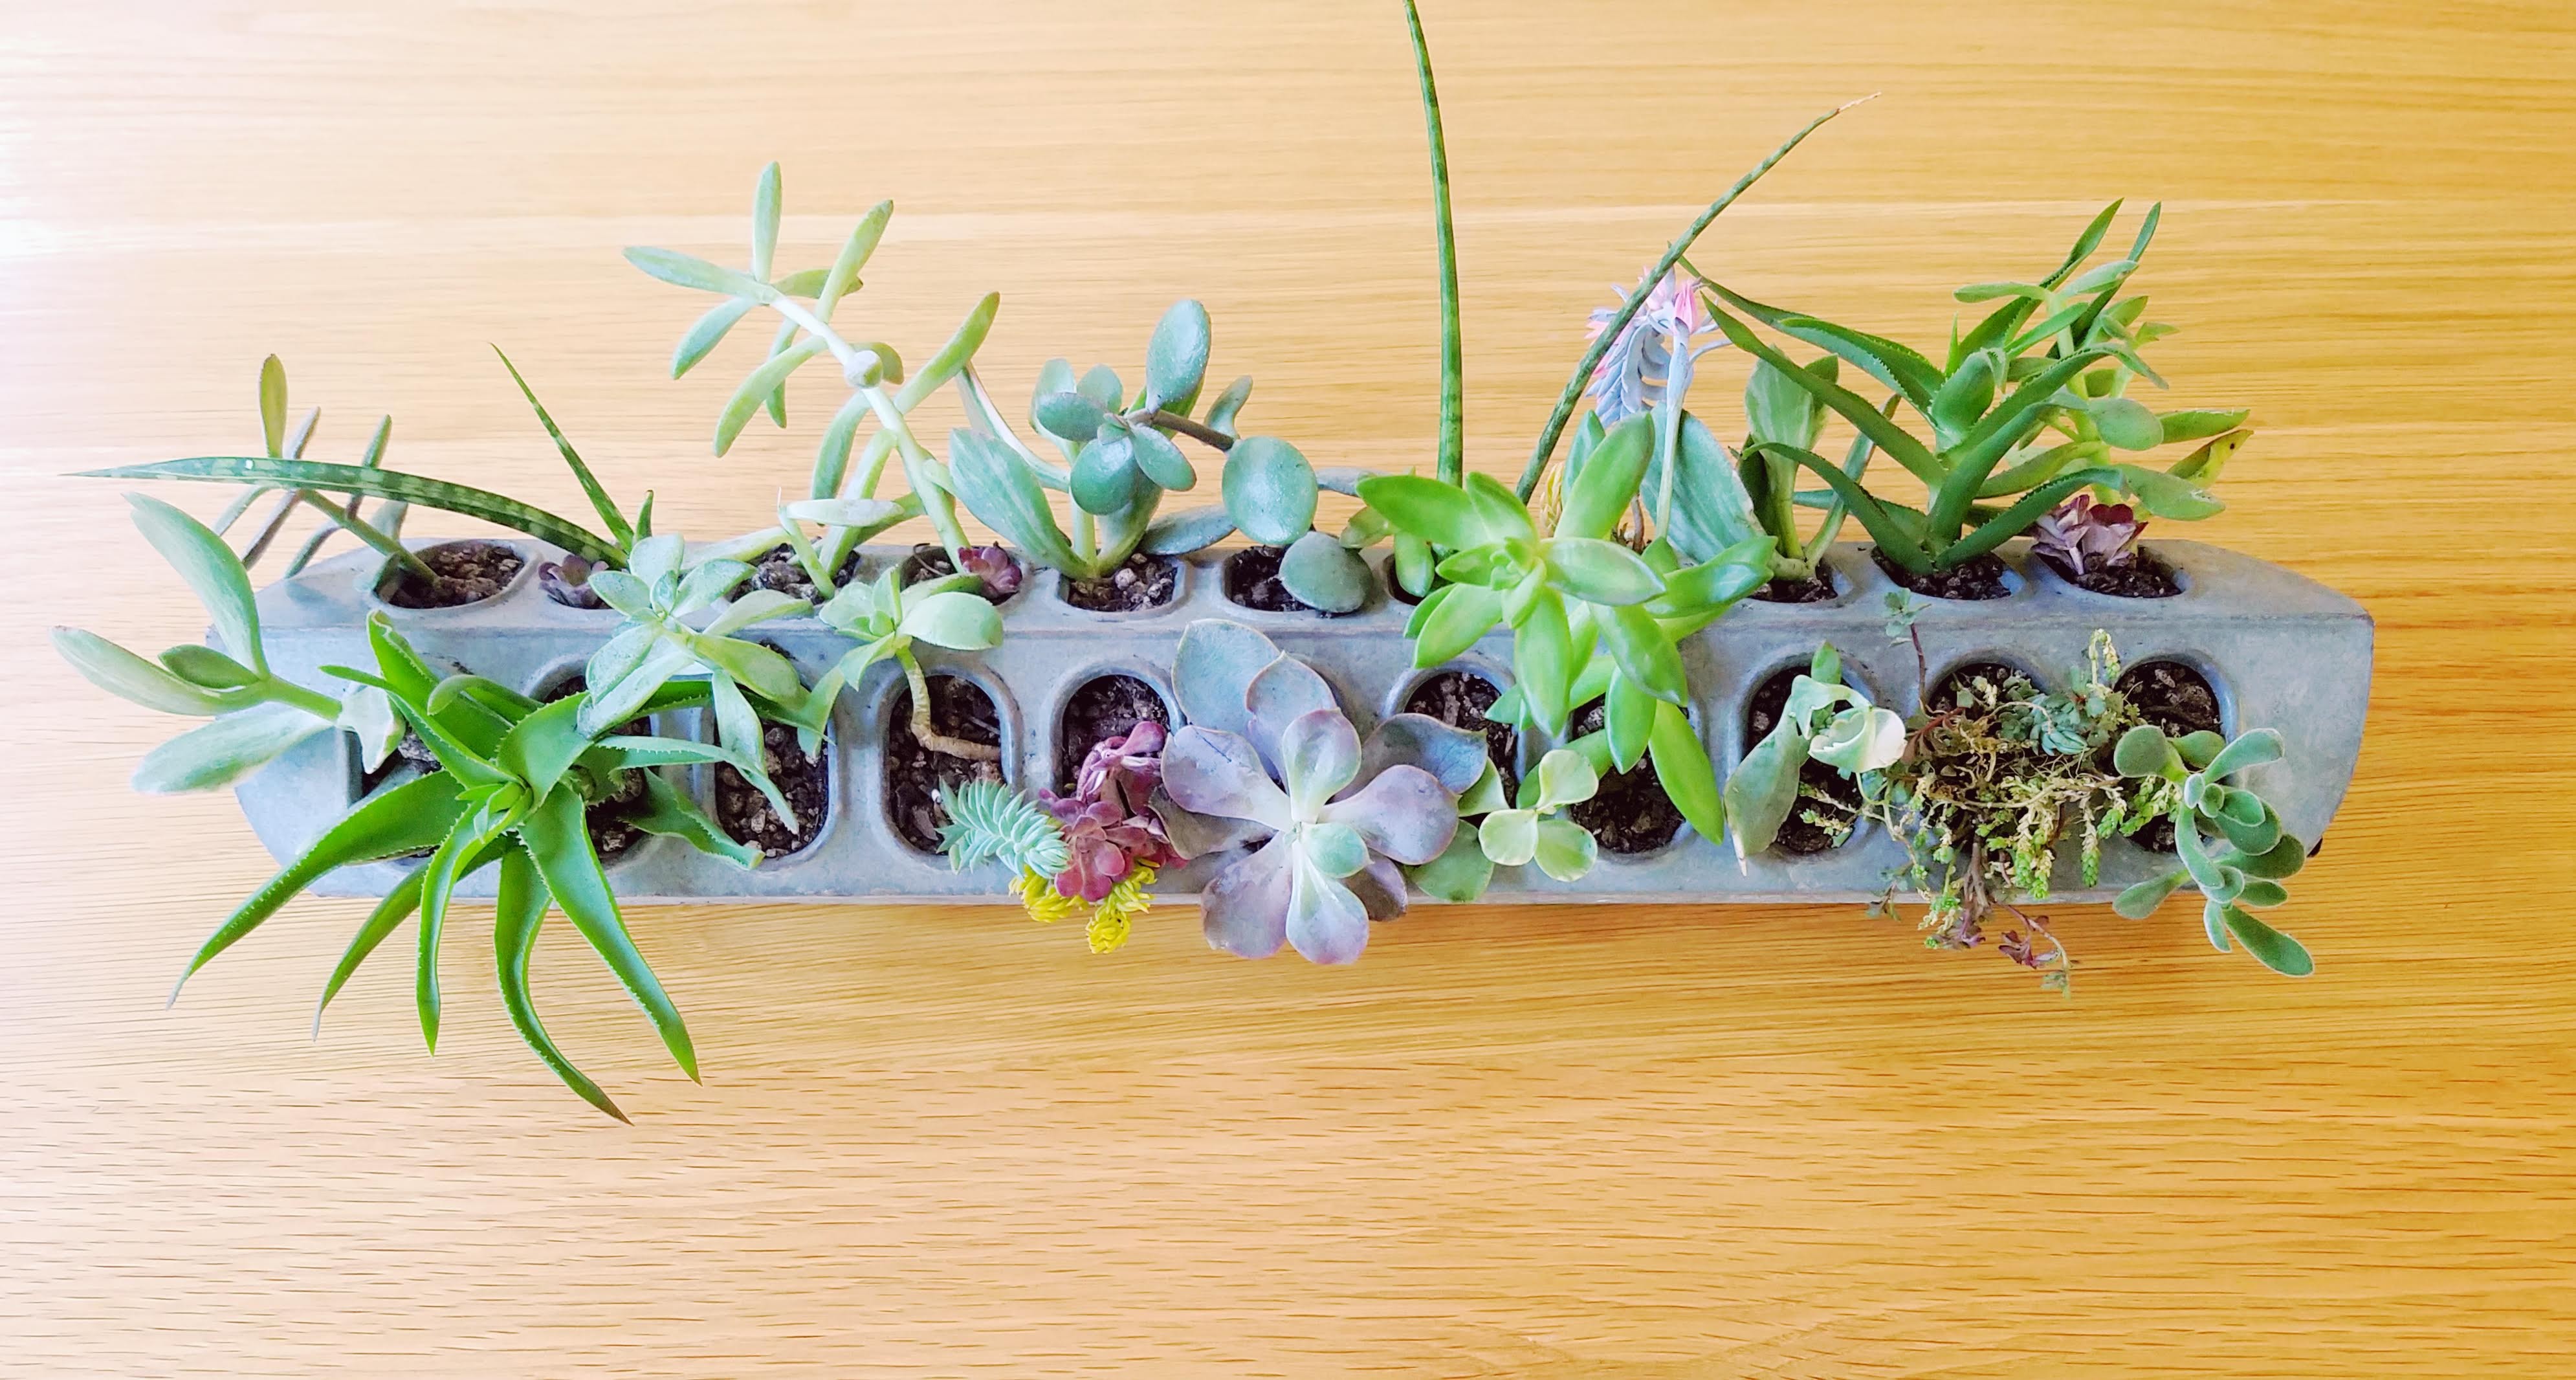
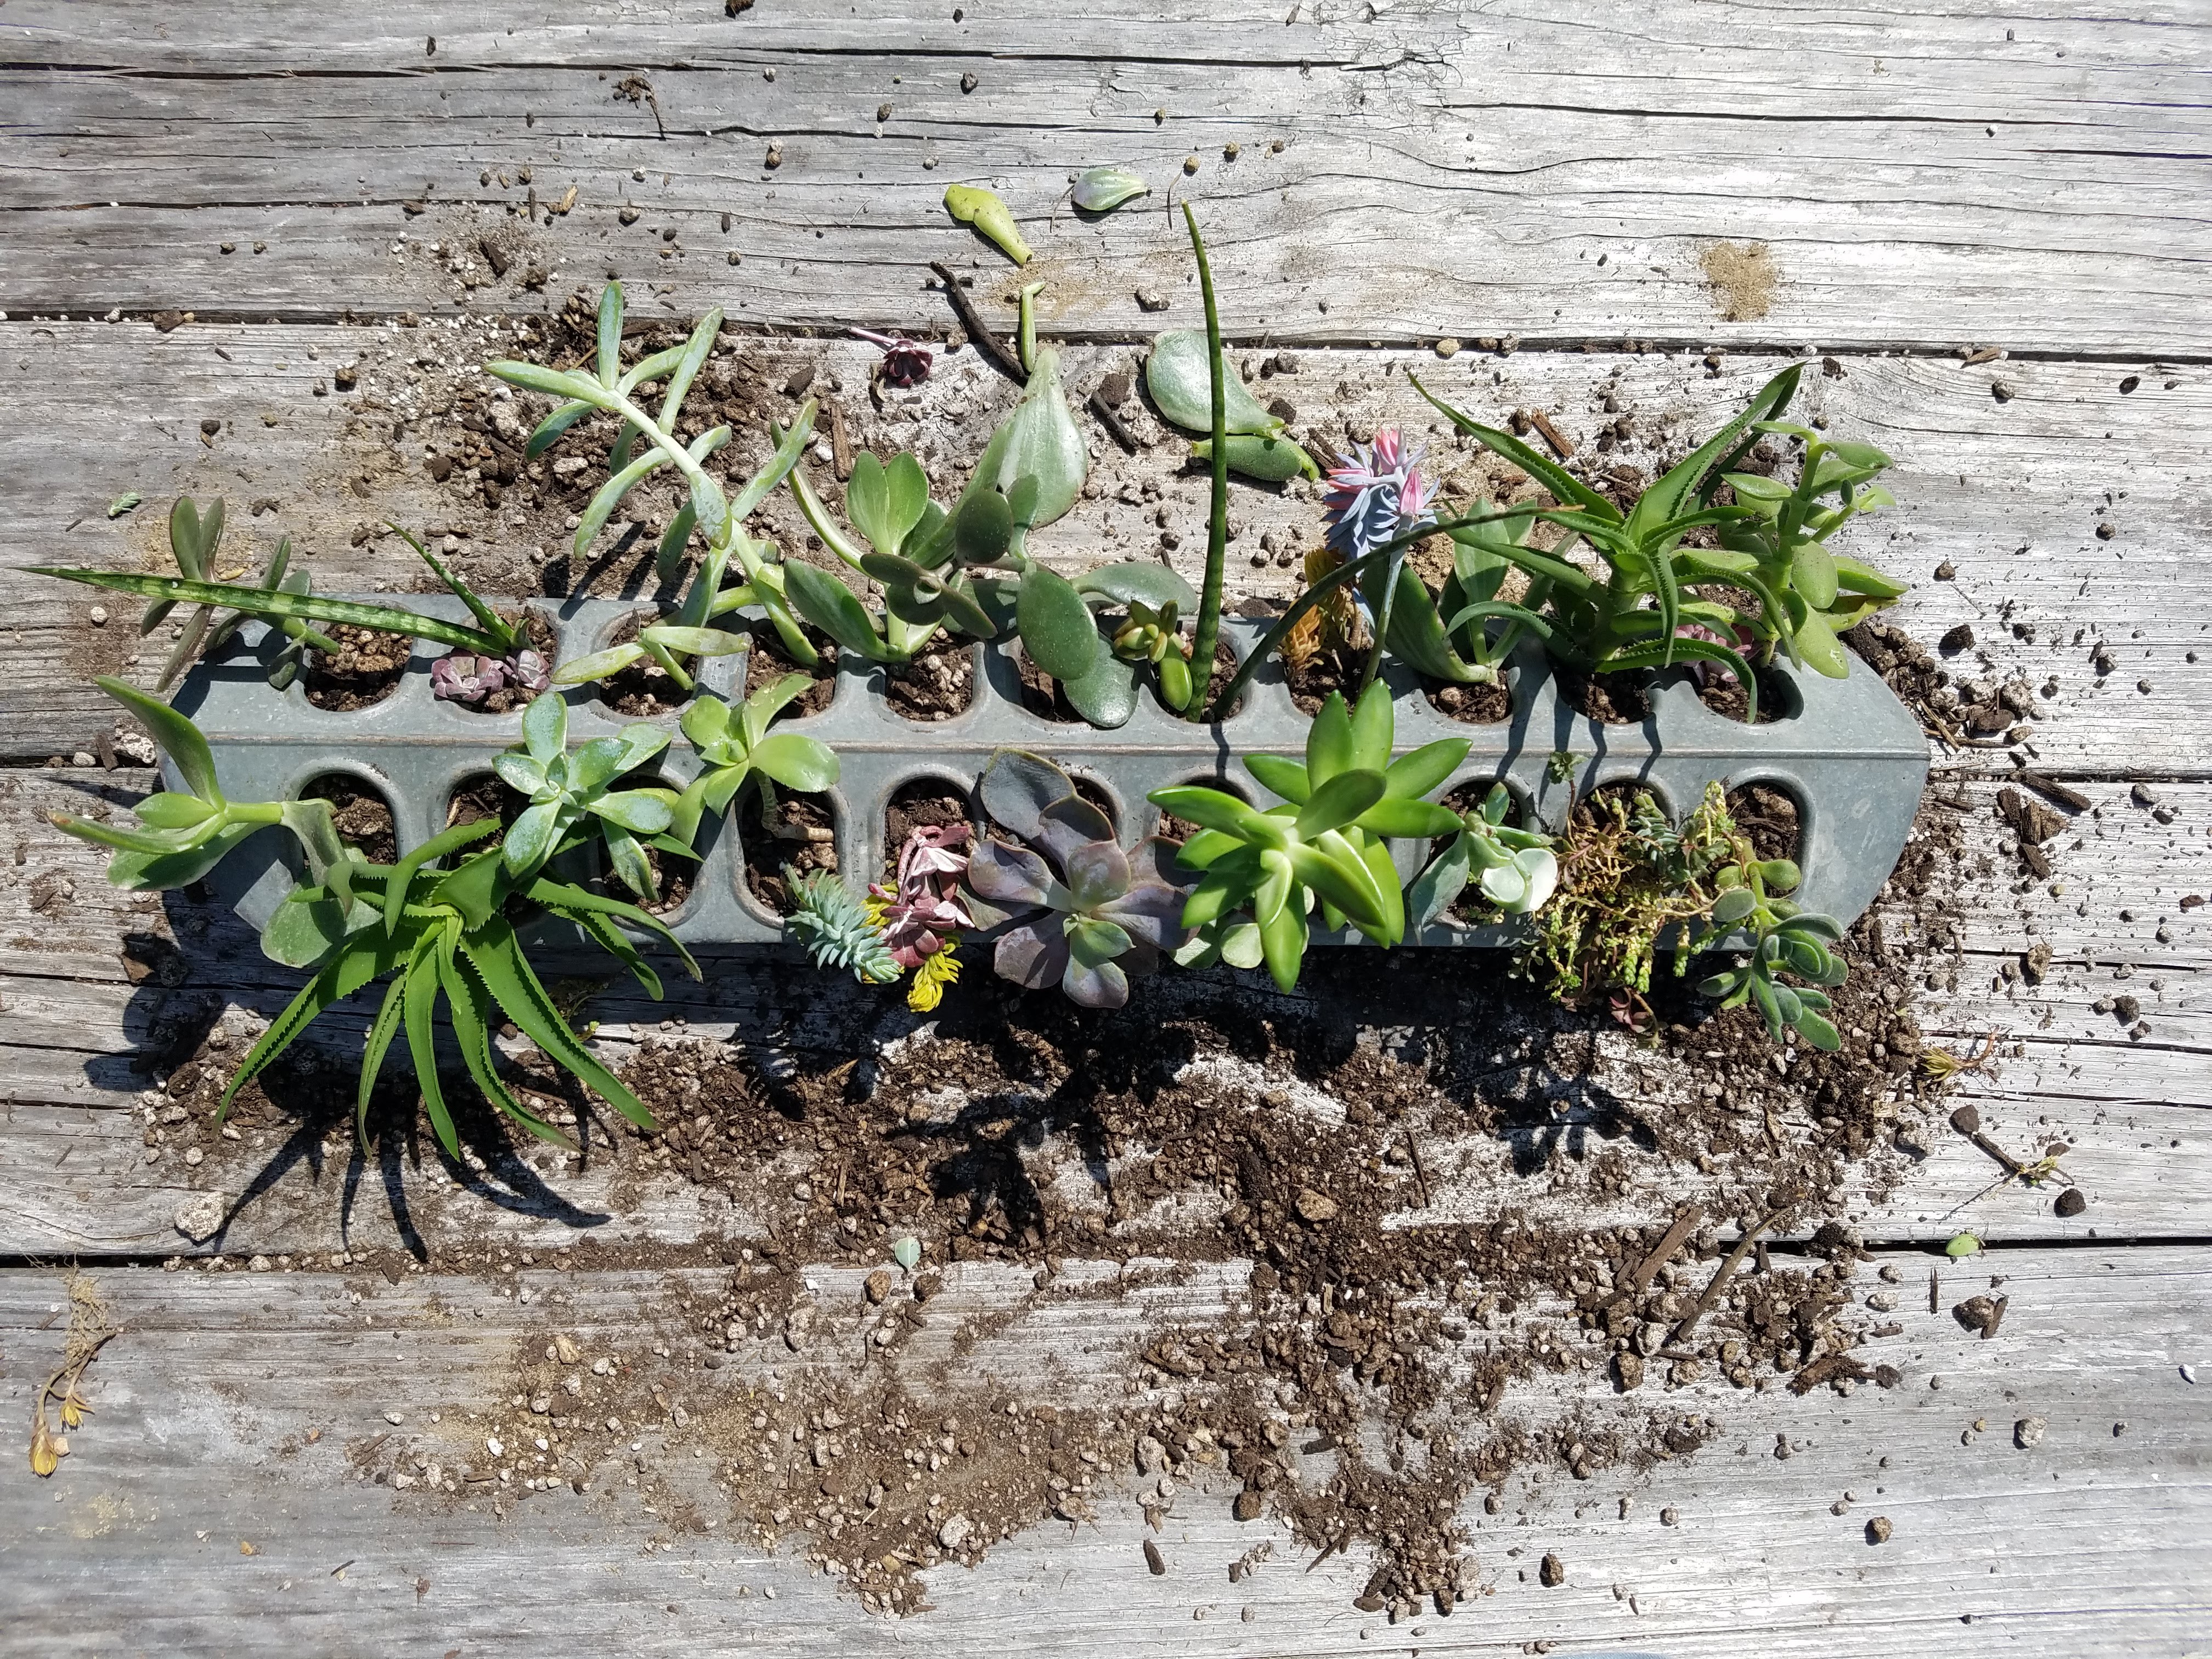
To start my project, I gathered together a bunch of succulents. I bought a few of them, but many of them are cuttings from succulents that I have in our house and yard. I love how easy it is to propagate plants like this. Taking cuttings of plants that I already have makes my plant obsession a lot less expensive. I used a bunch of different things–different types of aloe, sedum, echeveria, etc. I don’t expect all of them to thrive in this environment, but I think that experimenting to see what works and what doesn’t is half the fun of growing plants.
I wanted to use my planter indoors, so I decided not to drill any drainage holes in the bottom. You’ll need to use a well-draining cactus/succulent potting mix, and if you choose to forego drainage holes like I did, be careful not to overwater your plants. I will be watering mine by squirting a pipette into each hole of the planter to avoid overwatering.
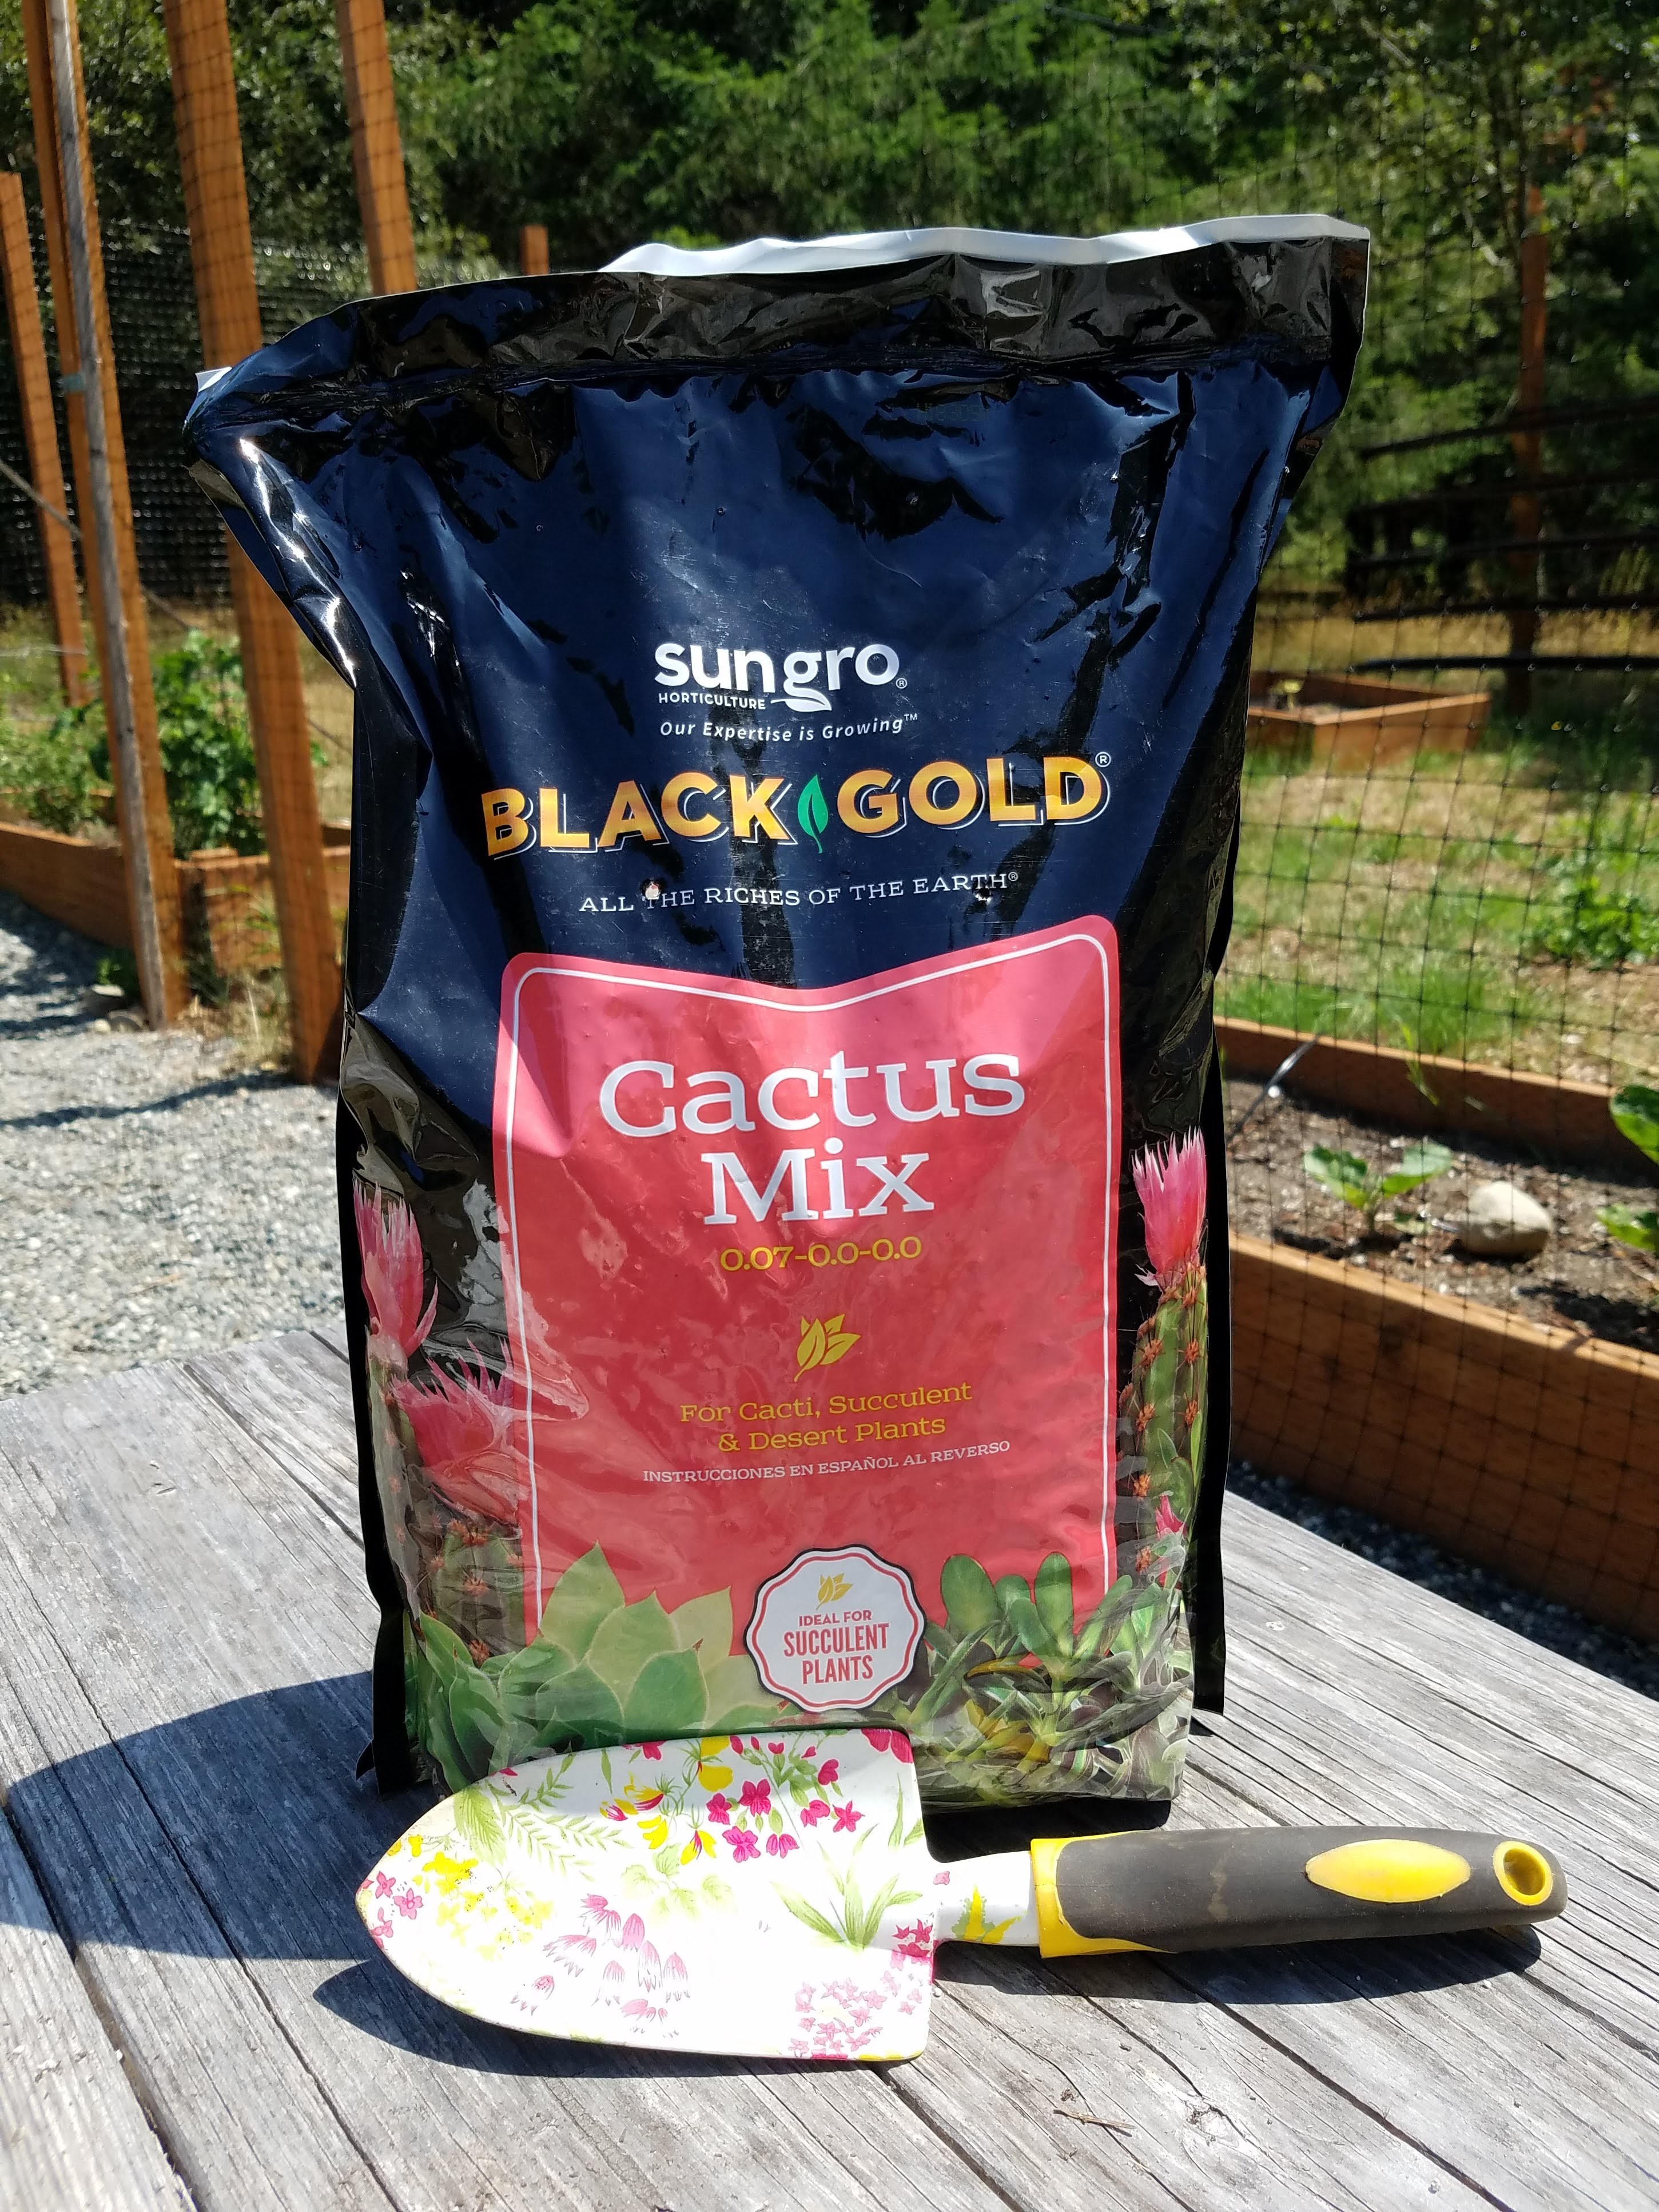
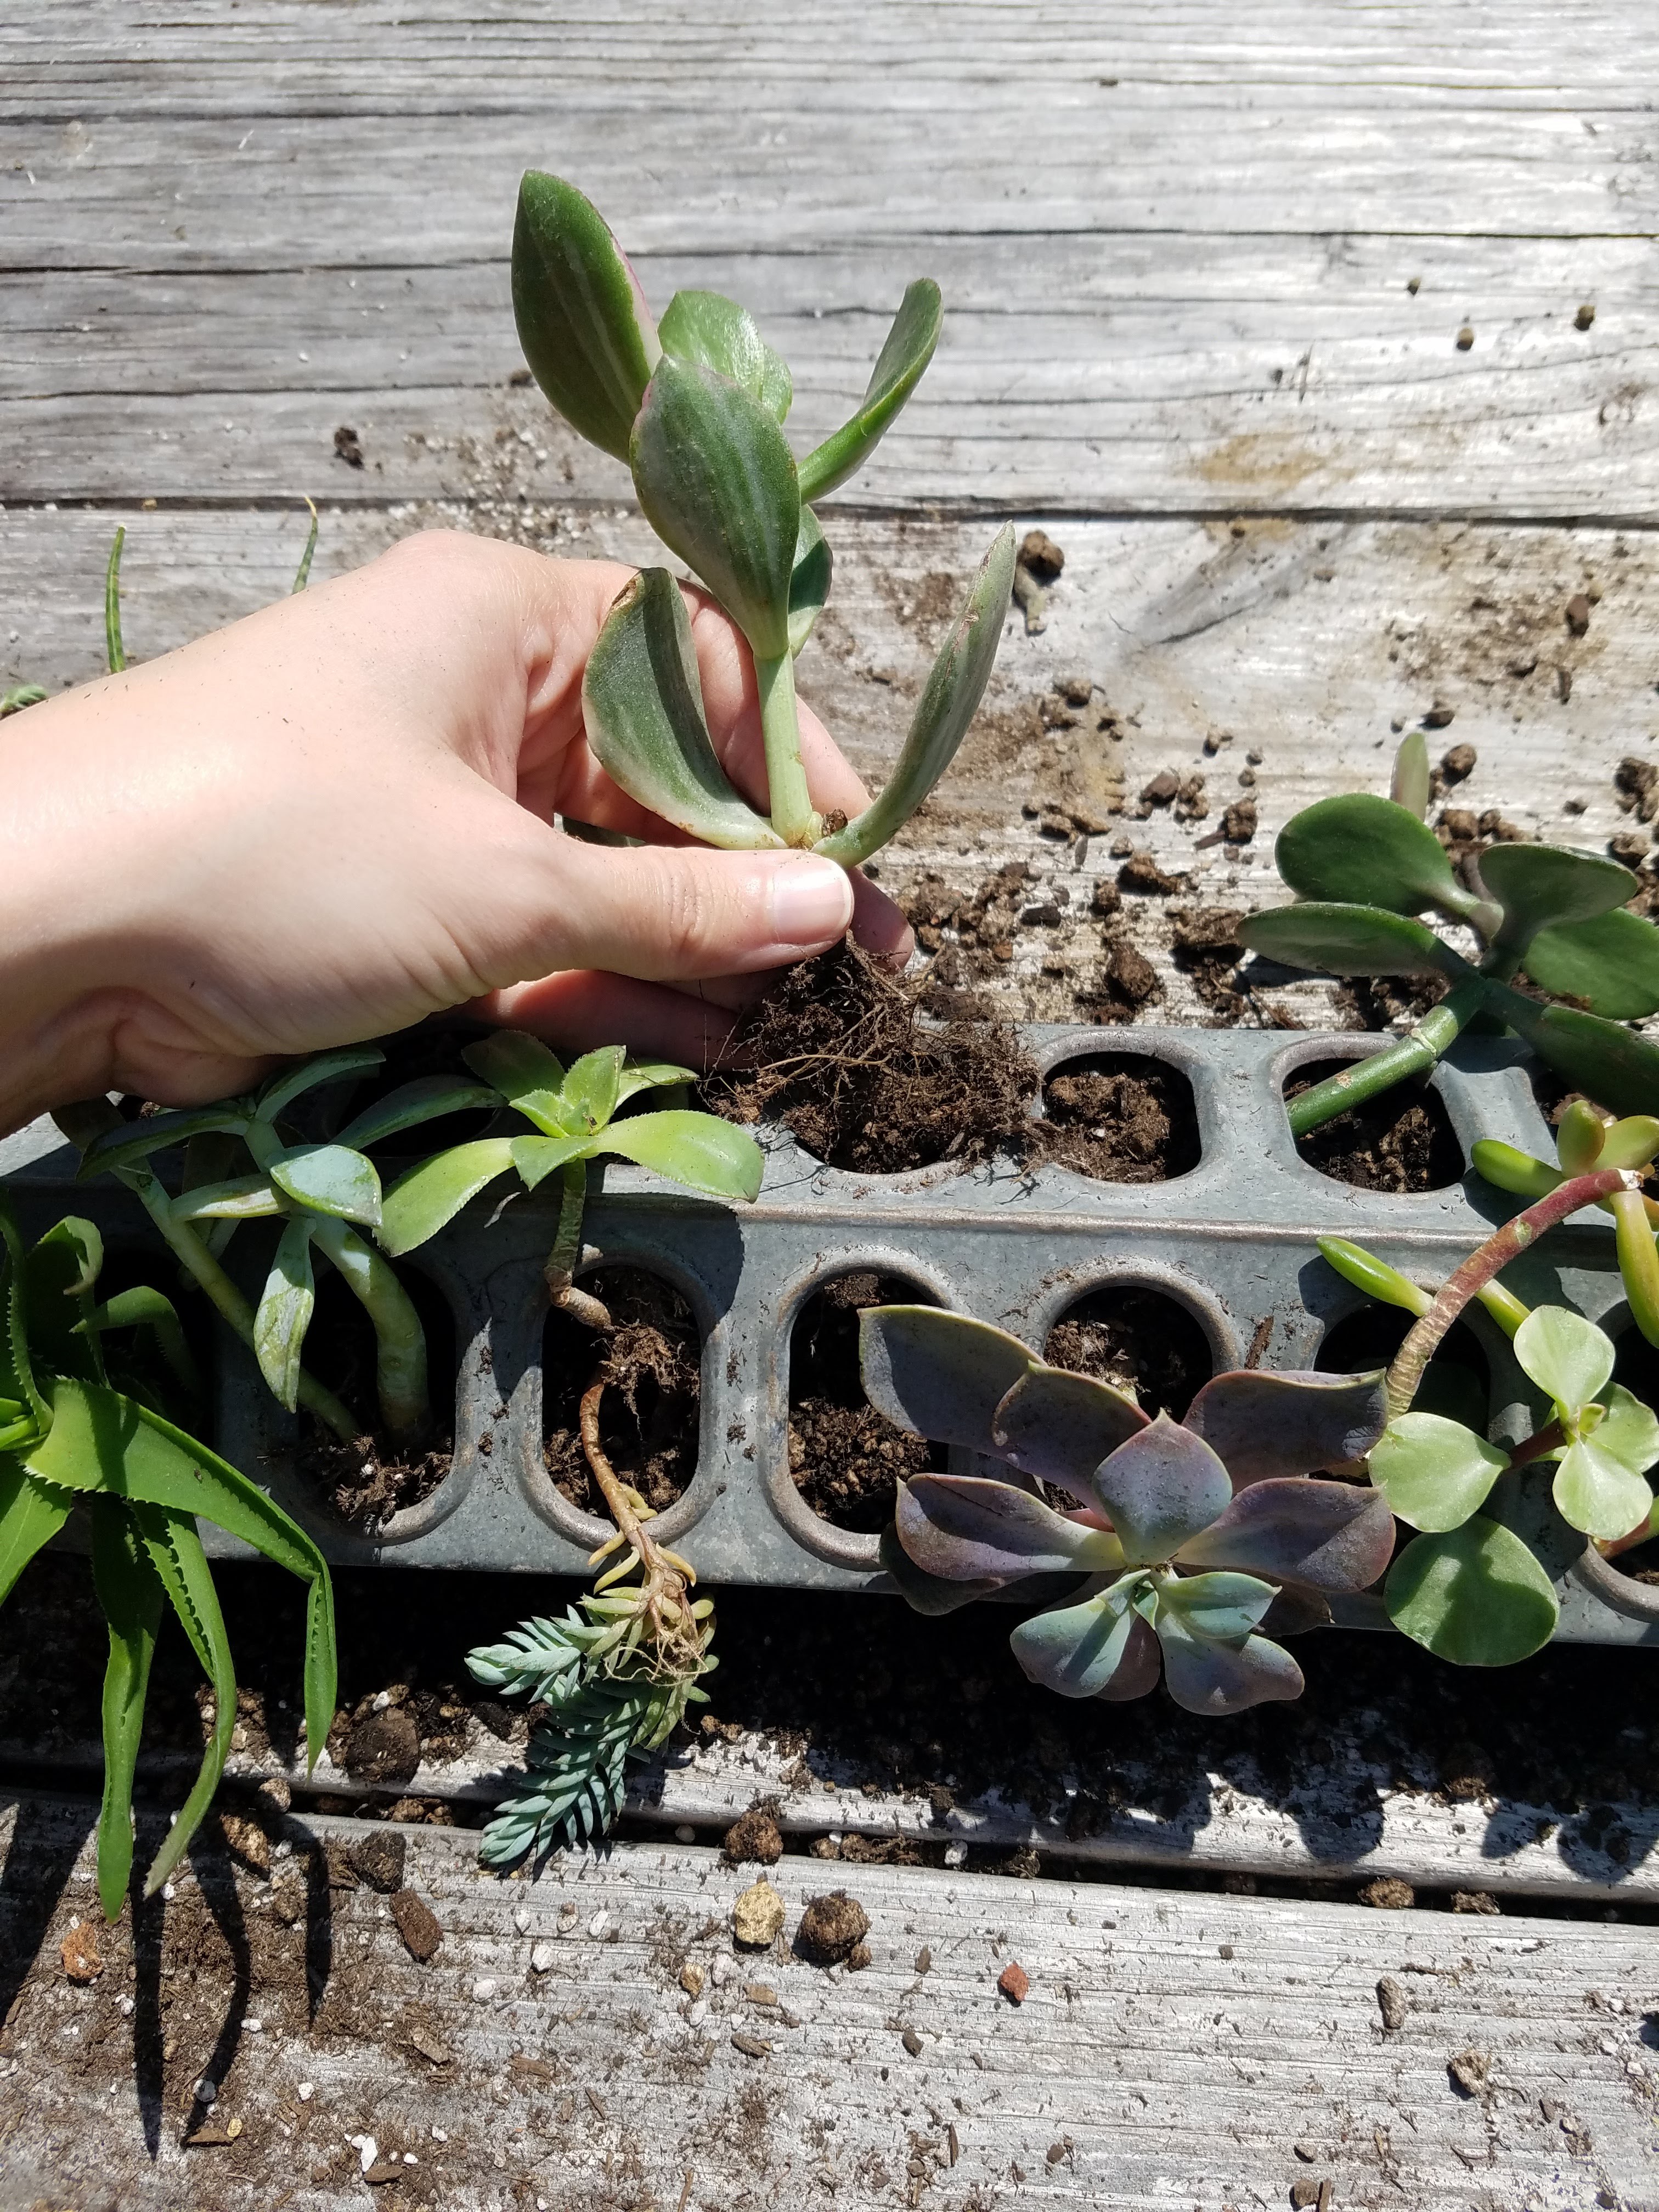
Start by using a trowel to shovel cactus potting soil into the chicken feeder. Fill the feeder up about halfway and then lightly tuck your succulents into the holes and fiddle with the placement until you like the arrangement. Once you’ve settled on the placement, plant your succulents. One by one, place the succulent’s roots into its hole and pour some more soil into the hole around the plant. Use your fingers to compact the soil around the stem as much as possible so that it is firmly rooted and stands up straight.
Did I mention that this is a messy project? It’s definitely best to tackle this one outdoors!
When you’re done planting, brush excess soil off the planter and carefully water the plants using a pipette or a watering can with a very narrow spout. Remember not to overwater, and allow your garden to dry out well between waterings. This should keep your succulents from turning brown at the tips. Find a spot for your succulent garden next to a sunny window.
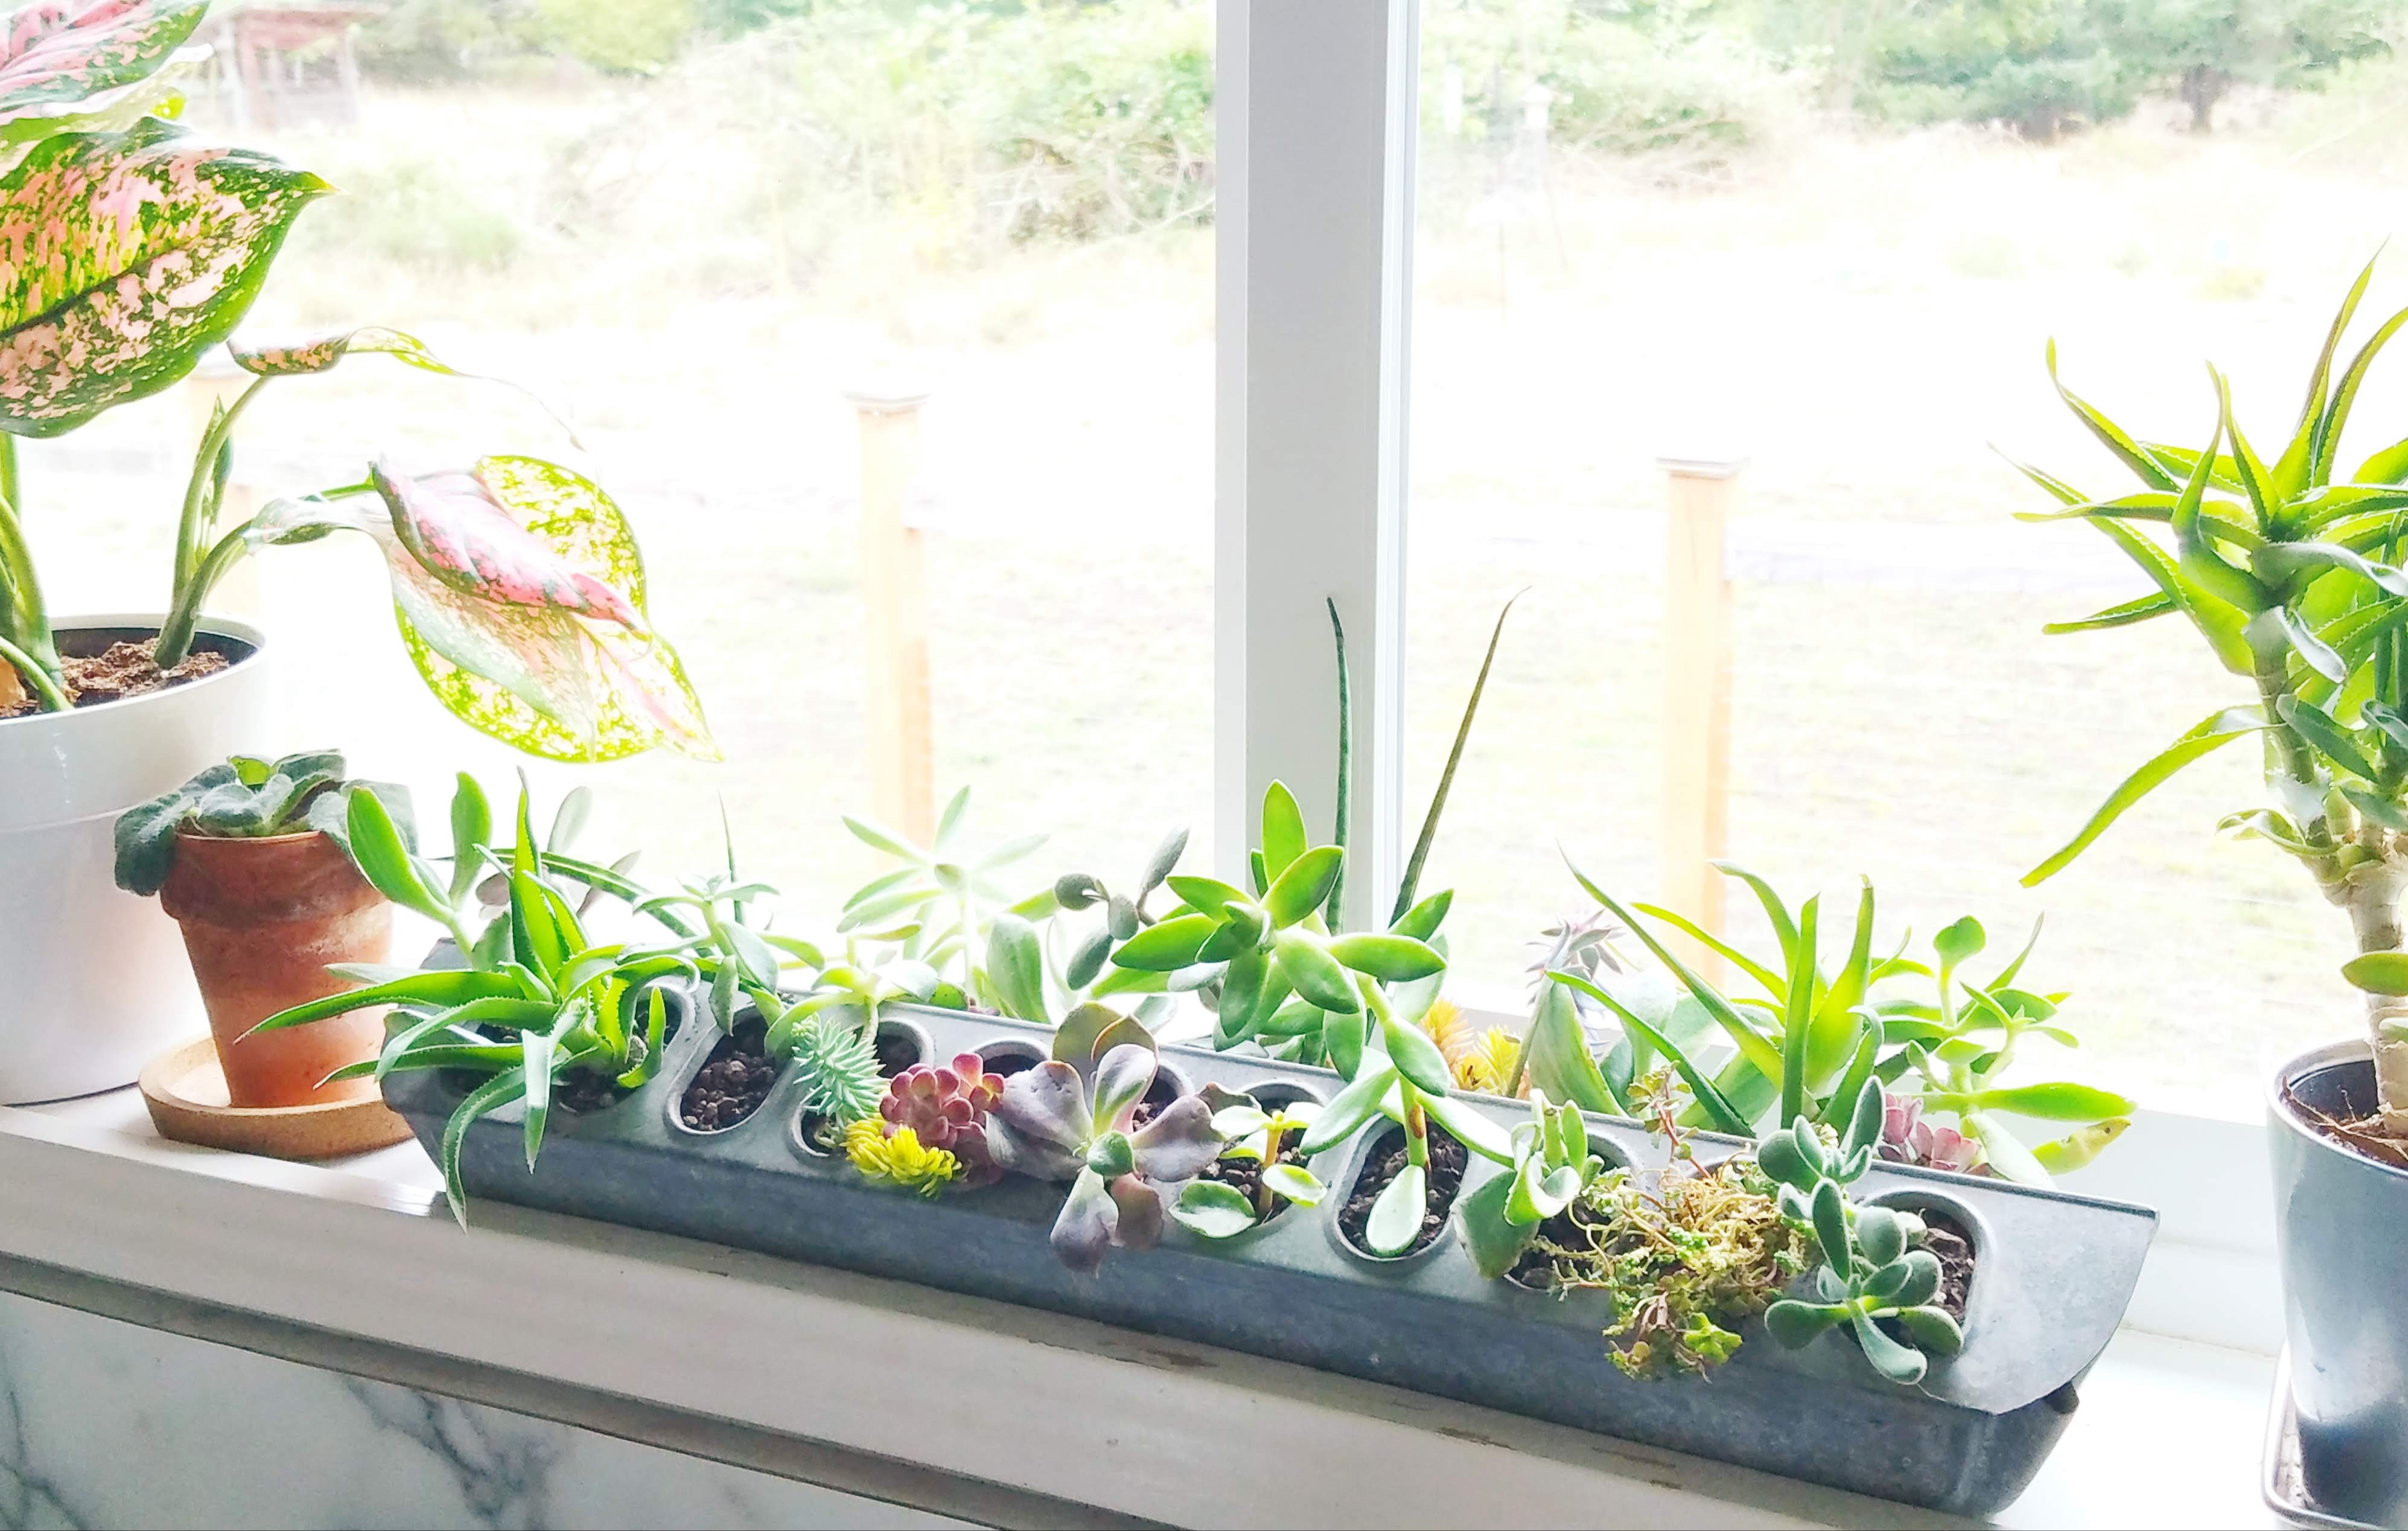
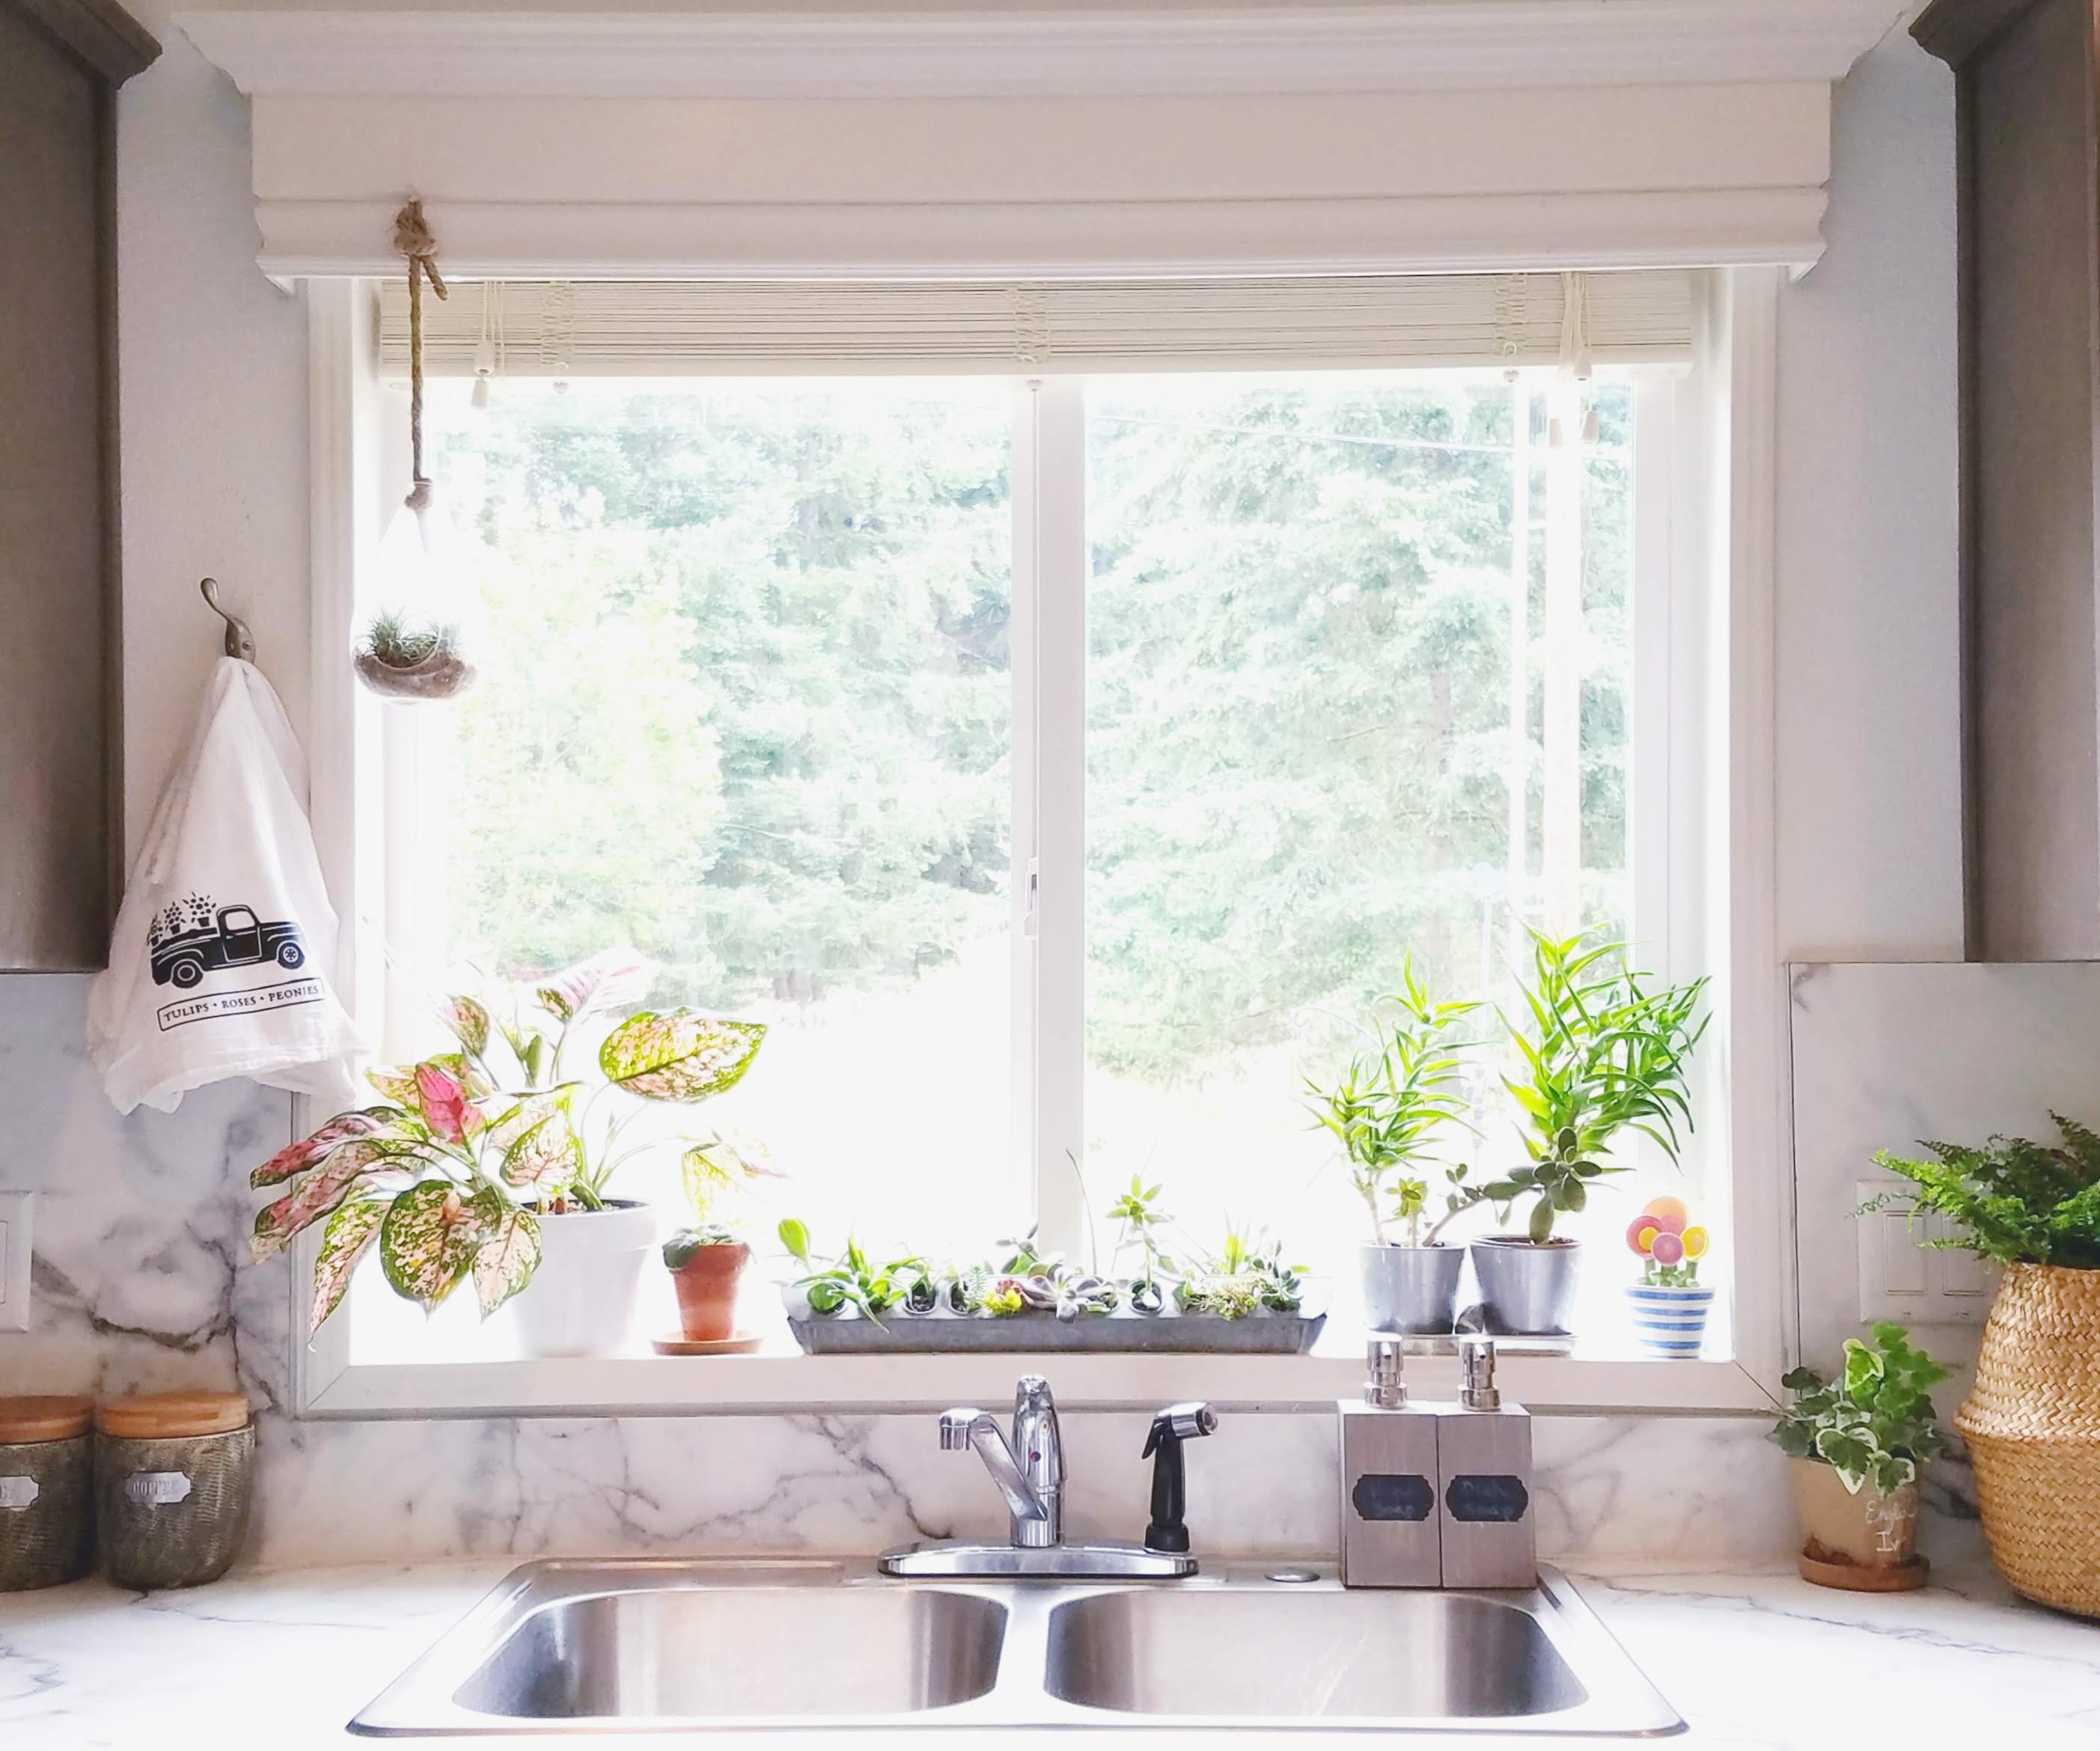
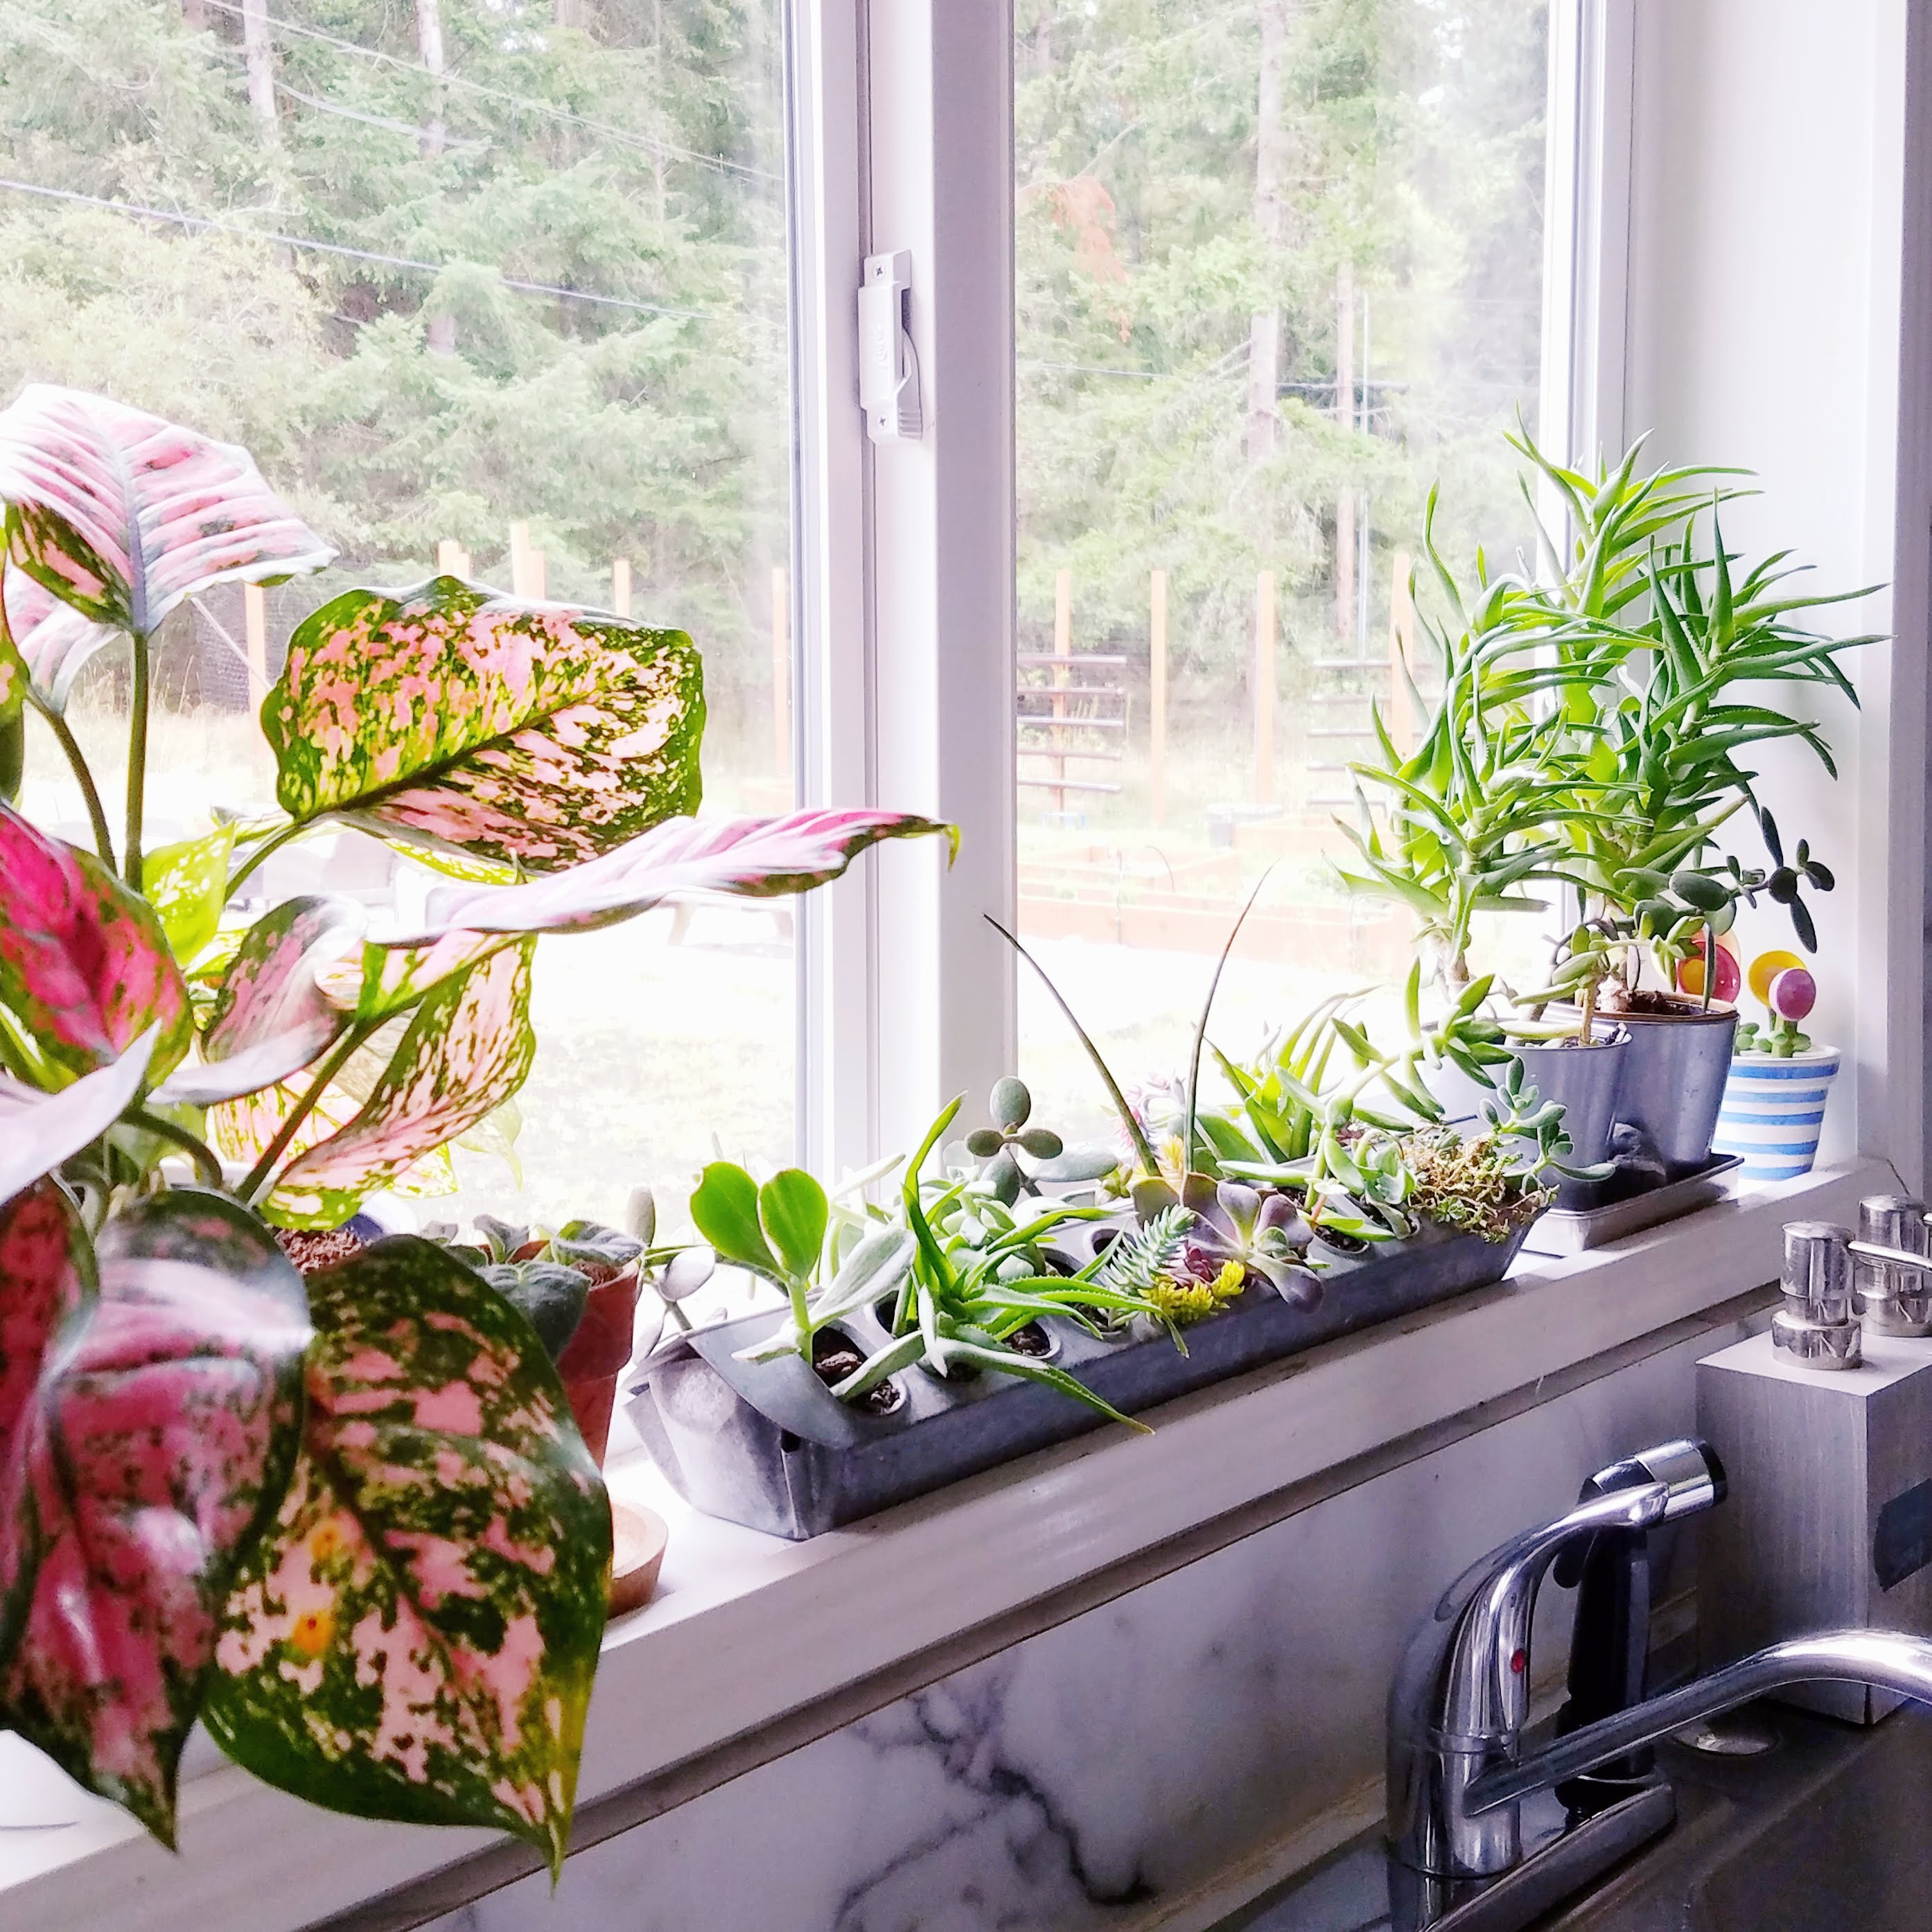
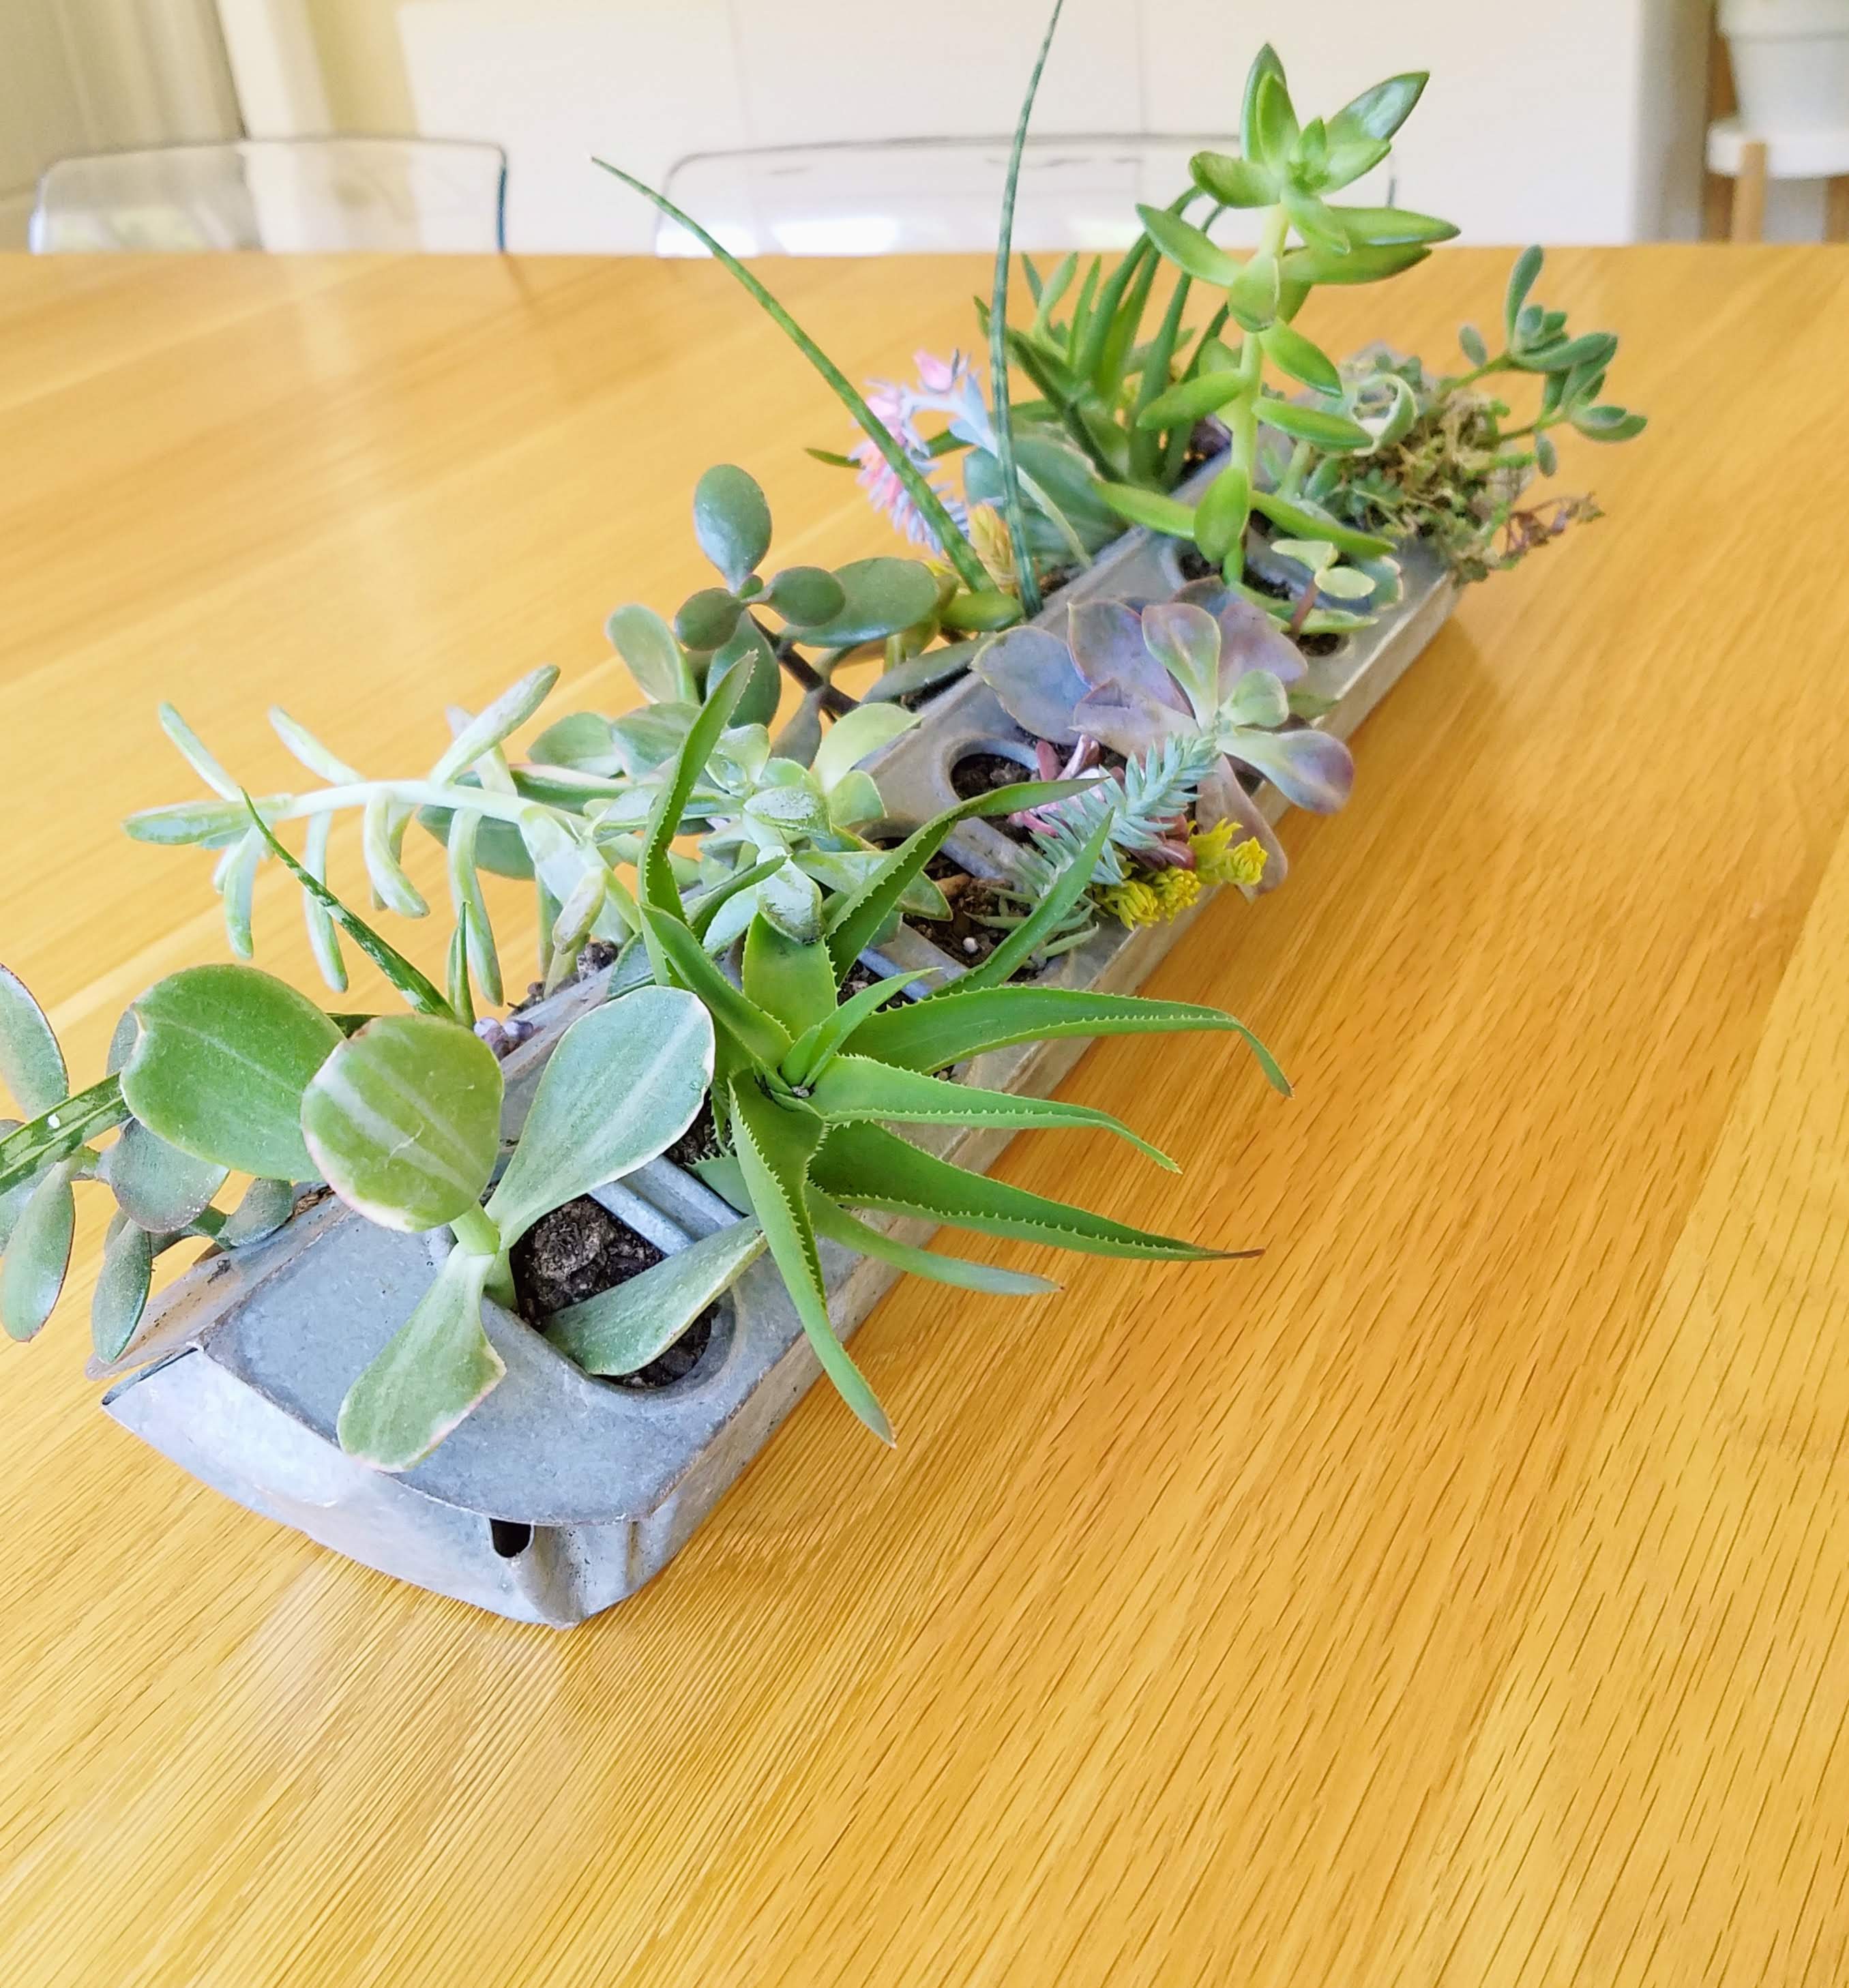
I put my succulent garden in my kitchen window– because of the long, narrow shape, it fits perfectly on a windowsill. My window is getting pretty full of plants, though… I think I might need to install a plant shelf soon! I hope you’ve been inspired to make a cute little succulent garden of your own… happy planting ❤