Cooler weather and rainy days have me hankering for some fall craft projects. On a dreary day, there’s nothing I’d rather do than get out some paint, make a cup of tea and curl up at our big dining room table to see what I can make. I love to make seasonal banners– I think they’re so festive and cheerful. Sometimes I use felt or fabric, but for this rustic fall banner I decided to use watercolors to create some abstract pumpkins and apples. This is a fun and easy project that can be finished in a single afternoon, and would be fun for family members of all ages.
Supplies and Tools:
Several sheets of watercolor paper or thick white card stock
Watercolor paints in red, orange, yellow, and green
Coarse sea salt
Twine or yarn
White gel pen and a black marker
Paintbrushes
Pencil
Scissors
Hole Punch
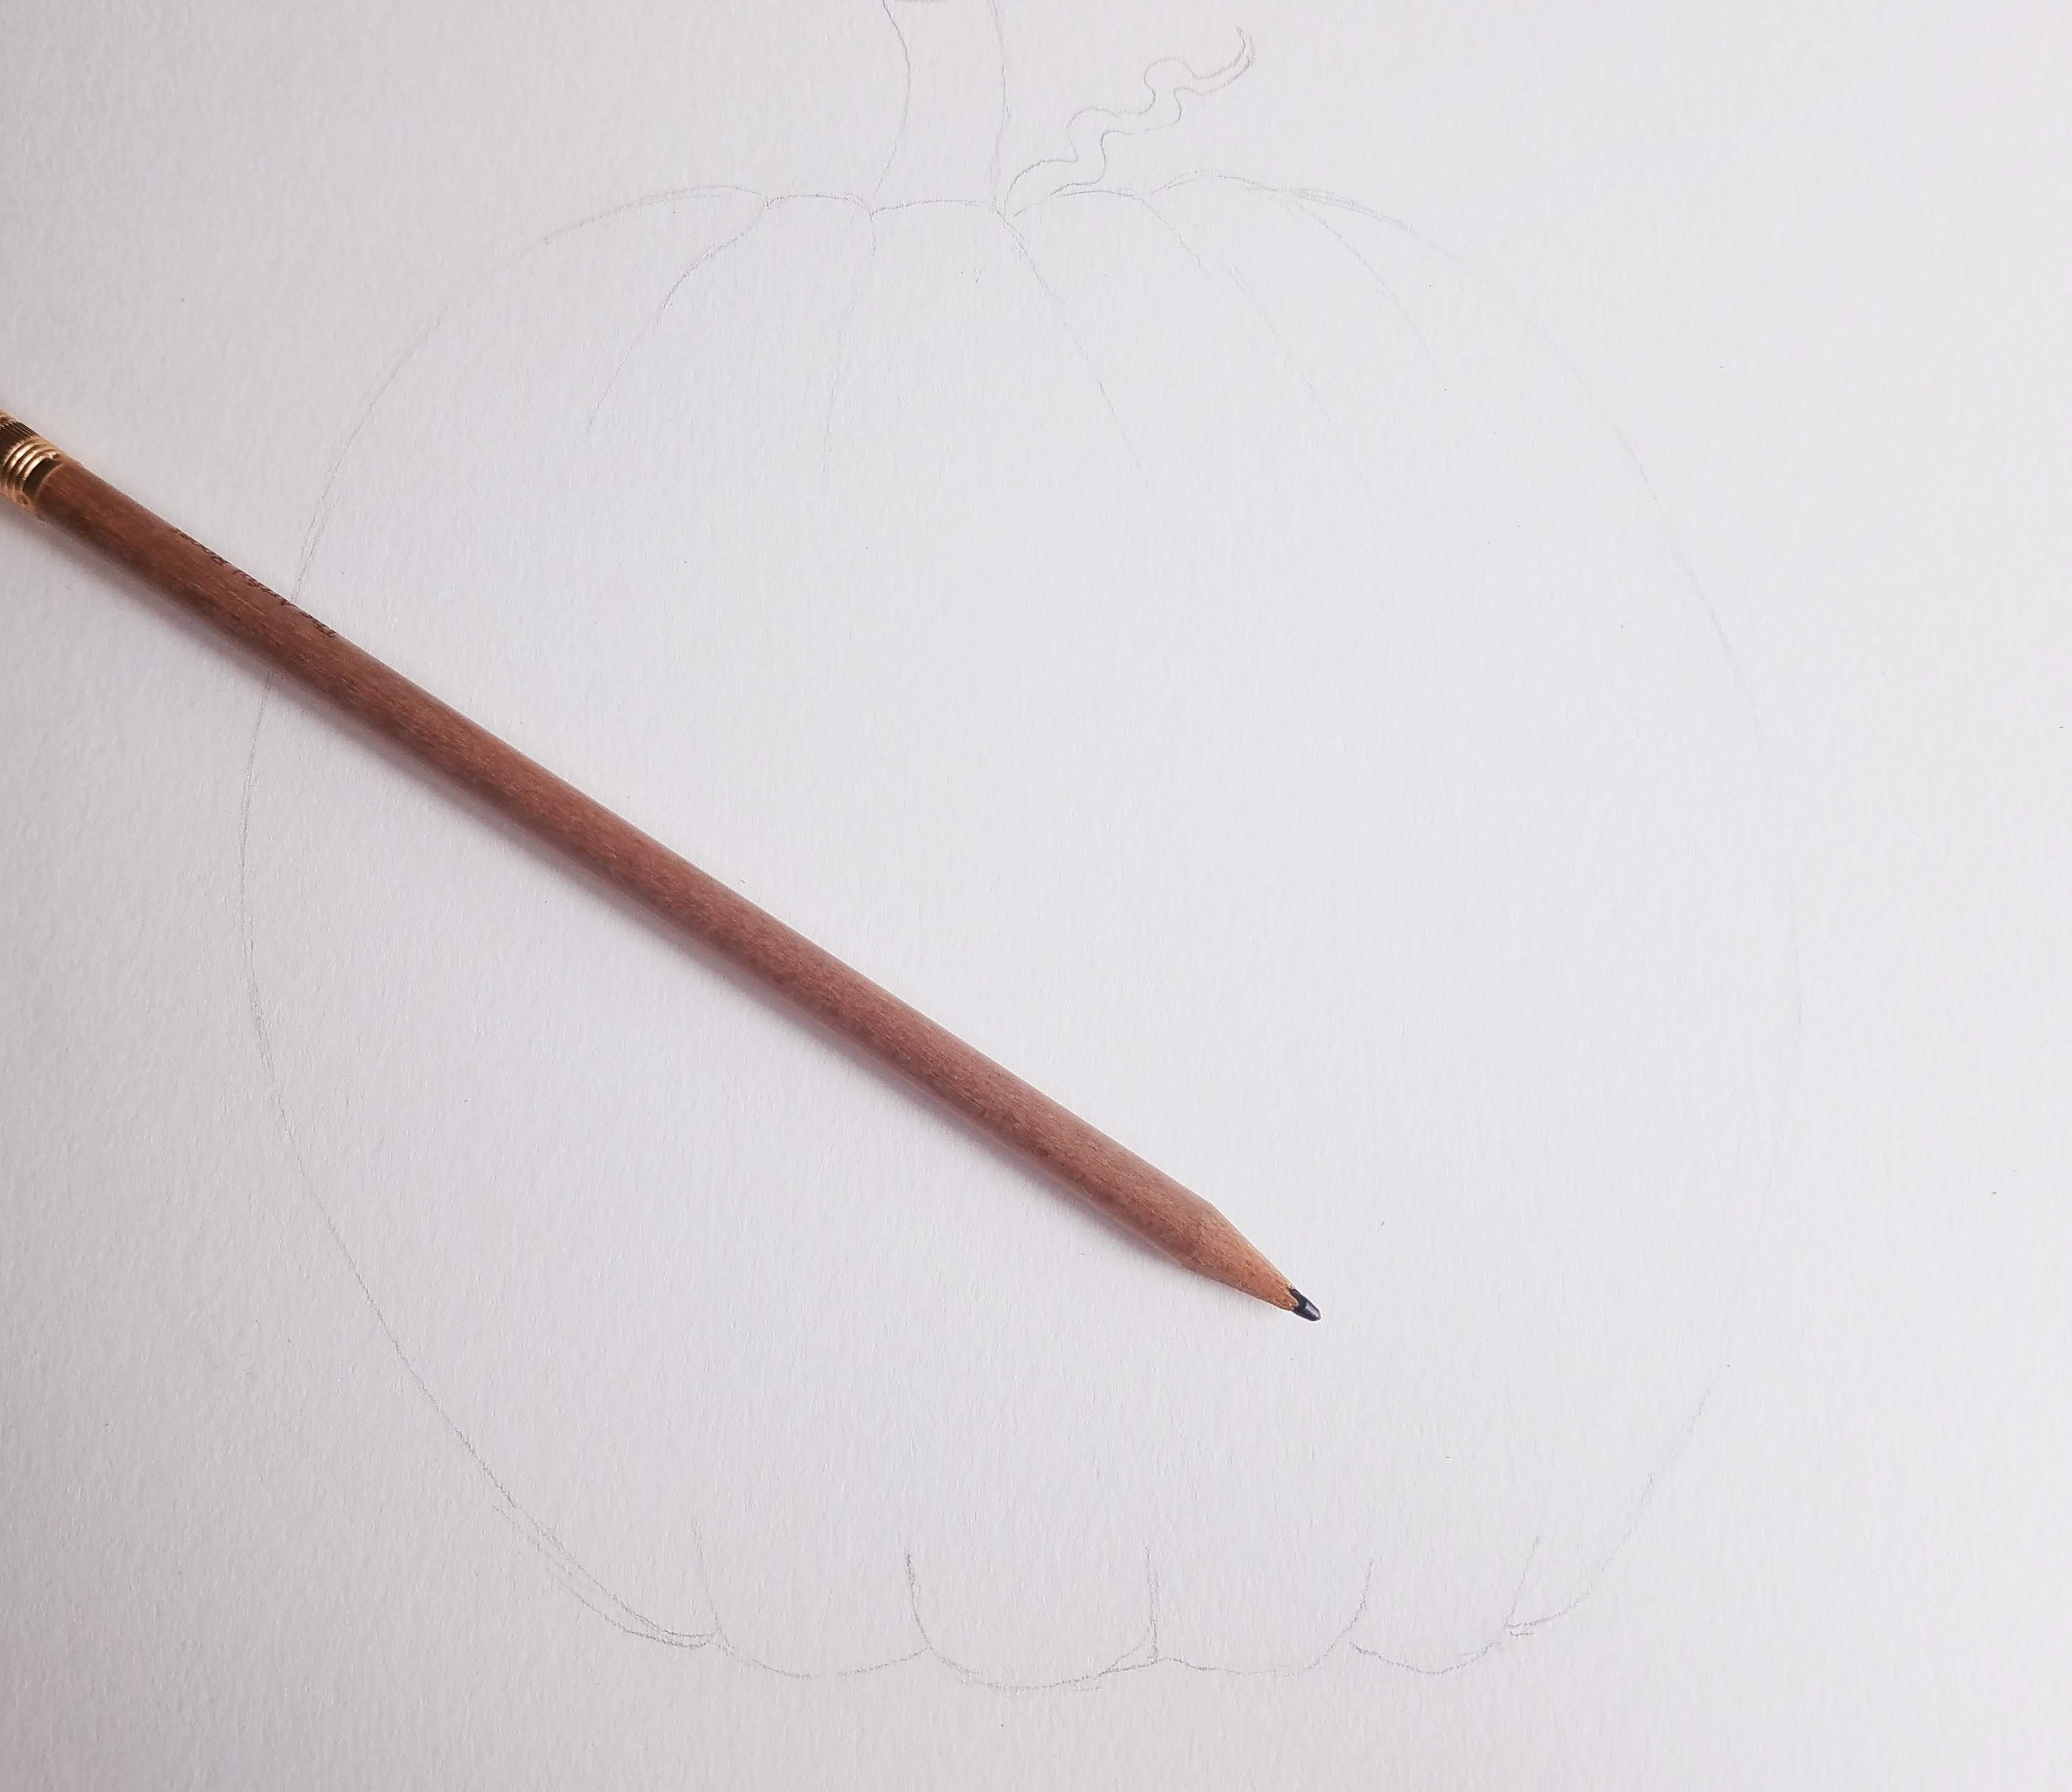
First, use a pencil to lightly sketch out your pumpkins and apples on watercolor paper. Try to use light pencil marks so that the pencil won’t show through the paint.

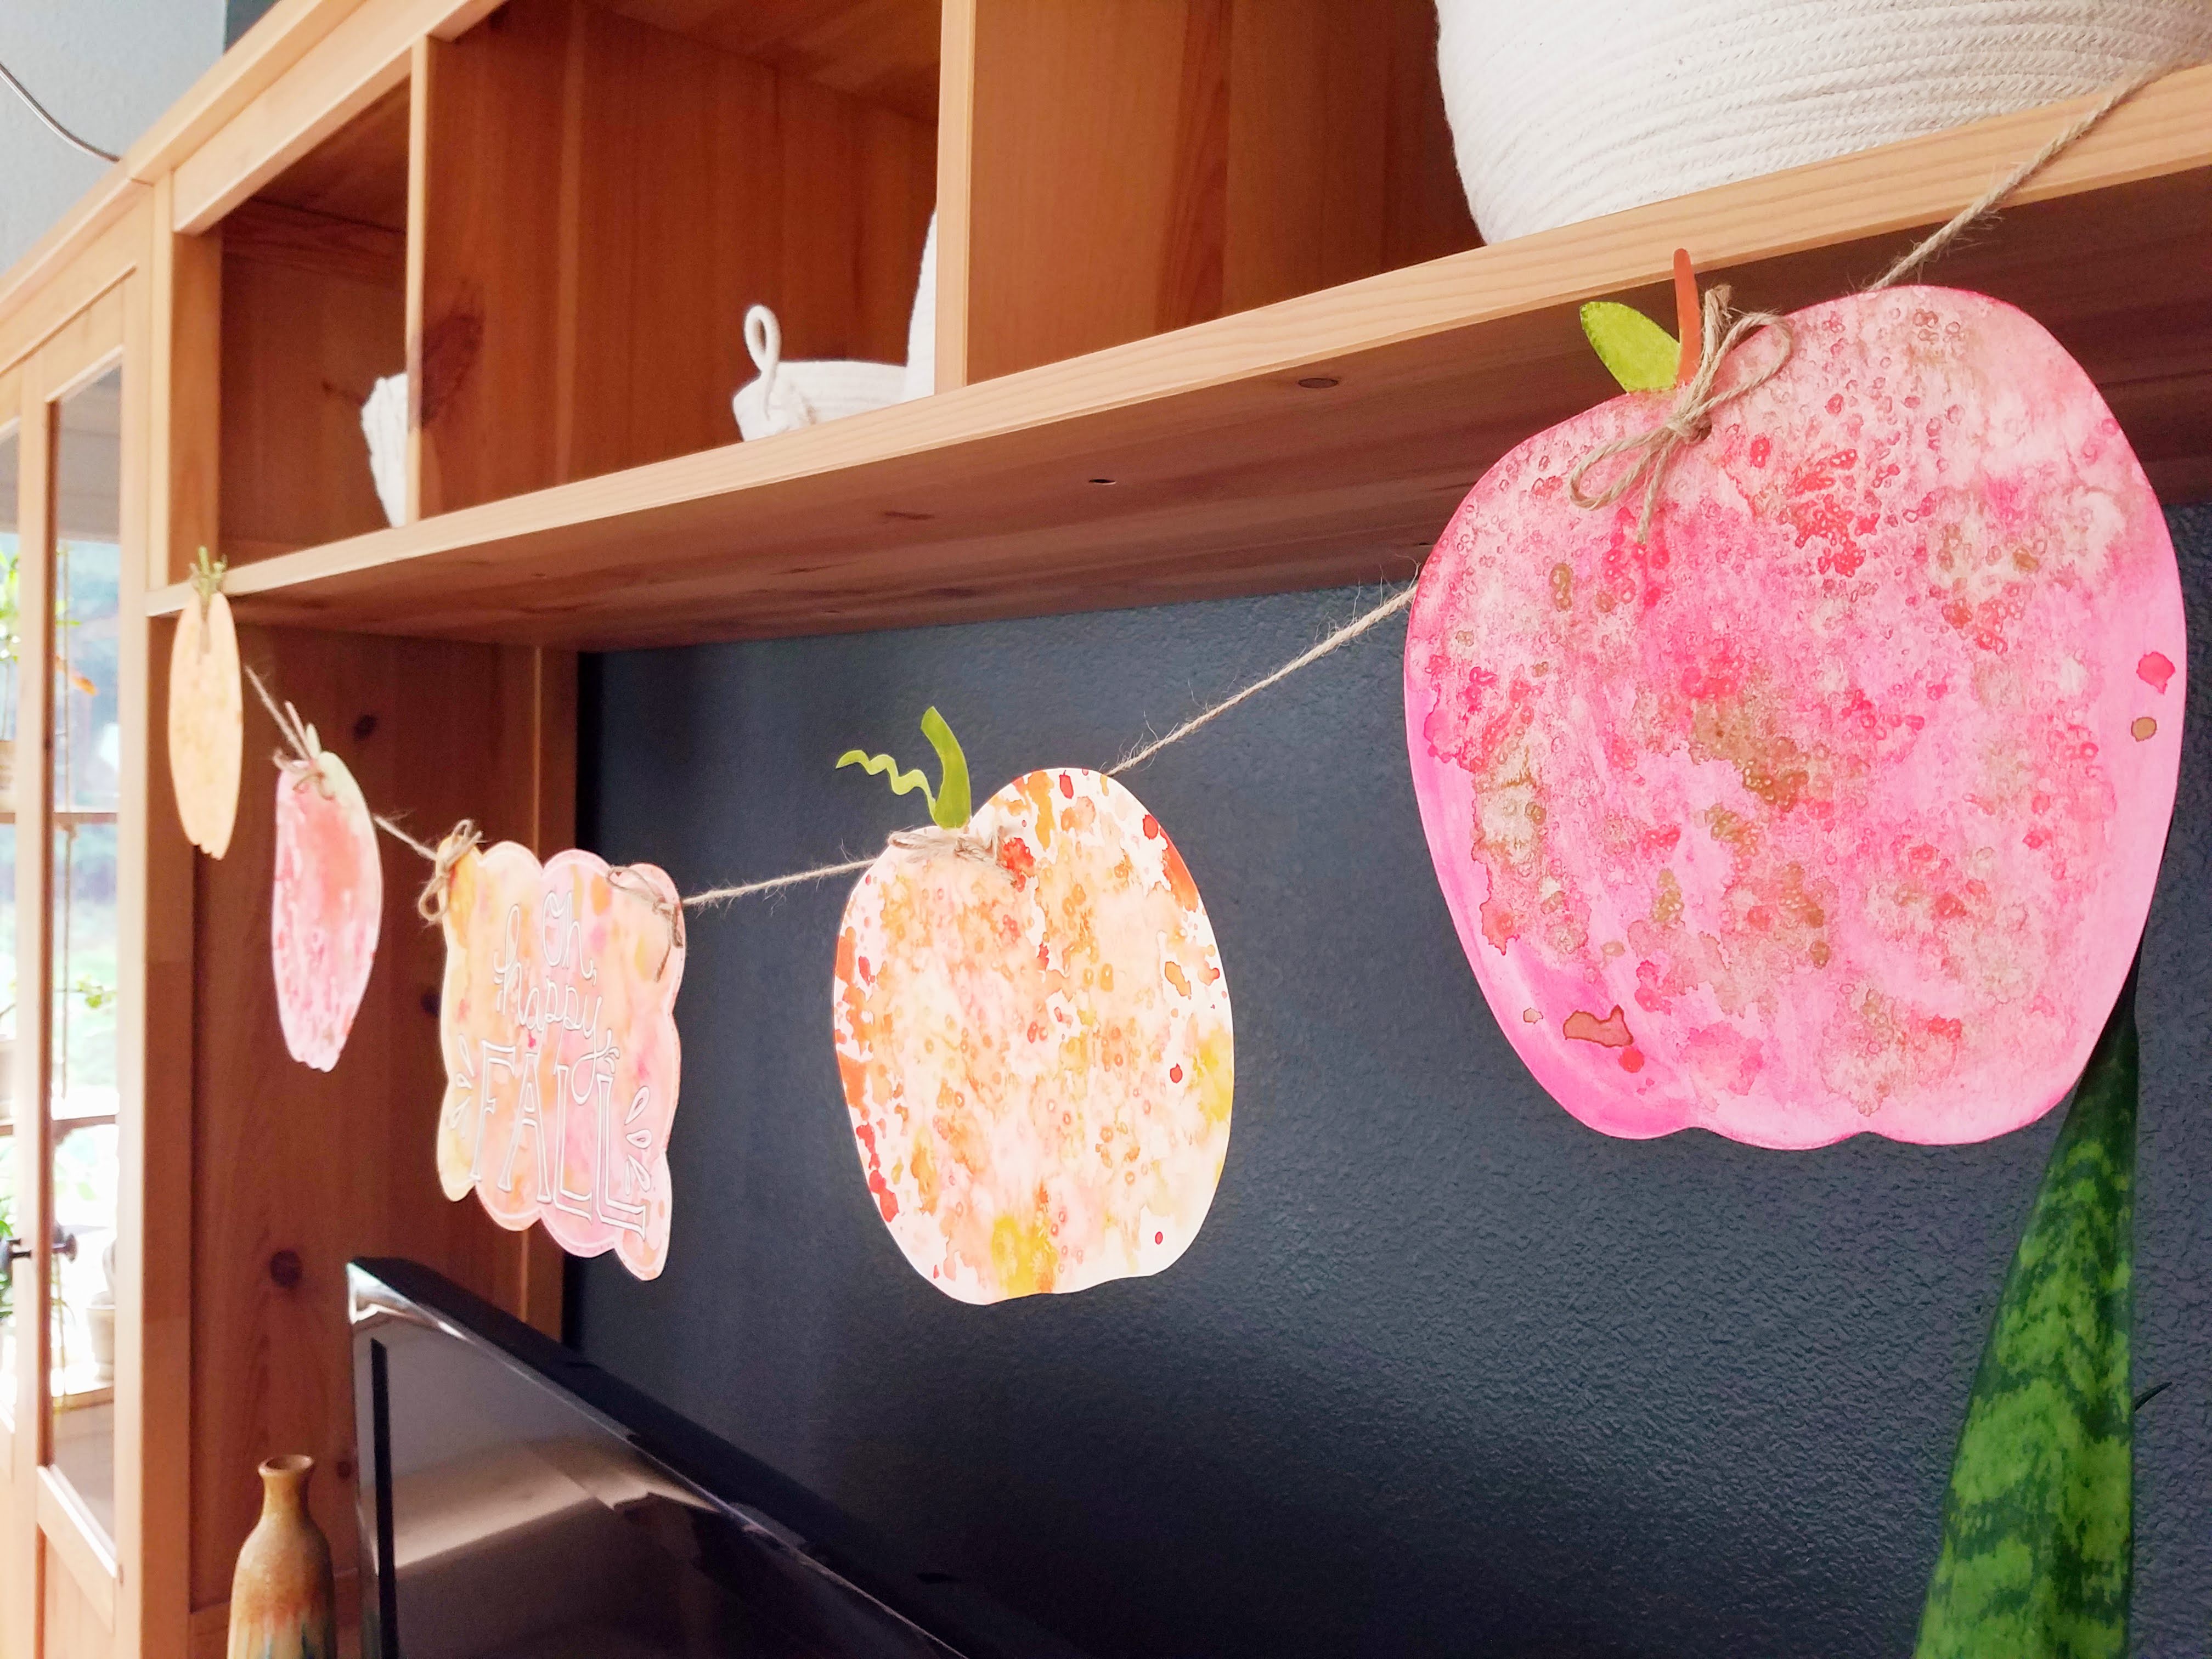
To paint your apples and pumpkins, fill in the object with a solid color, and then, while the paint is still wet, drop some splashes of coordinating colors of paint on top. It is supposed to be very abstract, so have fun with it. If kids are participating, it might be good to do the splattering part of the project outside!
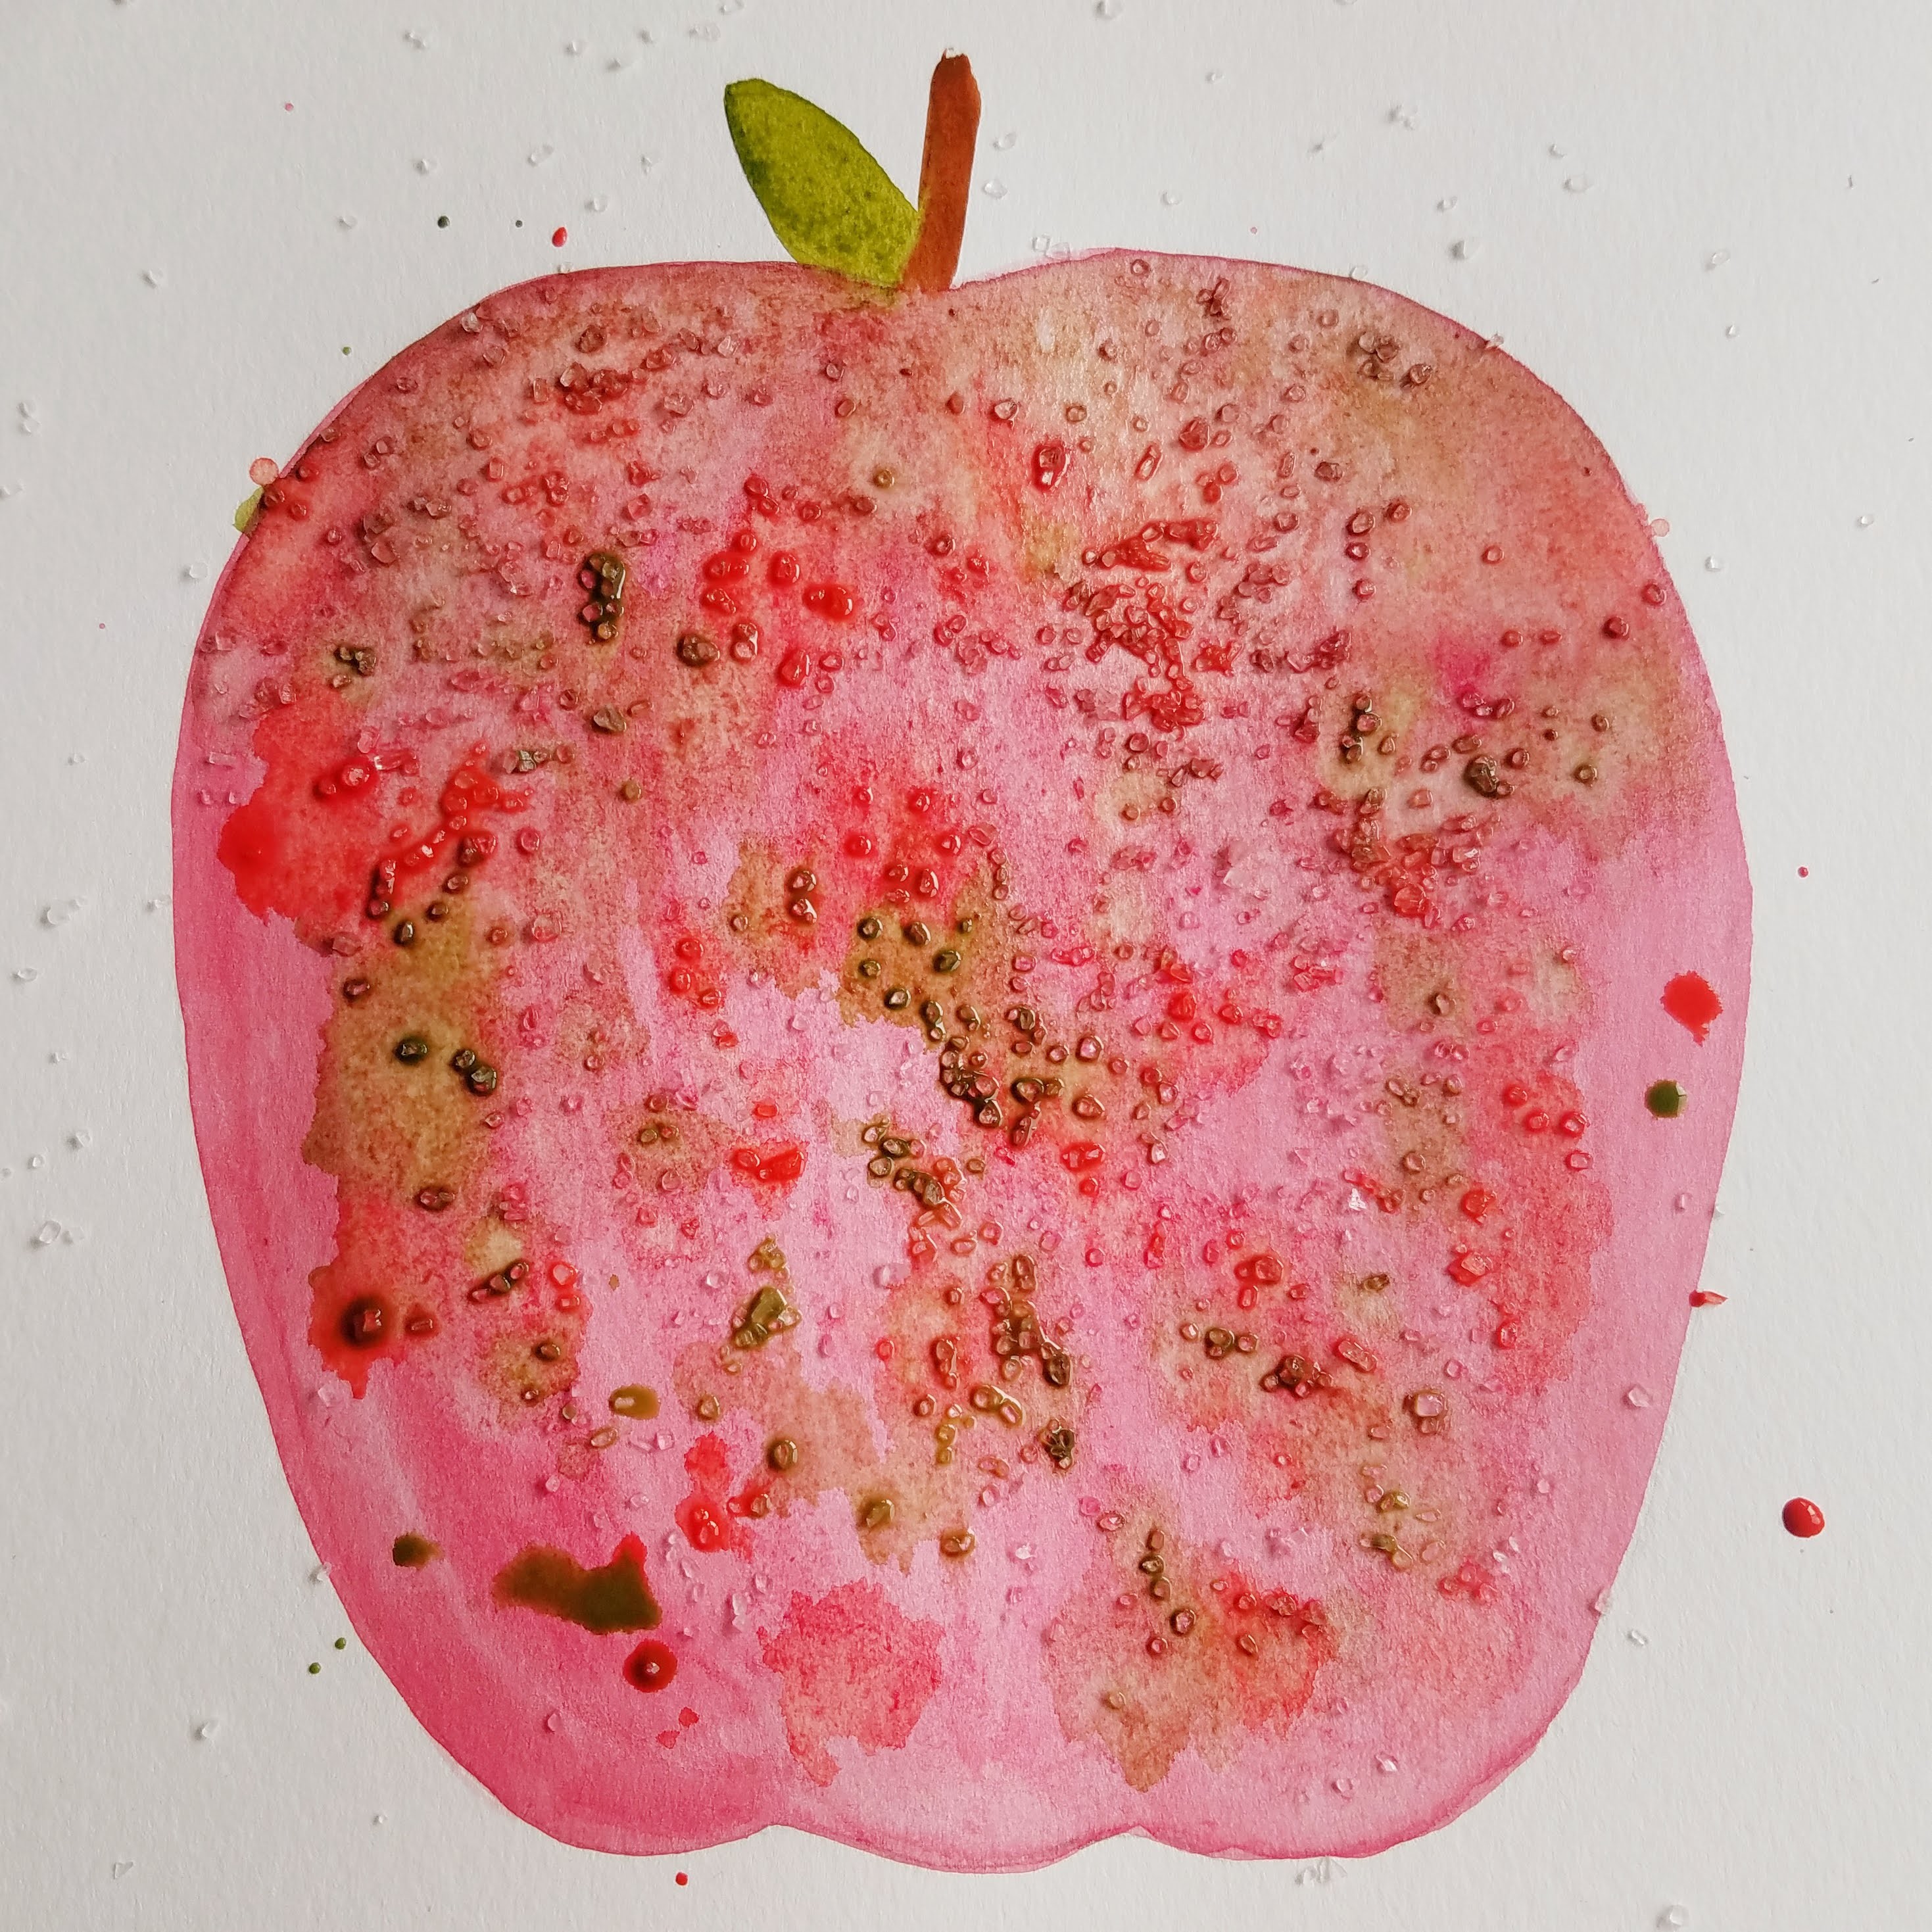
I also like to create some additional texture by sprinkling some sea salt onto my piece while the paint is still wet. After the piece is dry, brush the salt off, and it will have created a sort of batik-type texture.
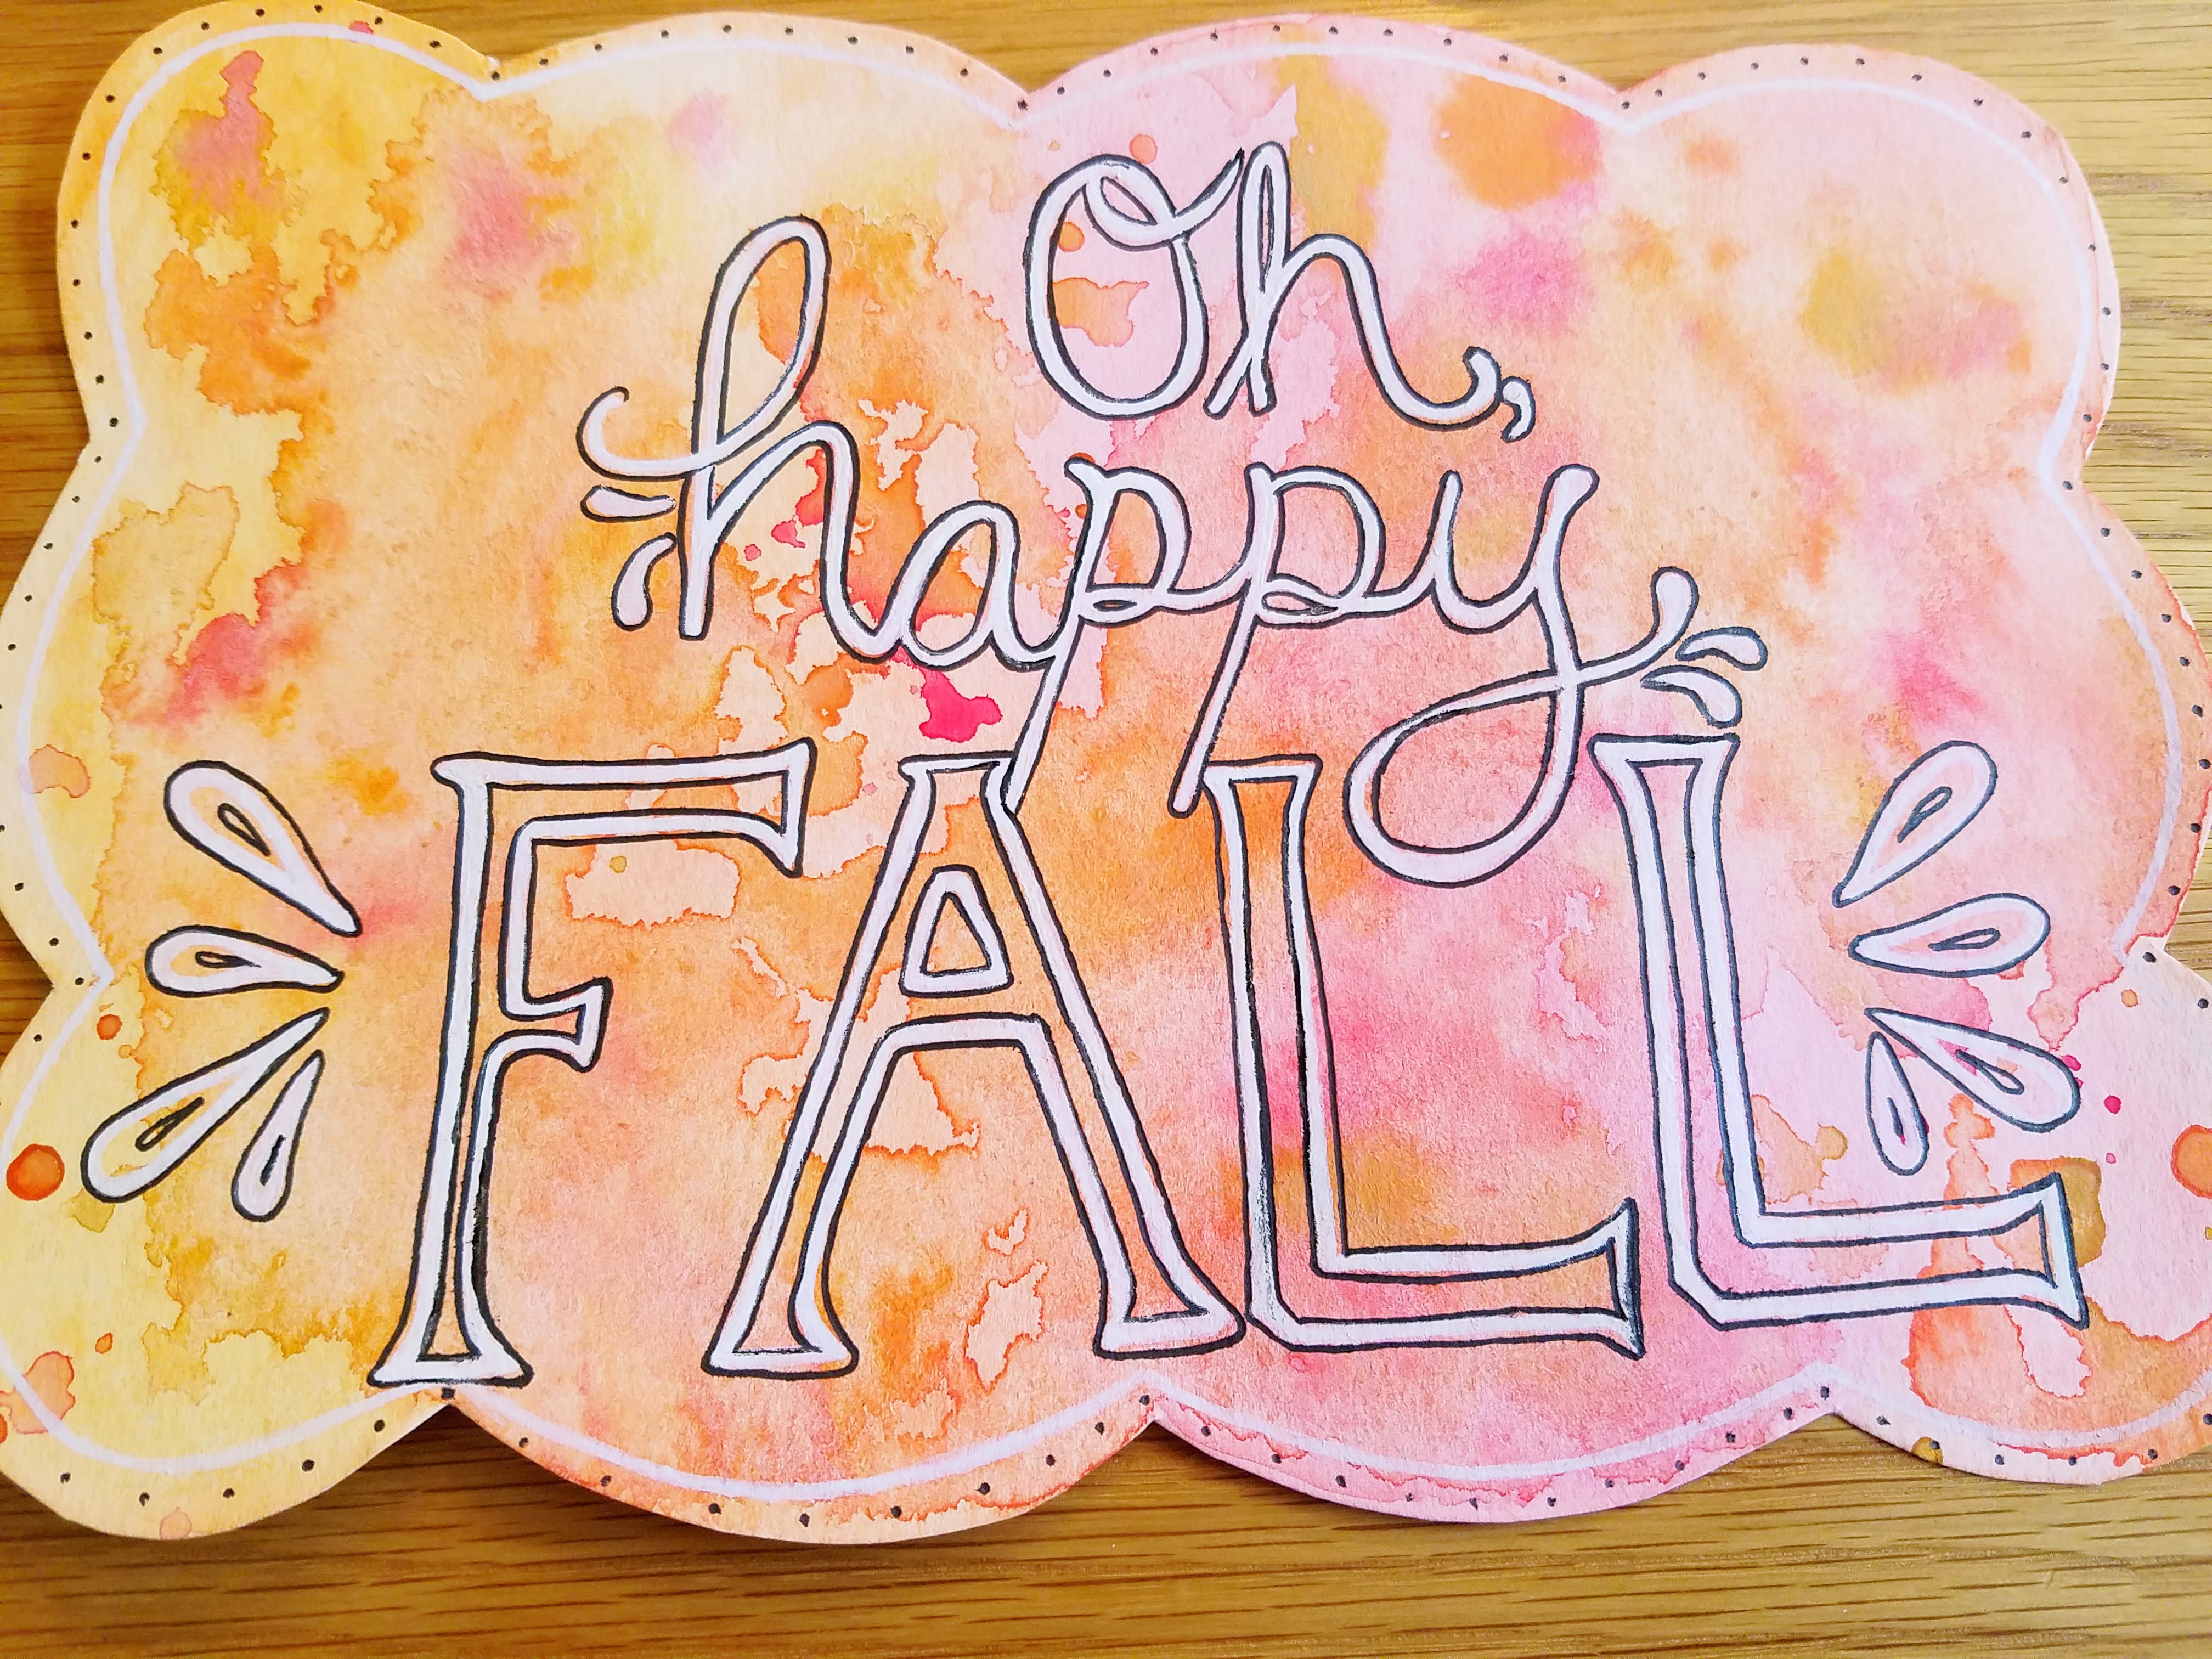
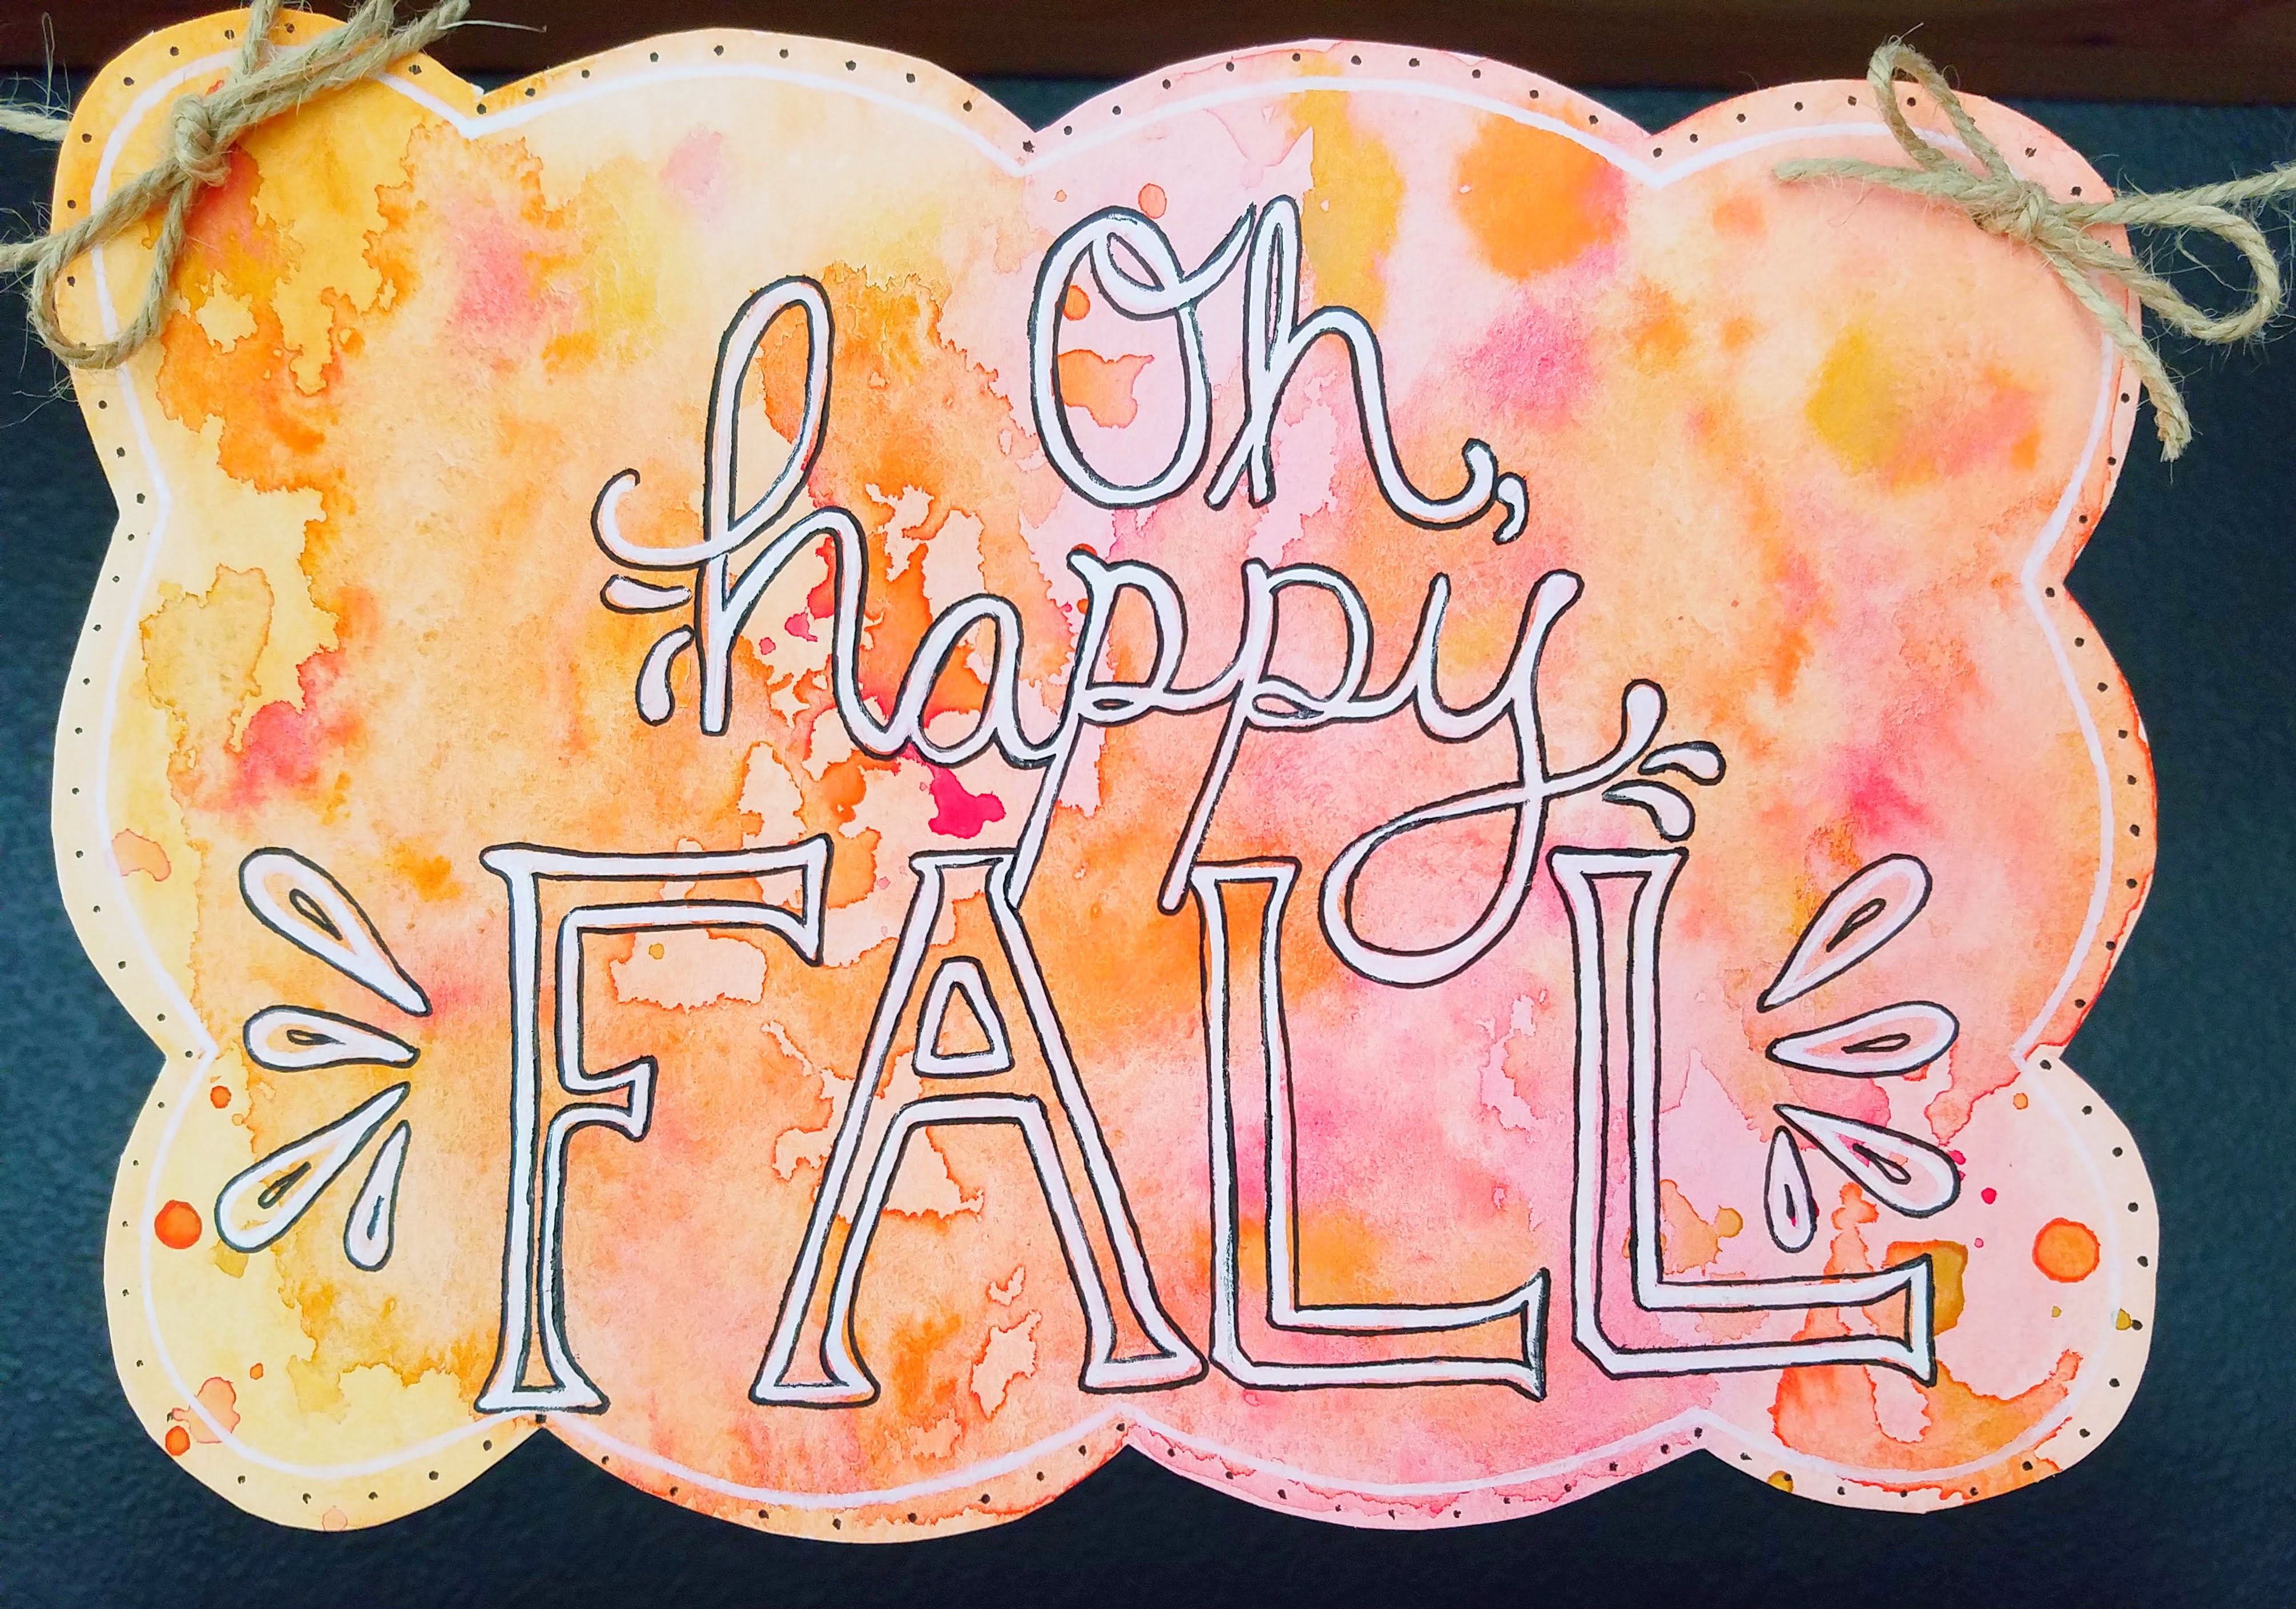
I chose to make a scalloped sign for the center of the banner– I sketched out the scalloped shape, then painted it like the apples and pumpkins. After it was dry, I used white gel pen and a fine line black marker to draw out some letters. If you don’t feel comfortable writing the letters freehand, you could print out the words in a cool computer font, cut them out, and paste them onto your banner.
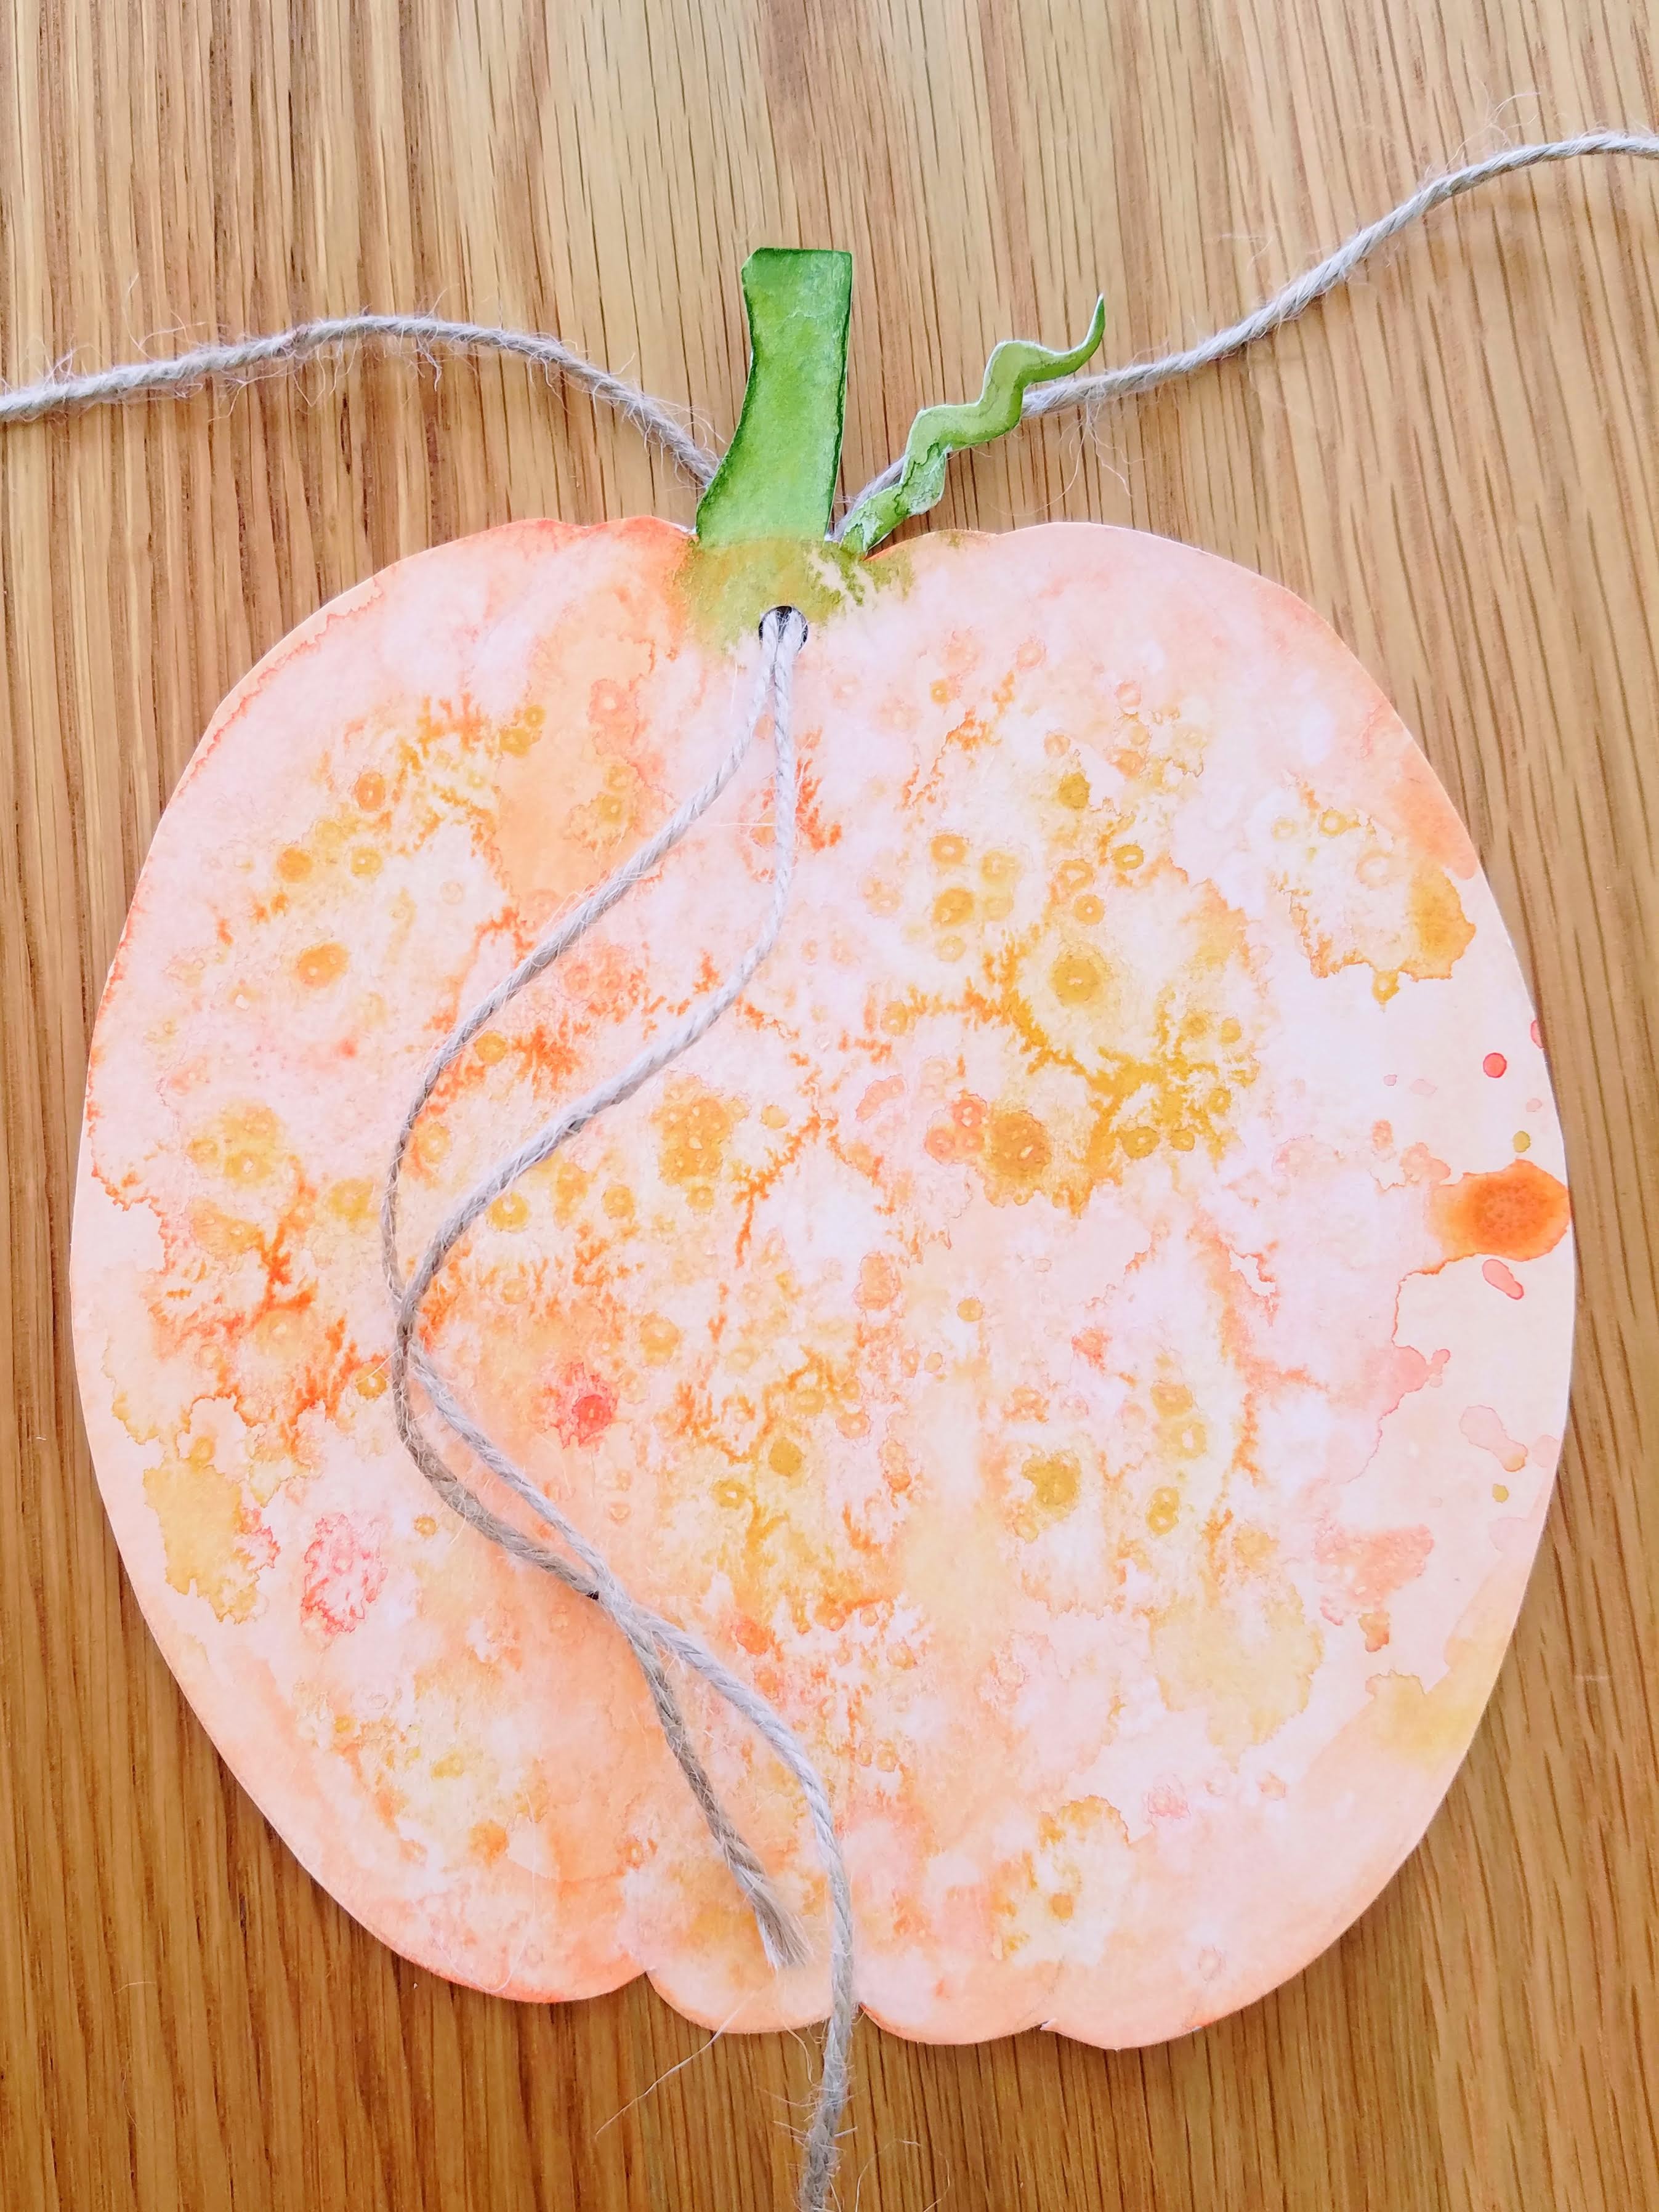
Once all your pieces are dry, cut out the shapes and use a hole punch to make a hole below the stem of each pumpkin and apple. I put two holes in the rectangular sign (one in each upper corner) because it was bigger.
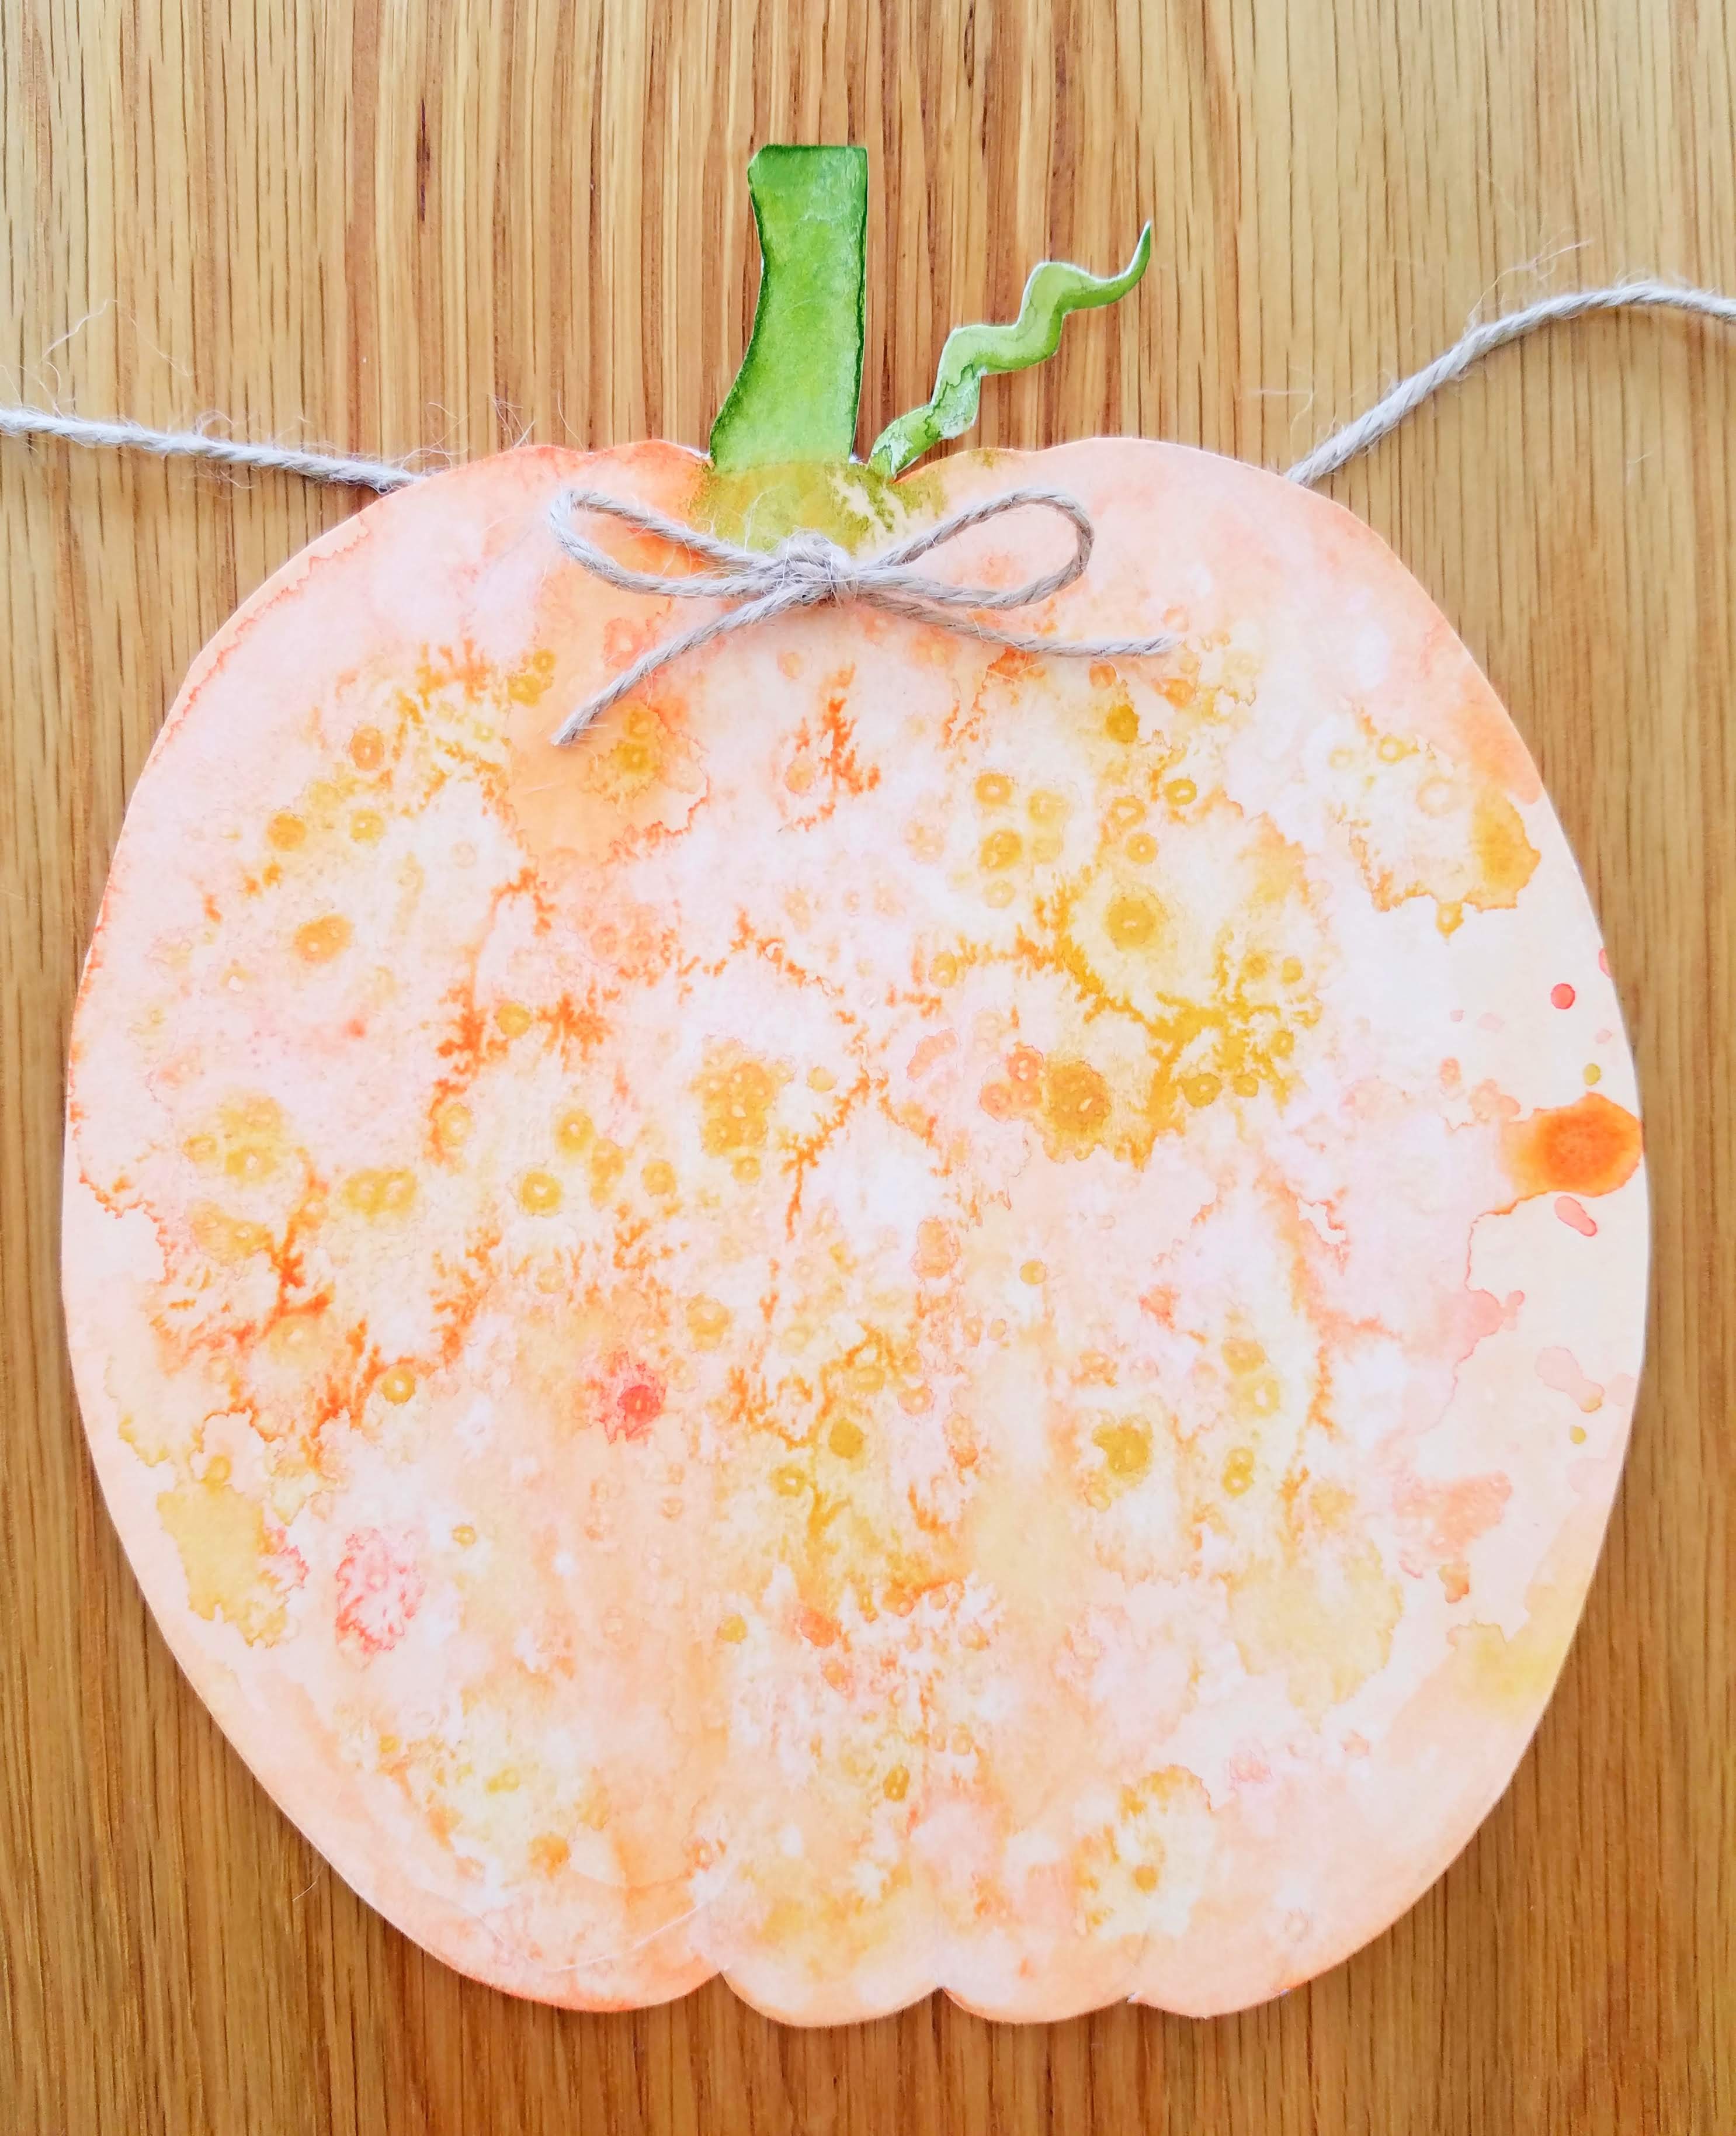
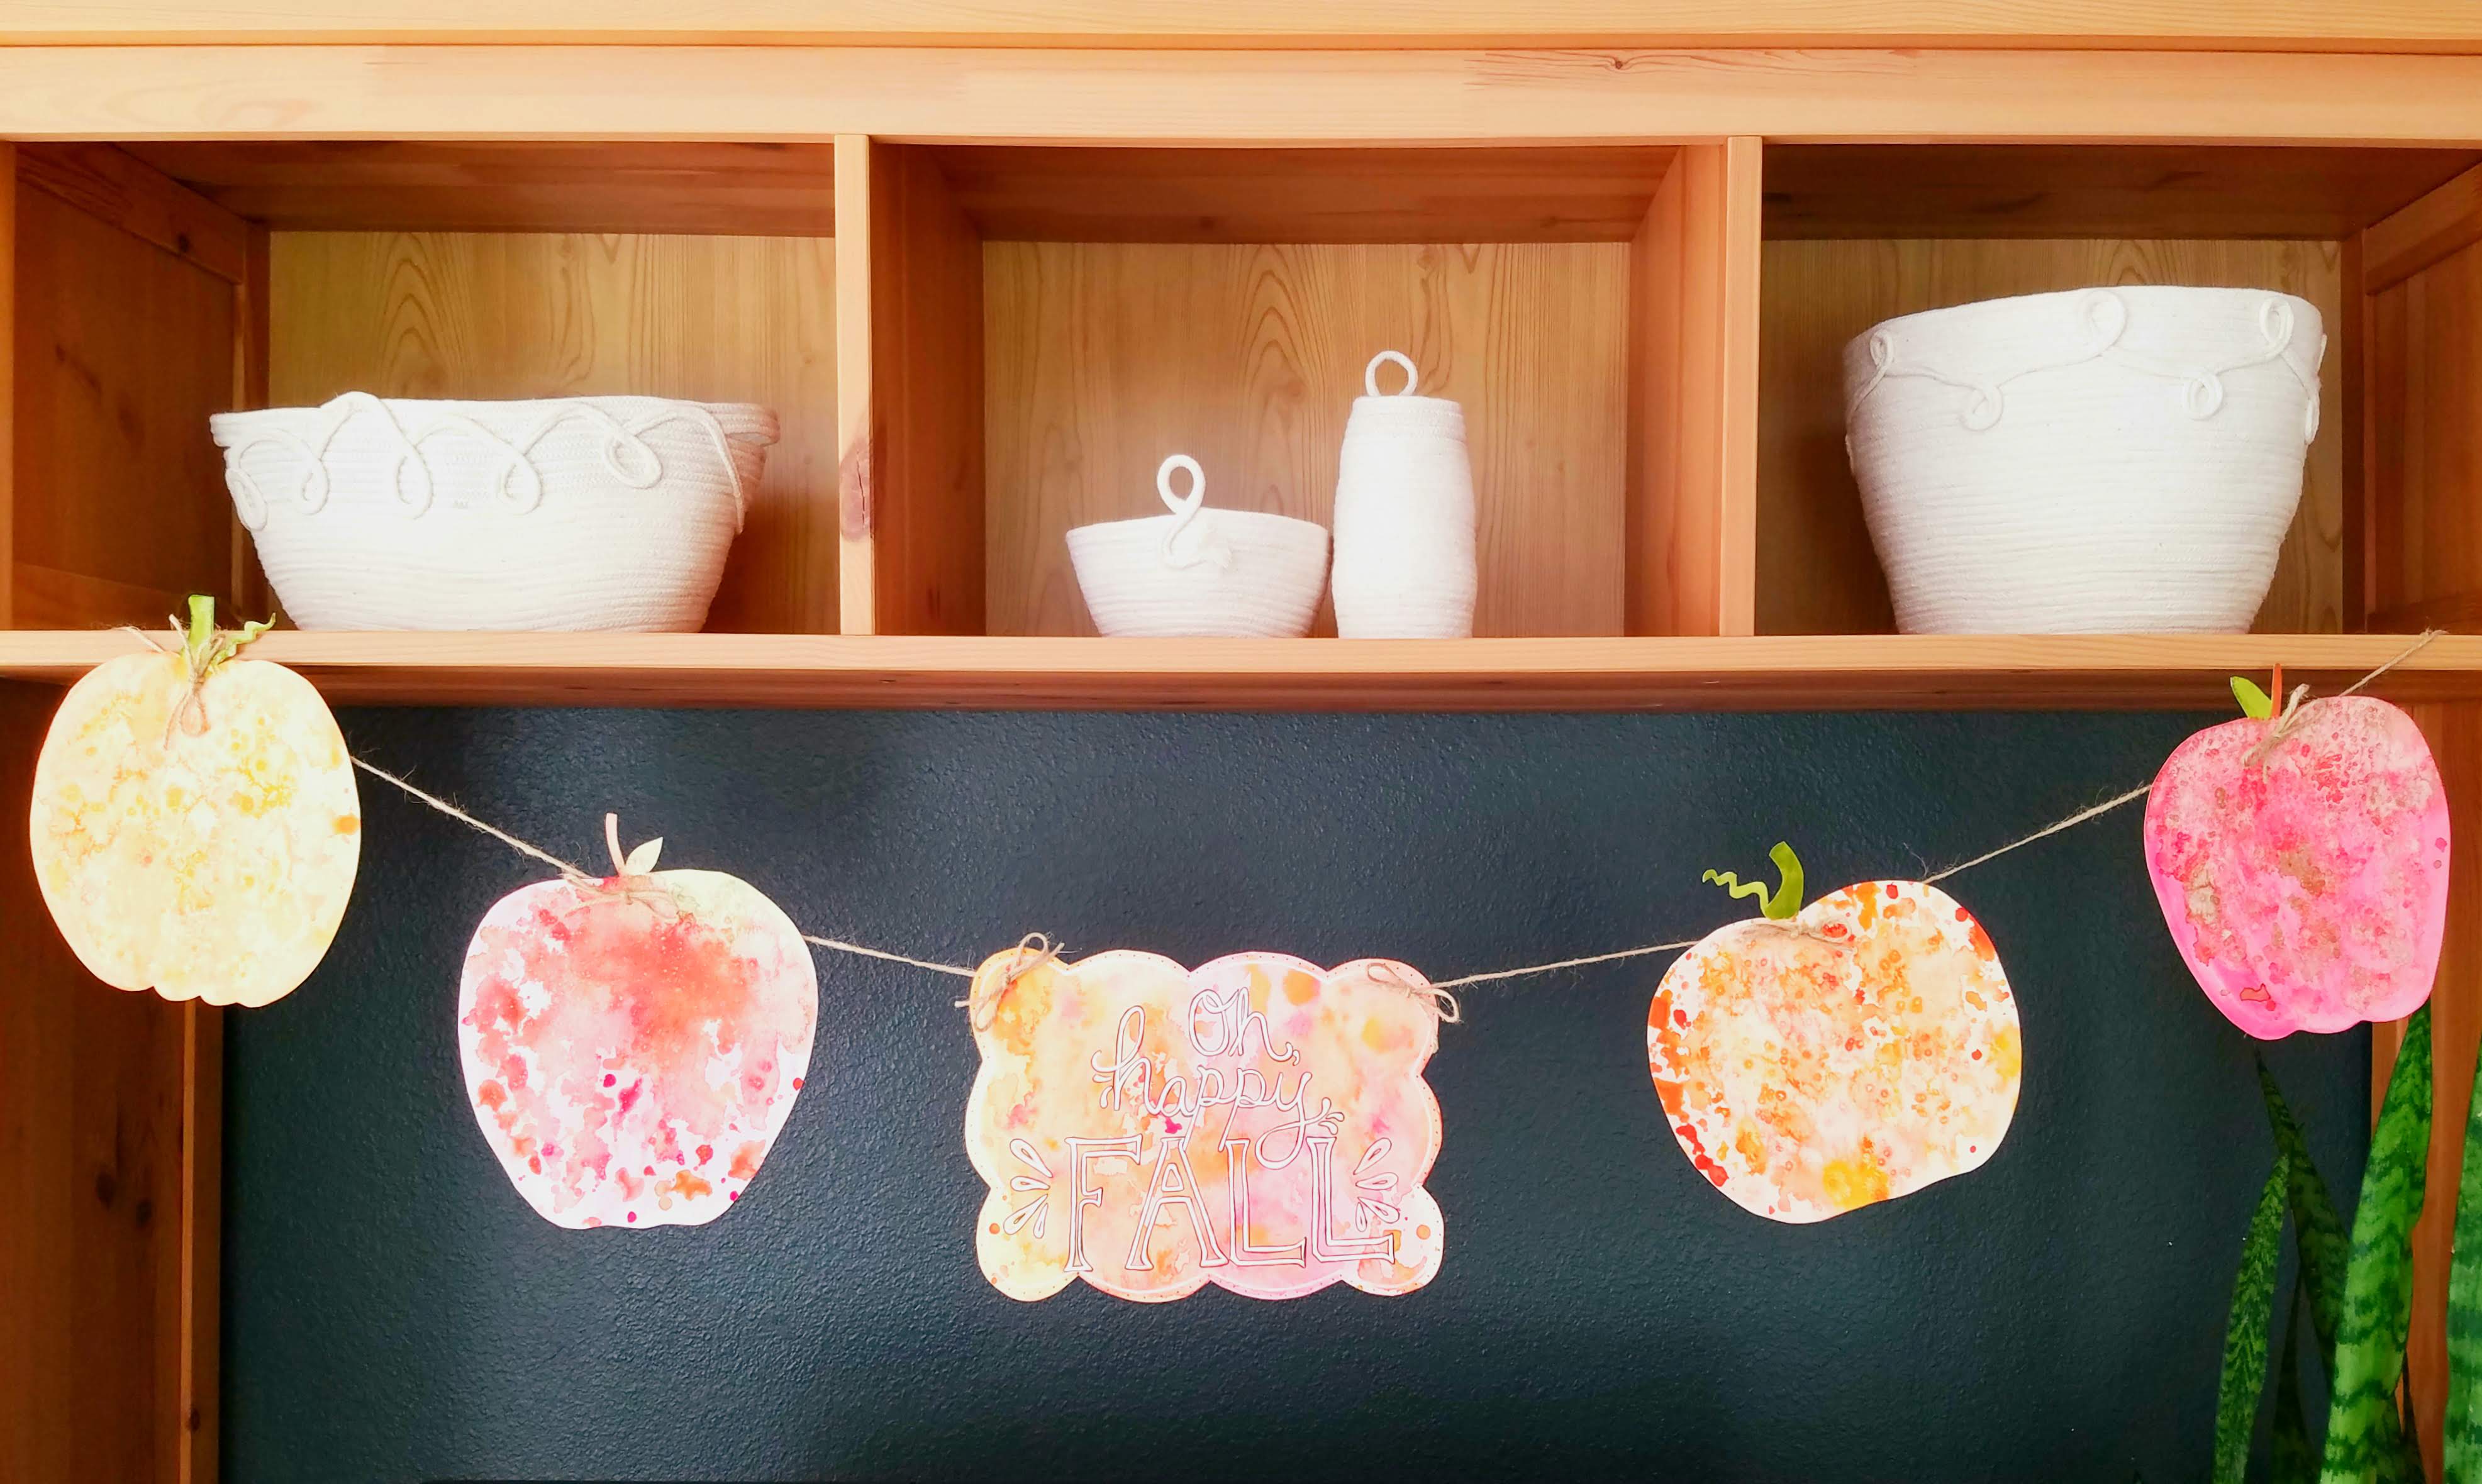
Lay out your pieces on a table in the order you want them to string them. Take a couple pieces of twine and run them through the hole of the first pumpkin or apple. Tie these two pieces of twine together in a bow at the front. Use one of the strings coming out the back as one of your pieces for the bow on the next piece. Continue tying the pieces on in this way until they are all strung together.
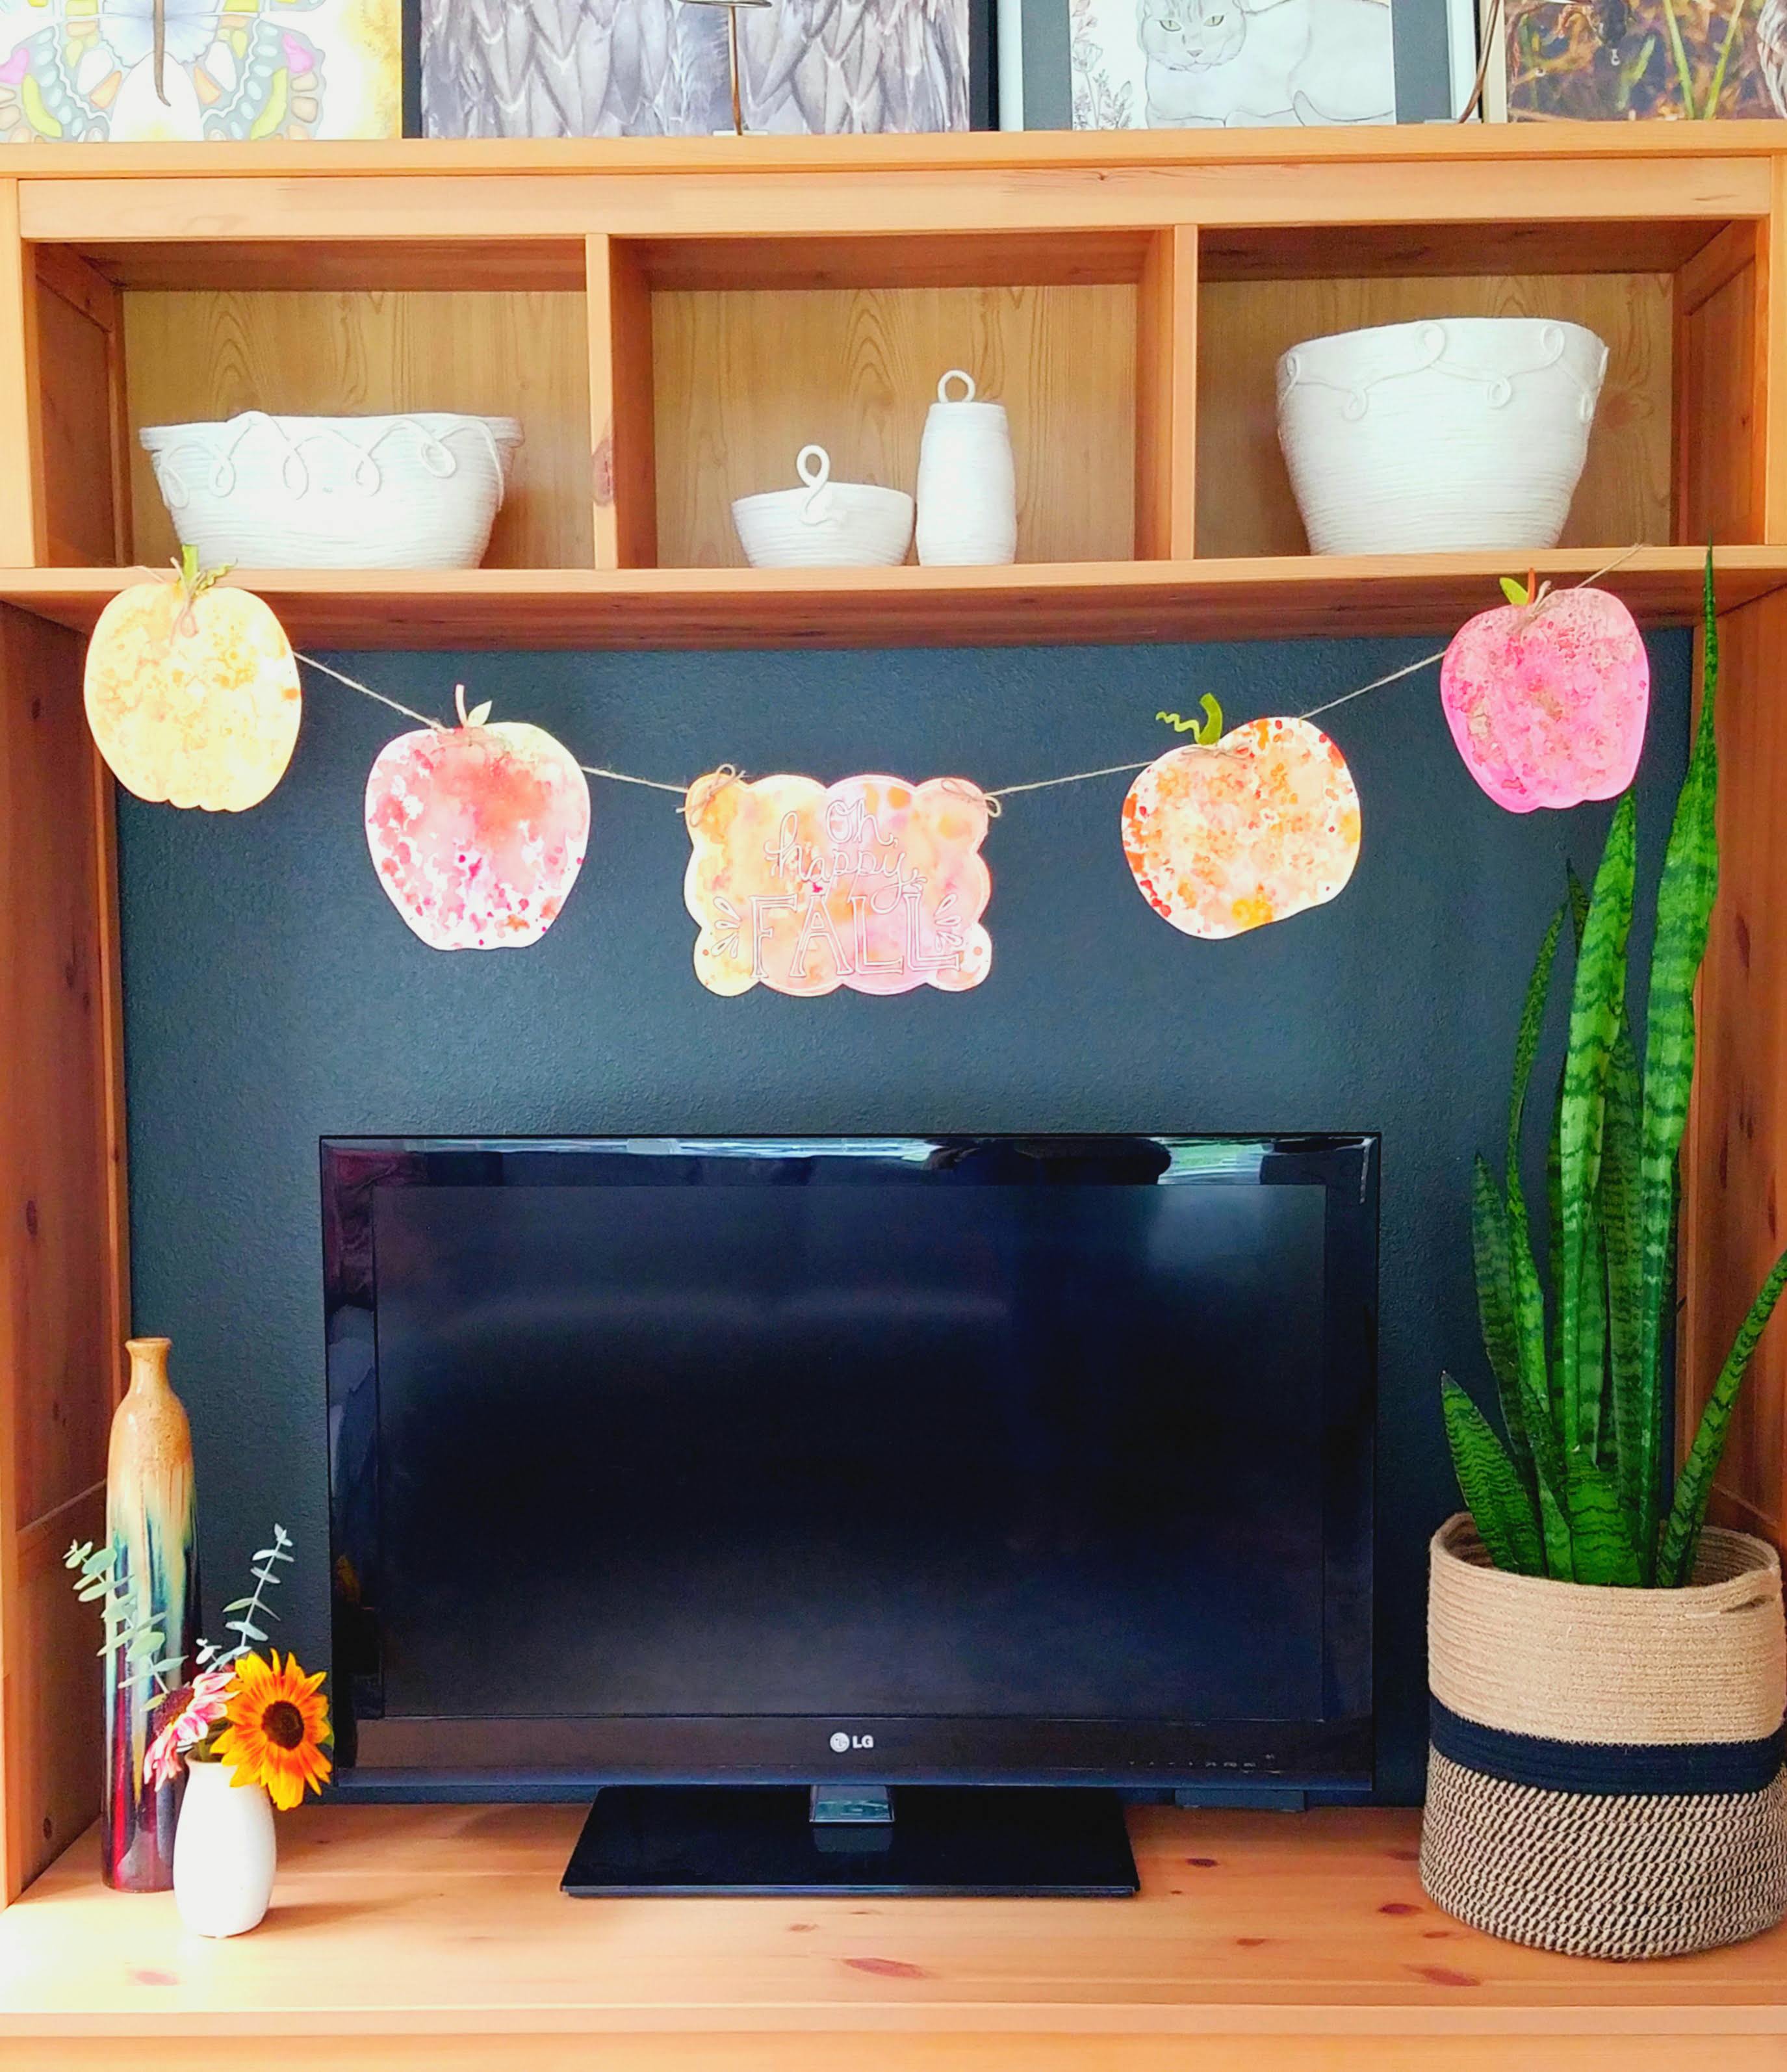
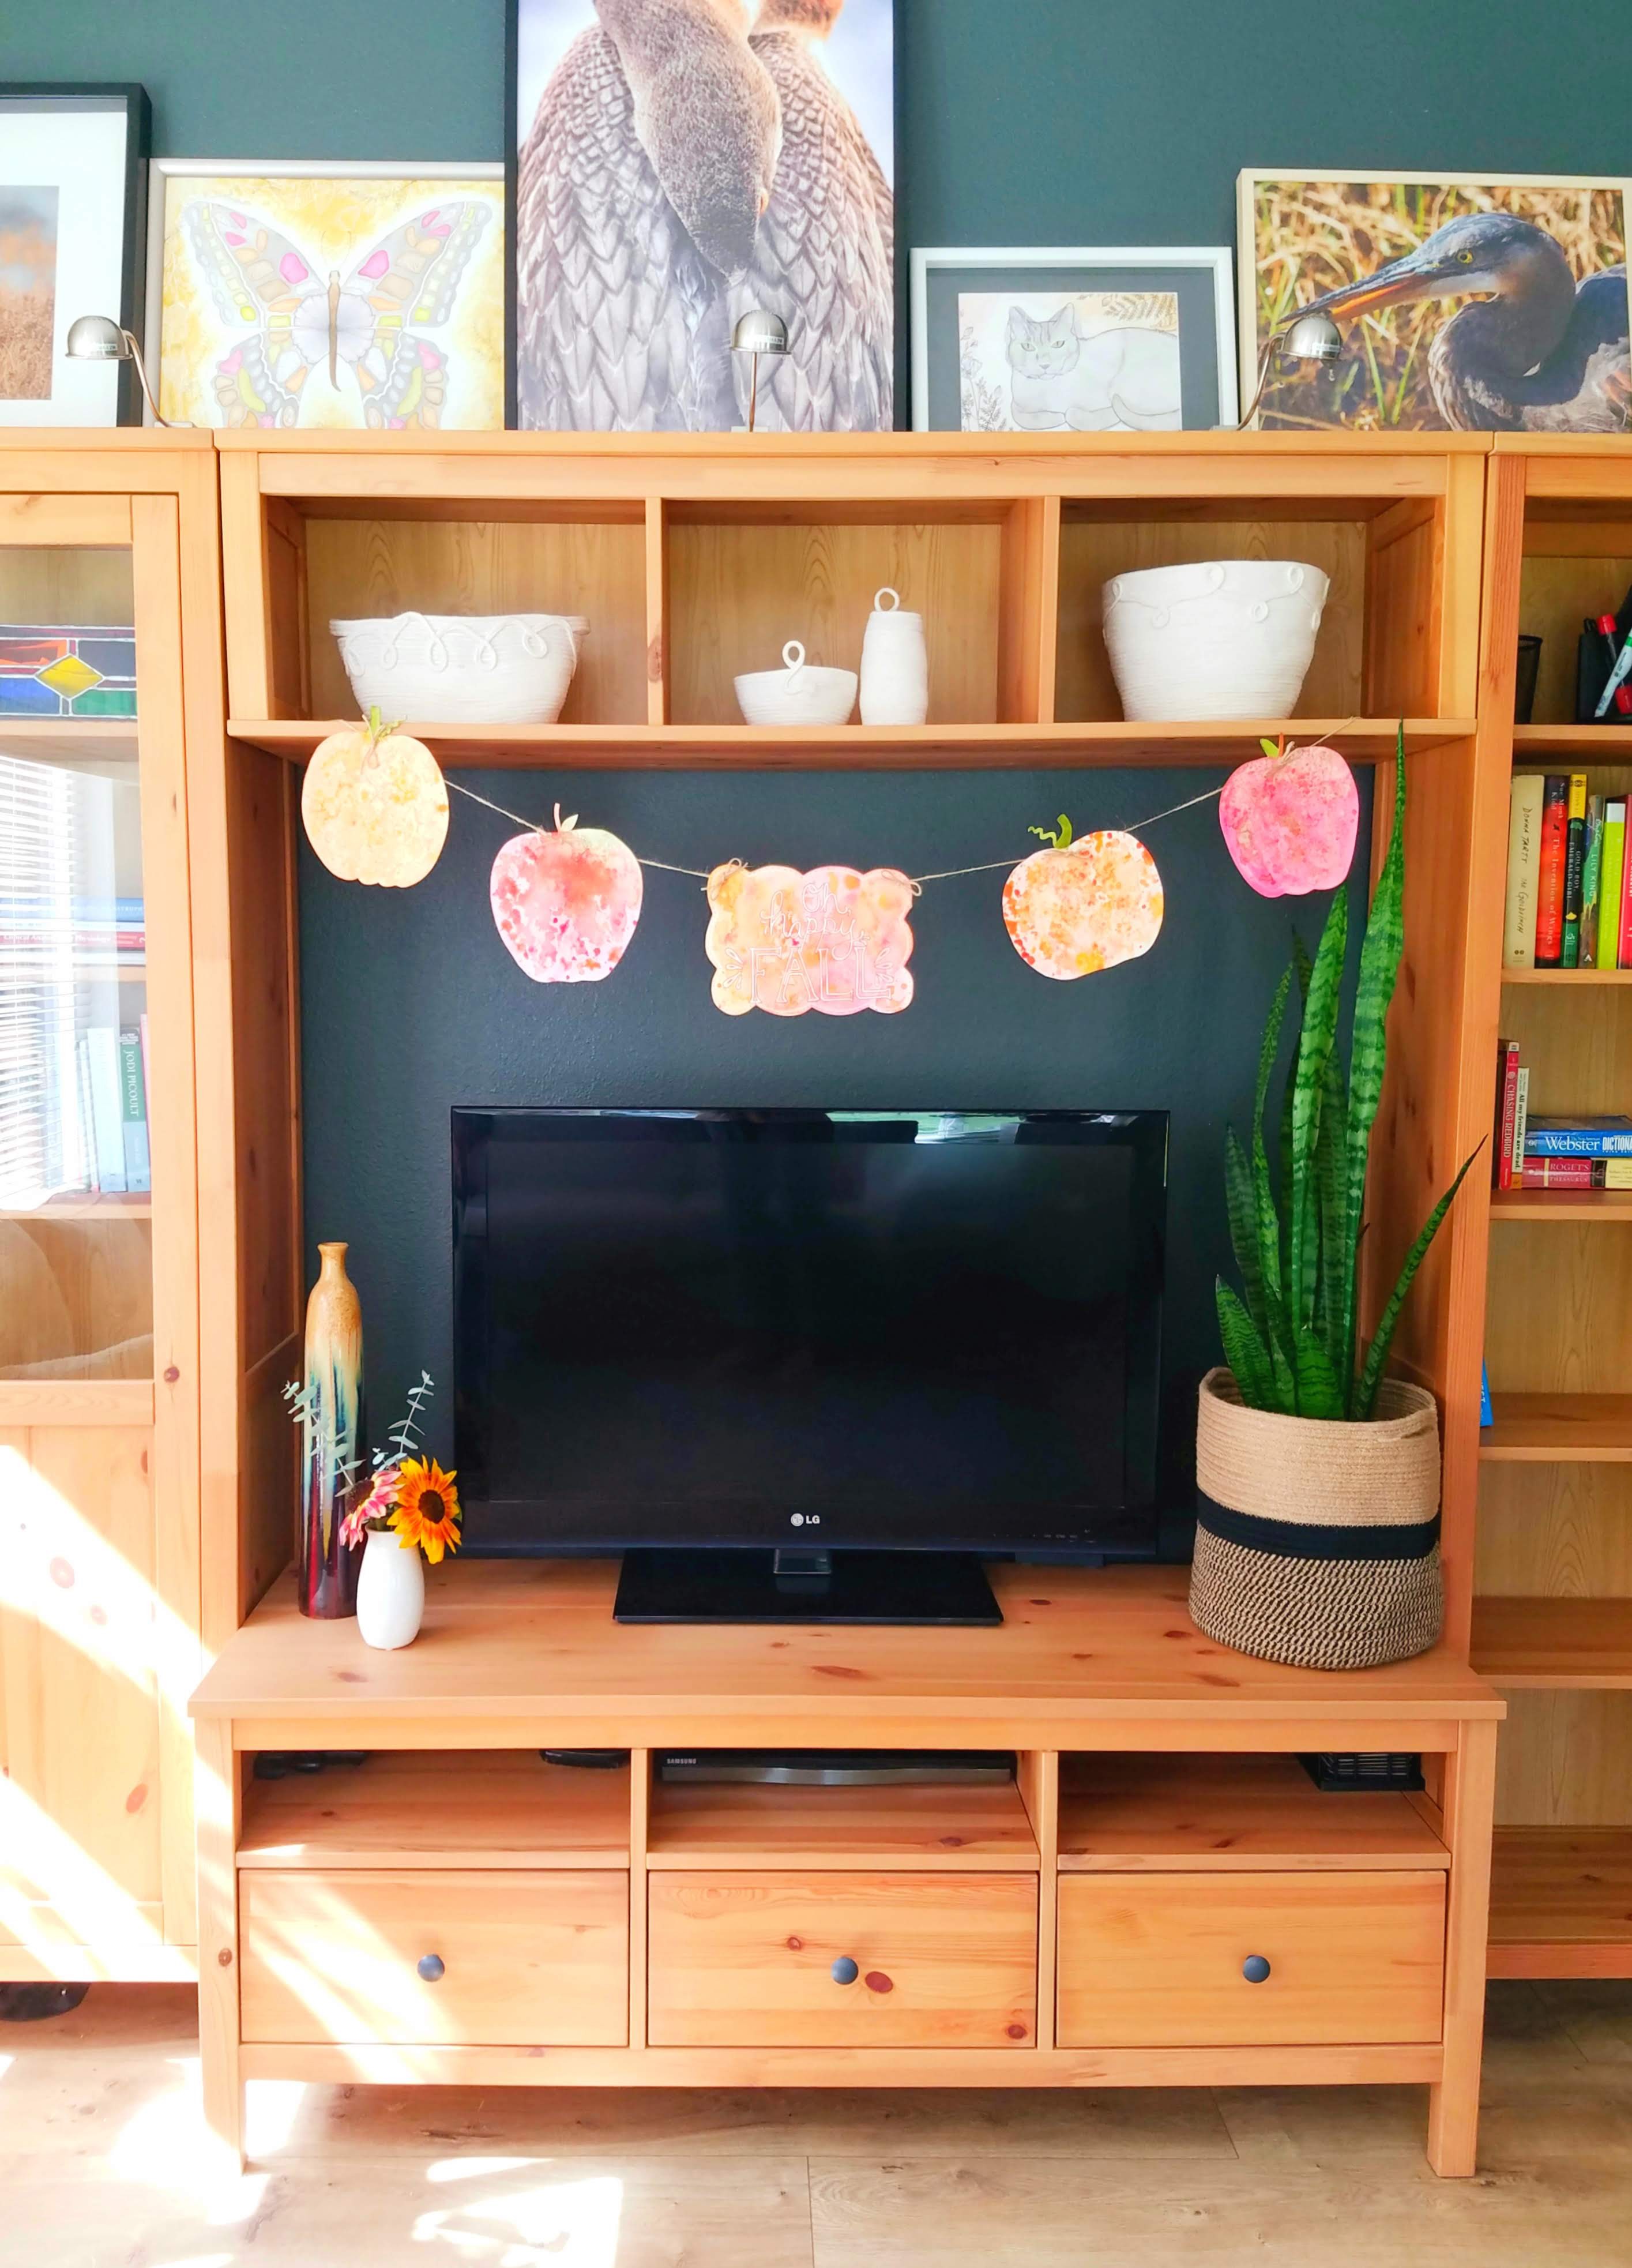
Now you are ready to find the perfect place to hang your fall banner! Mine fit perfectly in the empty space above our tv.
Happy fall, y’all! Have fun and be creative 🙂

