
As a kid, I always loved carving jack o’ lanterns for Halloween. We’d go to a pumpkin patch and spend an hour looking at every angle of every pumpkin until I found one that looked like a face. Then we’d cover the table with newspapers and scoop out the gory pumpkin guts and I would lay out all my knives and tools like a mad scientist preparing to create a Frankenstein. I always sat at the table working on my jack o’lantern a lot longer than anyone else, because of course it had to be a masterpiece. Not only did my jack o’lanterns have eyes, a nose, and a mouth, but they also tended to have eyebrows, eyelashes, glowing cheeks, complex fangs, and protruding ears and horns attached with toothpicks. They looked very gargoyle-esque. But after all that effort to create a truly ugly and lovable face, we would light them once or twice, and then they’d go moldy two days later. C’est la vie, I thought. Jack o’lanterns, like fruit flies, tend to have very short lifespans.
Fast forward twenty years, and my tastes have become a tad bit more refined. These pretty gourd lanterns are easy to make and just as fun and festive as those jack o’lanterns of yesteryear. And the best part is that dried gourds should not mold, so you can keep your masterpieces and enjoy them year after year!
Supplies and Tools:
Dried gourds, 5 to 8 inches in diameter (I purchased mine here)
An electric saw (we used a miter saw set at a right angle)
Drill and assorted sizes of drill bits
Flameless Candles (available here)
Dust mask (to avoid breathing in gourd dust while cutting and drilling)

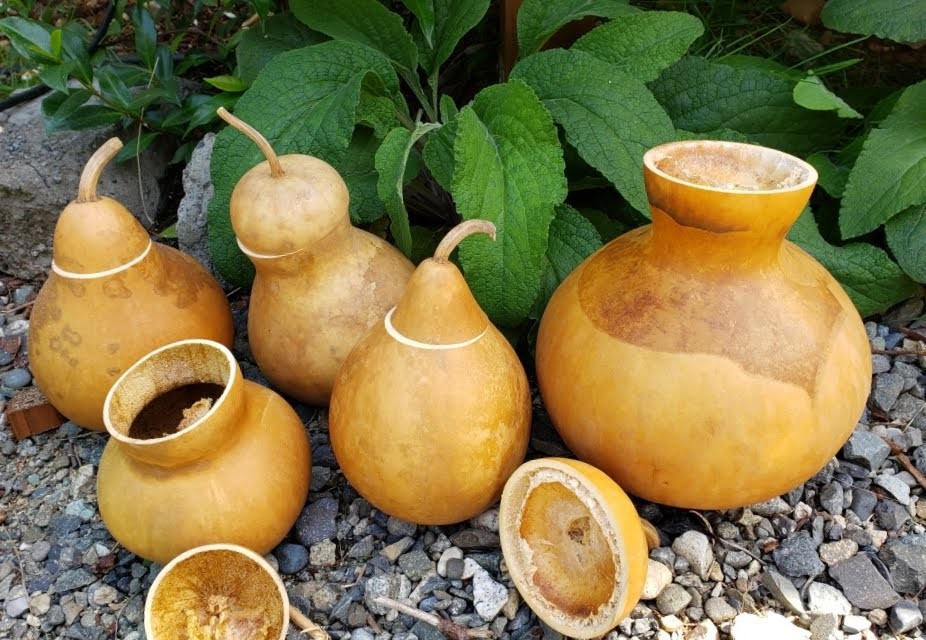
To begin, put on your dust mask and use an electric saw to cut off the top stem end of your gourd. We used a miter saw set to 90 degrees. If possible, secure or carefully hold the stem end so the cap doesn’t fly off and break.

After all the tops have been cut off, use a spoon to hollow out your gourds (keep wearing that dust mask!) The insides will be dry and flakey, so it’s not nearly such a messy or time-consuming process as hollowing out a pumpkin.

Lightly sketch out a design on your gourd with a pencil so that you know where to drill your holes. You can erase the pencil after drilling the holes so the lines won’t show. Personally, I liked the way that scallops, flowers, and leaf shapes turned out.

Cover your work surface with paper or newspaper and put on your dust mask. Use different sizes of drill bits to drill a design into your gourd. I found that I preferred my finished lanterns that had at least a few holes drilled with a 1/2 inch drill bit. The large size of these holes allows more light to show through when you put a candle inside. Smaller drill bits work well for adding more detail.

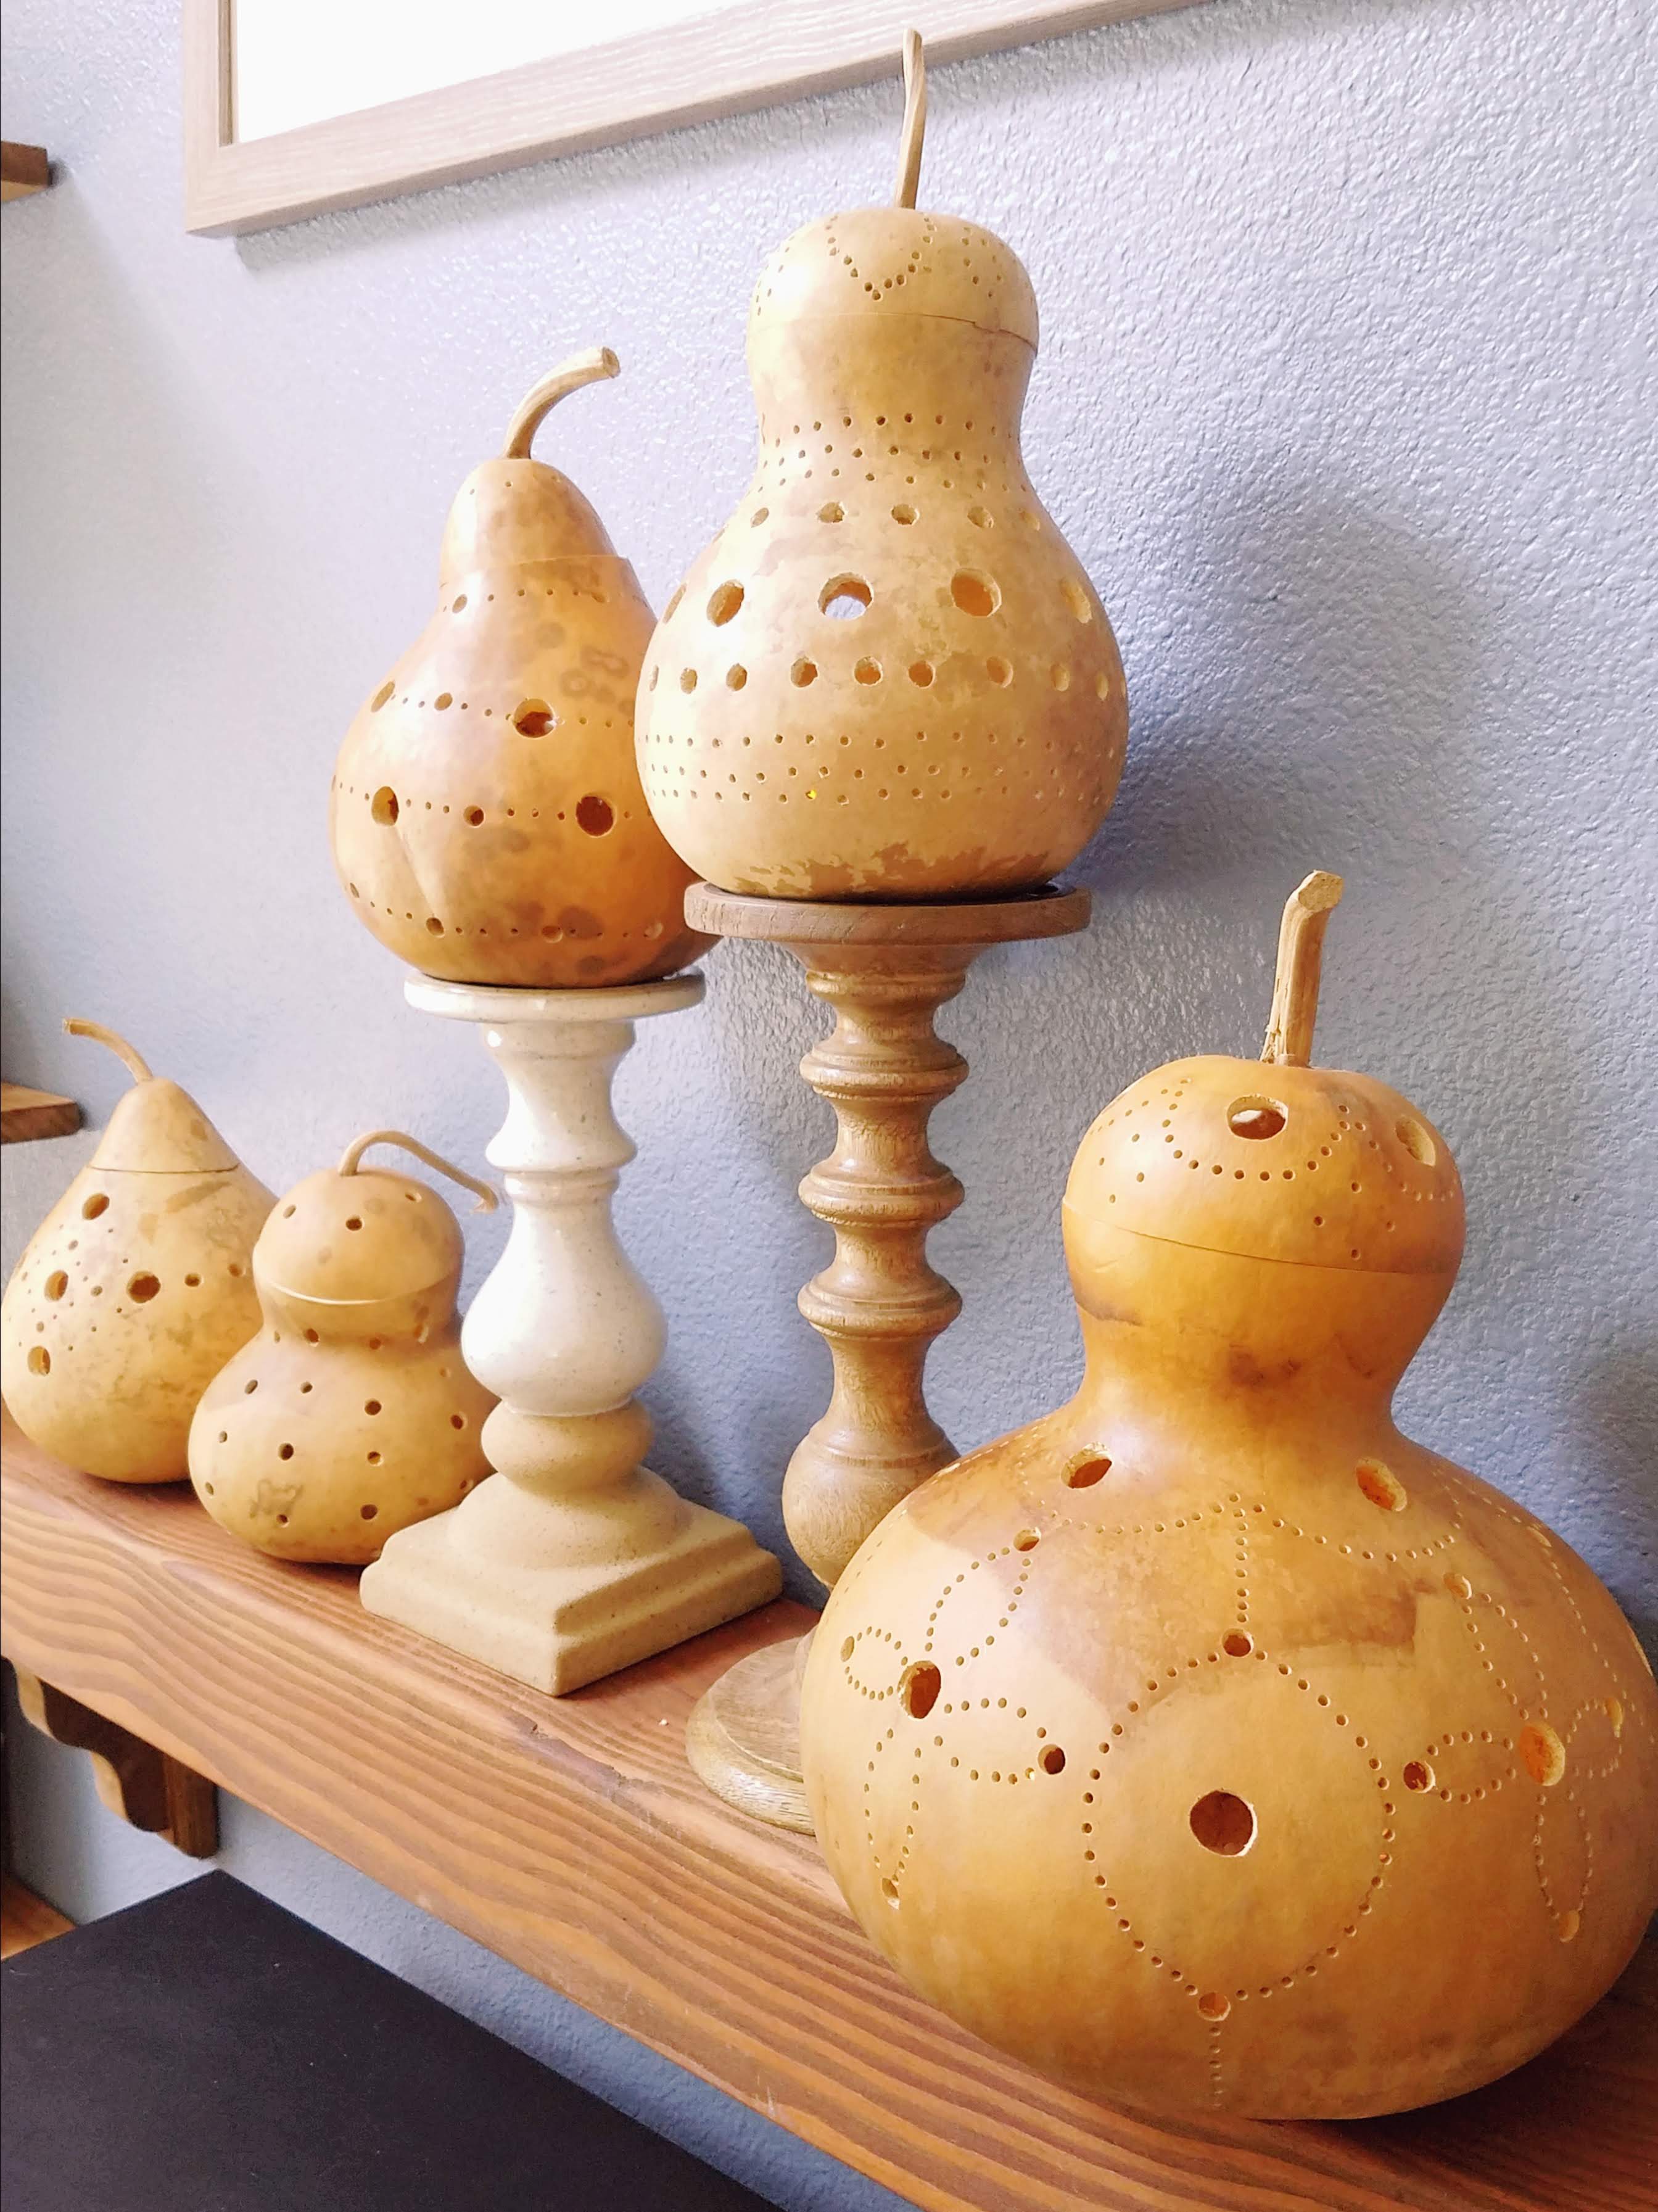
After you finish drilling your holes, shake the gourd upside down to remove excess dust inside. Now you are ready to put some candles inside and admire your work! For any type of lantern I prefer to use flameless LED candles that come with a remote control–you can leave the candles inside and easily turn them on and off as often as you like.


I’m sure we’ll be enjoying our gourd lanterns all season long. They give our living room such a festive ambience. Doesn’t this look like the perfect spot to curl up with a spiced pumpkin latte?
Thanks for reading, and happy carving! Feel free to pin and share ❤

